While eyebrow hair trends can change, a classic natural eyebrow never goes out of style. Also, many of us were never taught the basics of filling in our brows or shaping our brows. However, I was forced to learn due to chemotherapy. In addition, I had to learn due to many many years of overplucking in the 2000s. Nonetheless, I have got you covered with all the basics! Whether you are going through cancer-related eyebrow hair loss, or just looking to learn the basics of natural eyebrows. Also, I have become a self-taught brow fanatic. Therefore, I want to share all the tips and tricks I learned along the way. Likewise, I want you can feel confident shaping and filling your brows.
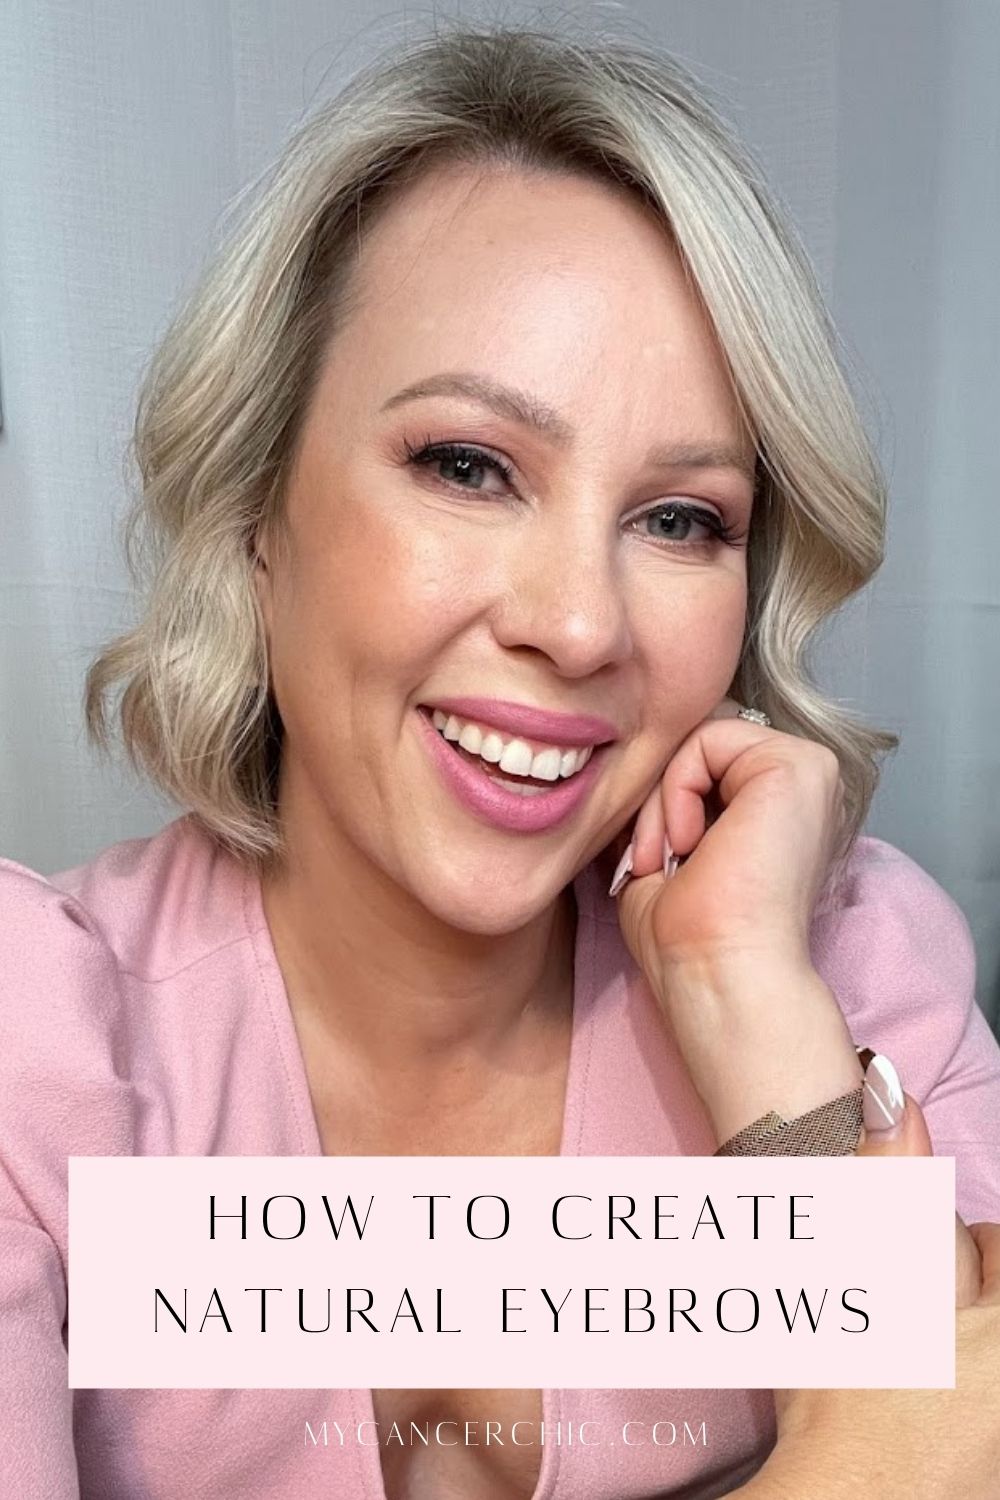
How To Create Natural Brows
The first key to shaping and filling in your eyebrows successfully is to understand the right brow dimensions for your face
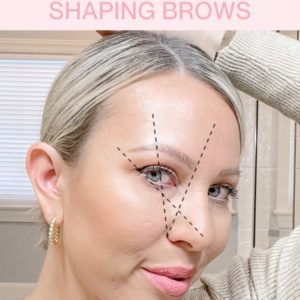
First, it is important to understand the Golden Rule. So, this approach to eyebrow hair was developed by the brand Anastasia Beverly Hills. However, if you have ever watched an eyebrow hair tutorial I bet you have seen this method in action. Essentially, it comes down to creating 3 guidelines on your face. These guidelines include the front of your brows from the side of your nose, the end of the tail of your brows, and the middle arch of your brows. Therefore, by creating these guidelines (particularly if you have little to no natural brow hairs), you will more easily be able to fill in your brows in a shape that best fits your face structure and looks like a natural eyebrow.
Next to teeth, I believe, is that eyebrows are the most important feature on your face. So, beyond serving the purpose of deflecting sweat and debris from your eyes, the brows are also our main method of nonverbally communication and serve to express our emotions. Also, having well-shaped brows can define your face and highlight your features even when you are hairless and feel like crap. Consequently, how do you know how to shape and fill in your brows? So, learn about how to apply false lashes here.
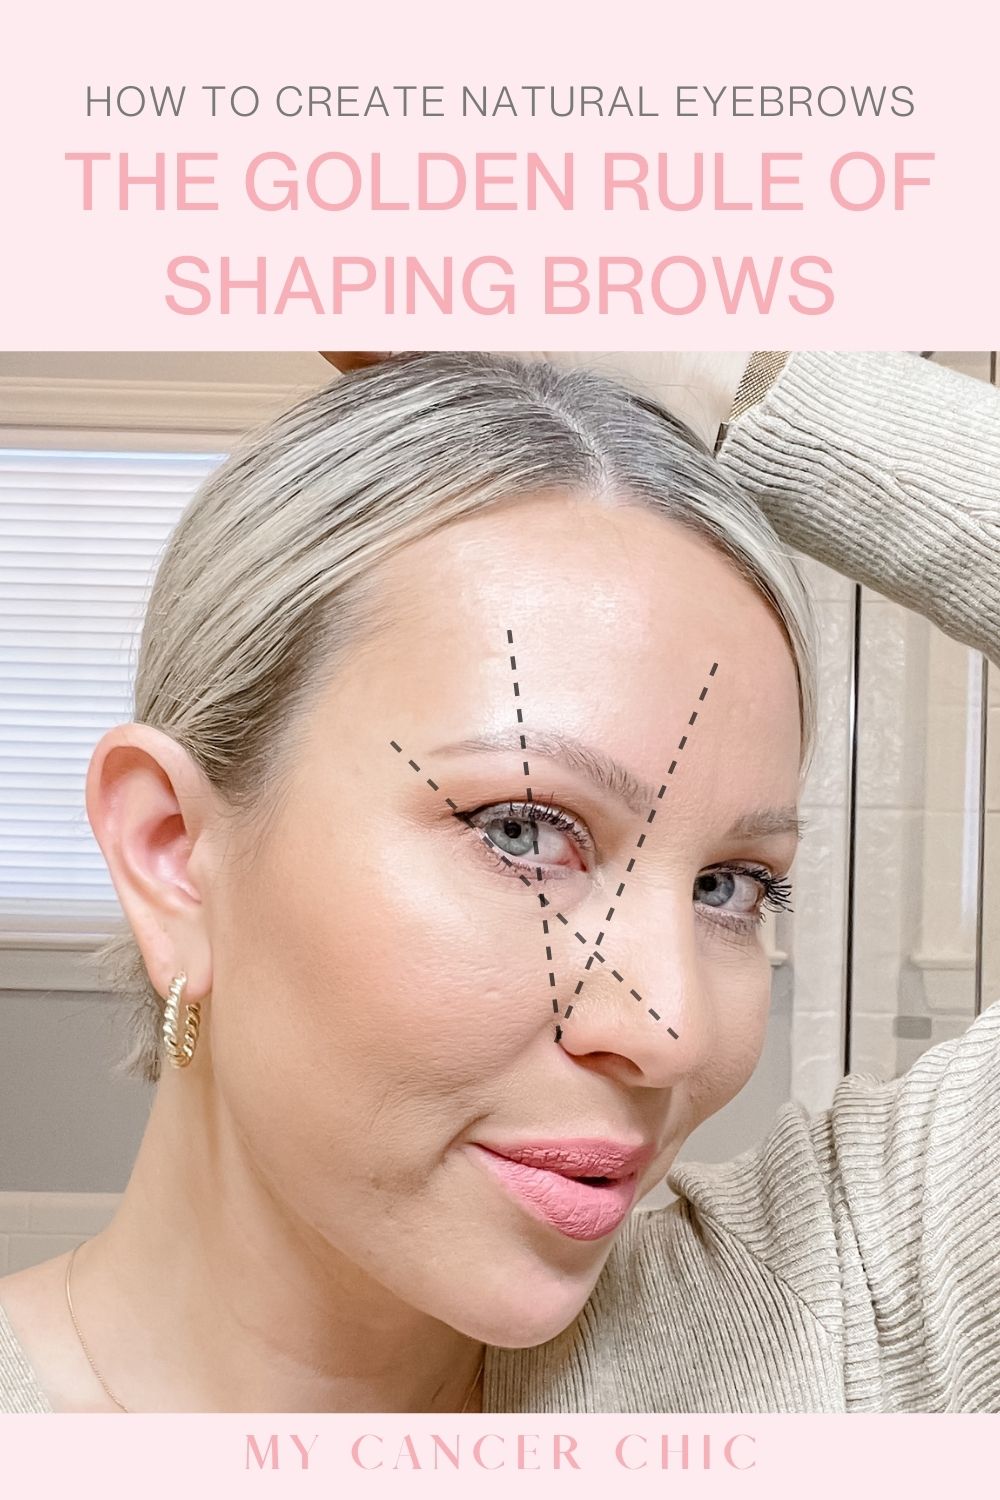
Eyebrow Dimensions
Once you have mastered the dimensions of your brows it comes down to personal preference on thickness and shape. Also, some people like thick brows or bold brows with a natural arch, while some like a thinner brow with a pointy arch. Moreover, when it comes to the front of your brows some people like a more rounded appearance while others like a more square appearance. In addition, these details are completely up to your discretion. So, as long as the dimensions are followed you'll have a very natural brow for your face structure. Also, in my videos, I demonstrate the process for determining the correct size/proportions as well as different styles of brows you can try.
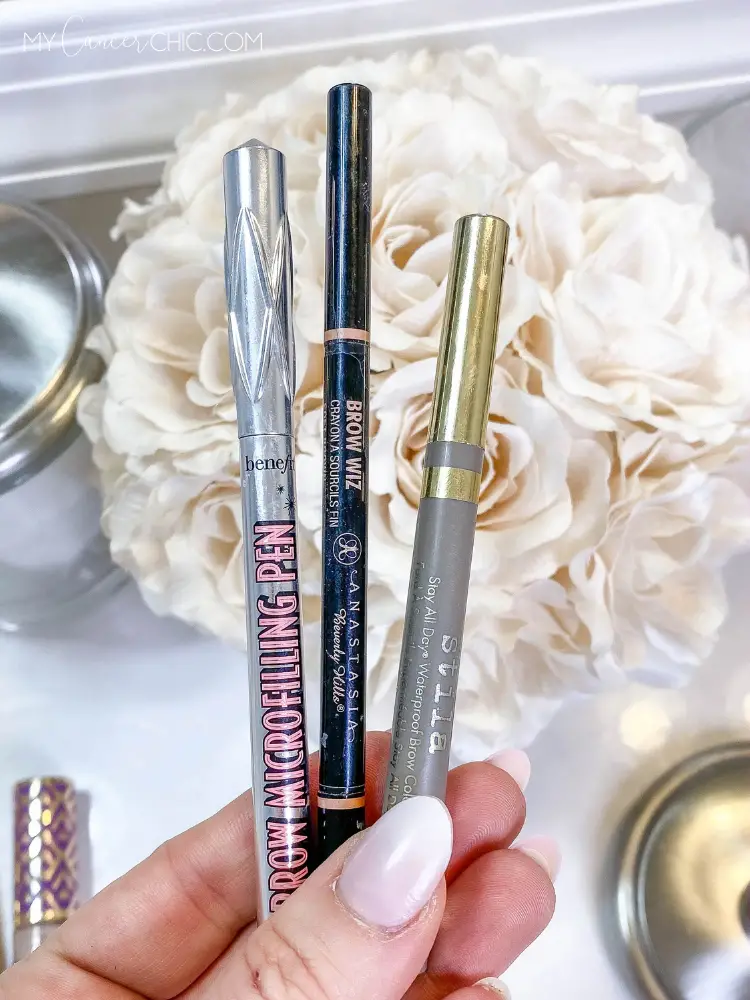
The second key to successful natural eyebrows is using a quality brow product in a shade lighter than your hair.
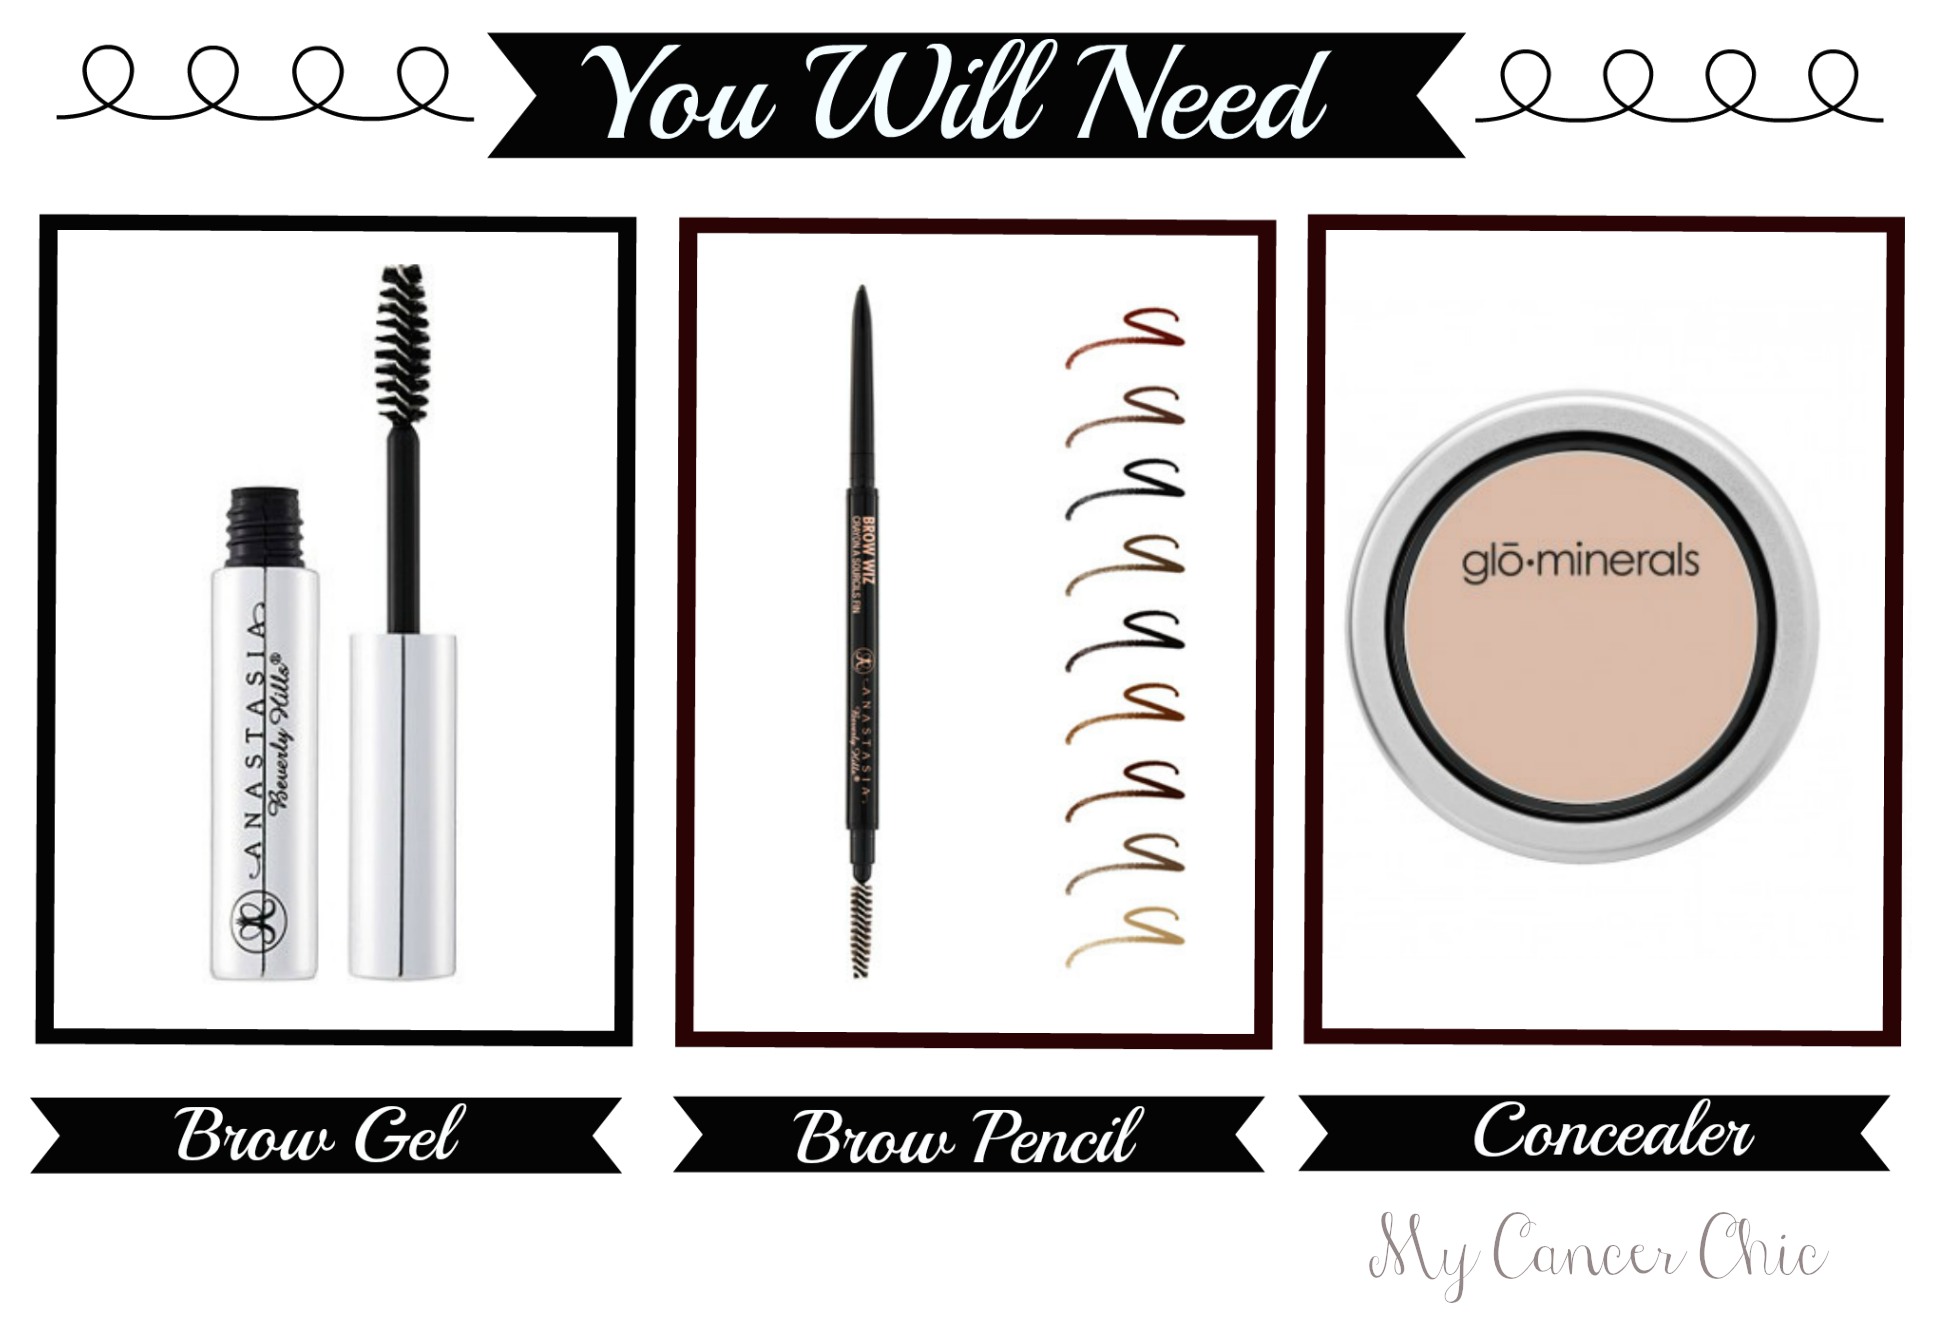
Having a stellar product makes the process of filling in your brows so much easier. In addition, I have tried almost every brow product under the sun. Still, I come back to the same 4 options over and over again. Also, when selecting a product it's important to think about the color. Certainly, test the product on your skin as everyone has different skin undertones. Also, I suggest looking for a product that is at least 1 shade lighter than your hair.
My top brow product recommendations for creating natural eyebrows.
So, for very thin hair-like strokes, I suggest the Anastasia Brow Wiz Pencil.
The color options are wonderful and the pigment and blend ability are unmatched. Also, the NYX Microbrow pencil is a close runner-up (and half the price). However, it just doesn’t have the same color payoff and thus takes a lot more strokes to complete the same effect. So, both of these pencils are super easy to use and great for beginners.
Also, for quick all-over color, I suggest using the brow powder from Benefit.
It comes with a little pomade that helps the powder stay in place. Also, I have used this product for years. It is best applied with this angled brush for precision.
My favorite brow pen and gel
First, this microfilling brow pen has 3 tips and should be used at a sideways angle to fill sparse areas and create hair-like strokes. Also, I give I full tutorial in this video. So, this product is amazing but would be more a more advanced user.
Second, this brow pen is very pigmented but I love the way it applies. As such, I use this (in the color medium) for days when I want more color but don't care as much about tiny hair-like strokes. So. it must be applied lightly so it doesn't look too dark. Also, I love using this particular on the tail of your brows.
Moreover, this is my favorite brow gel for every day. Additionally, this heavy-duty brow gel will keep your eyebrow hairs in place as they are growing back or if they are coarse or crazy.
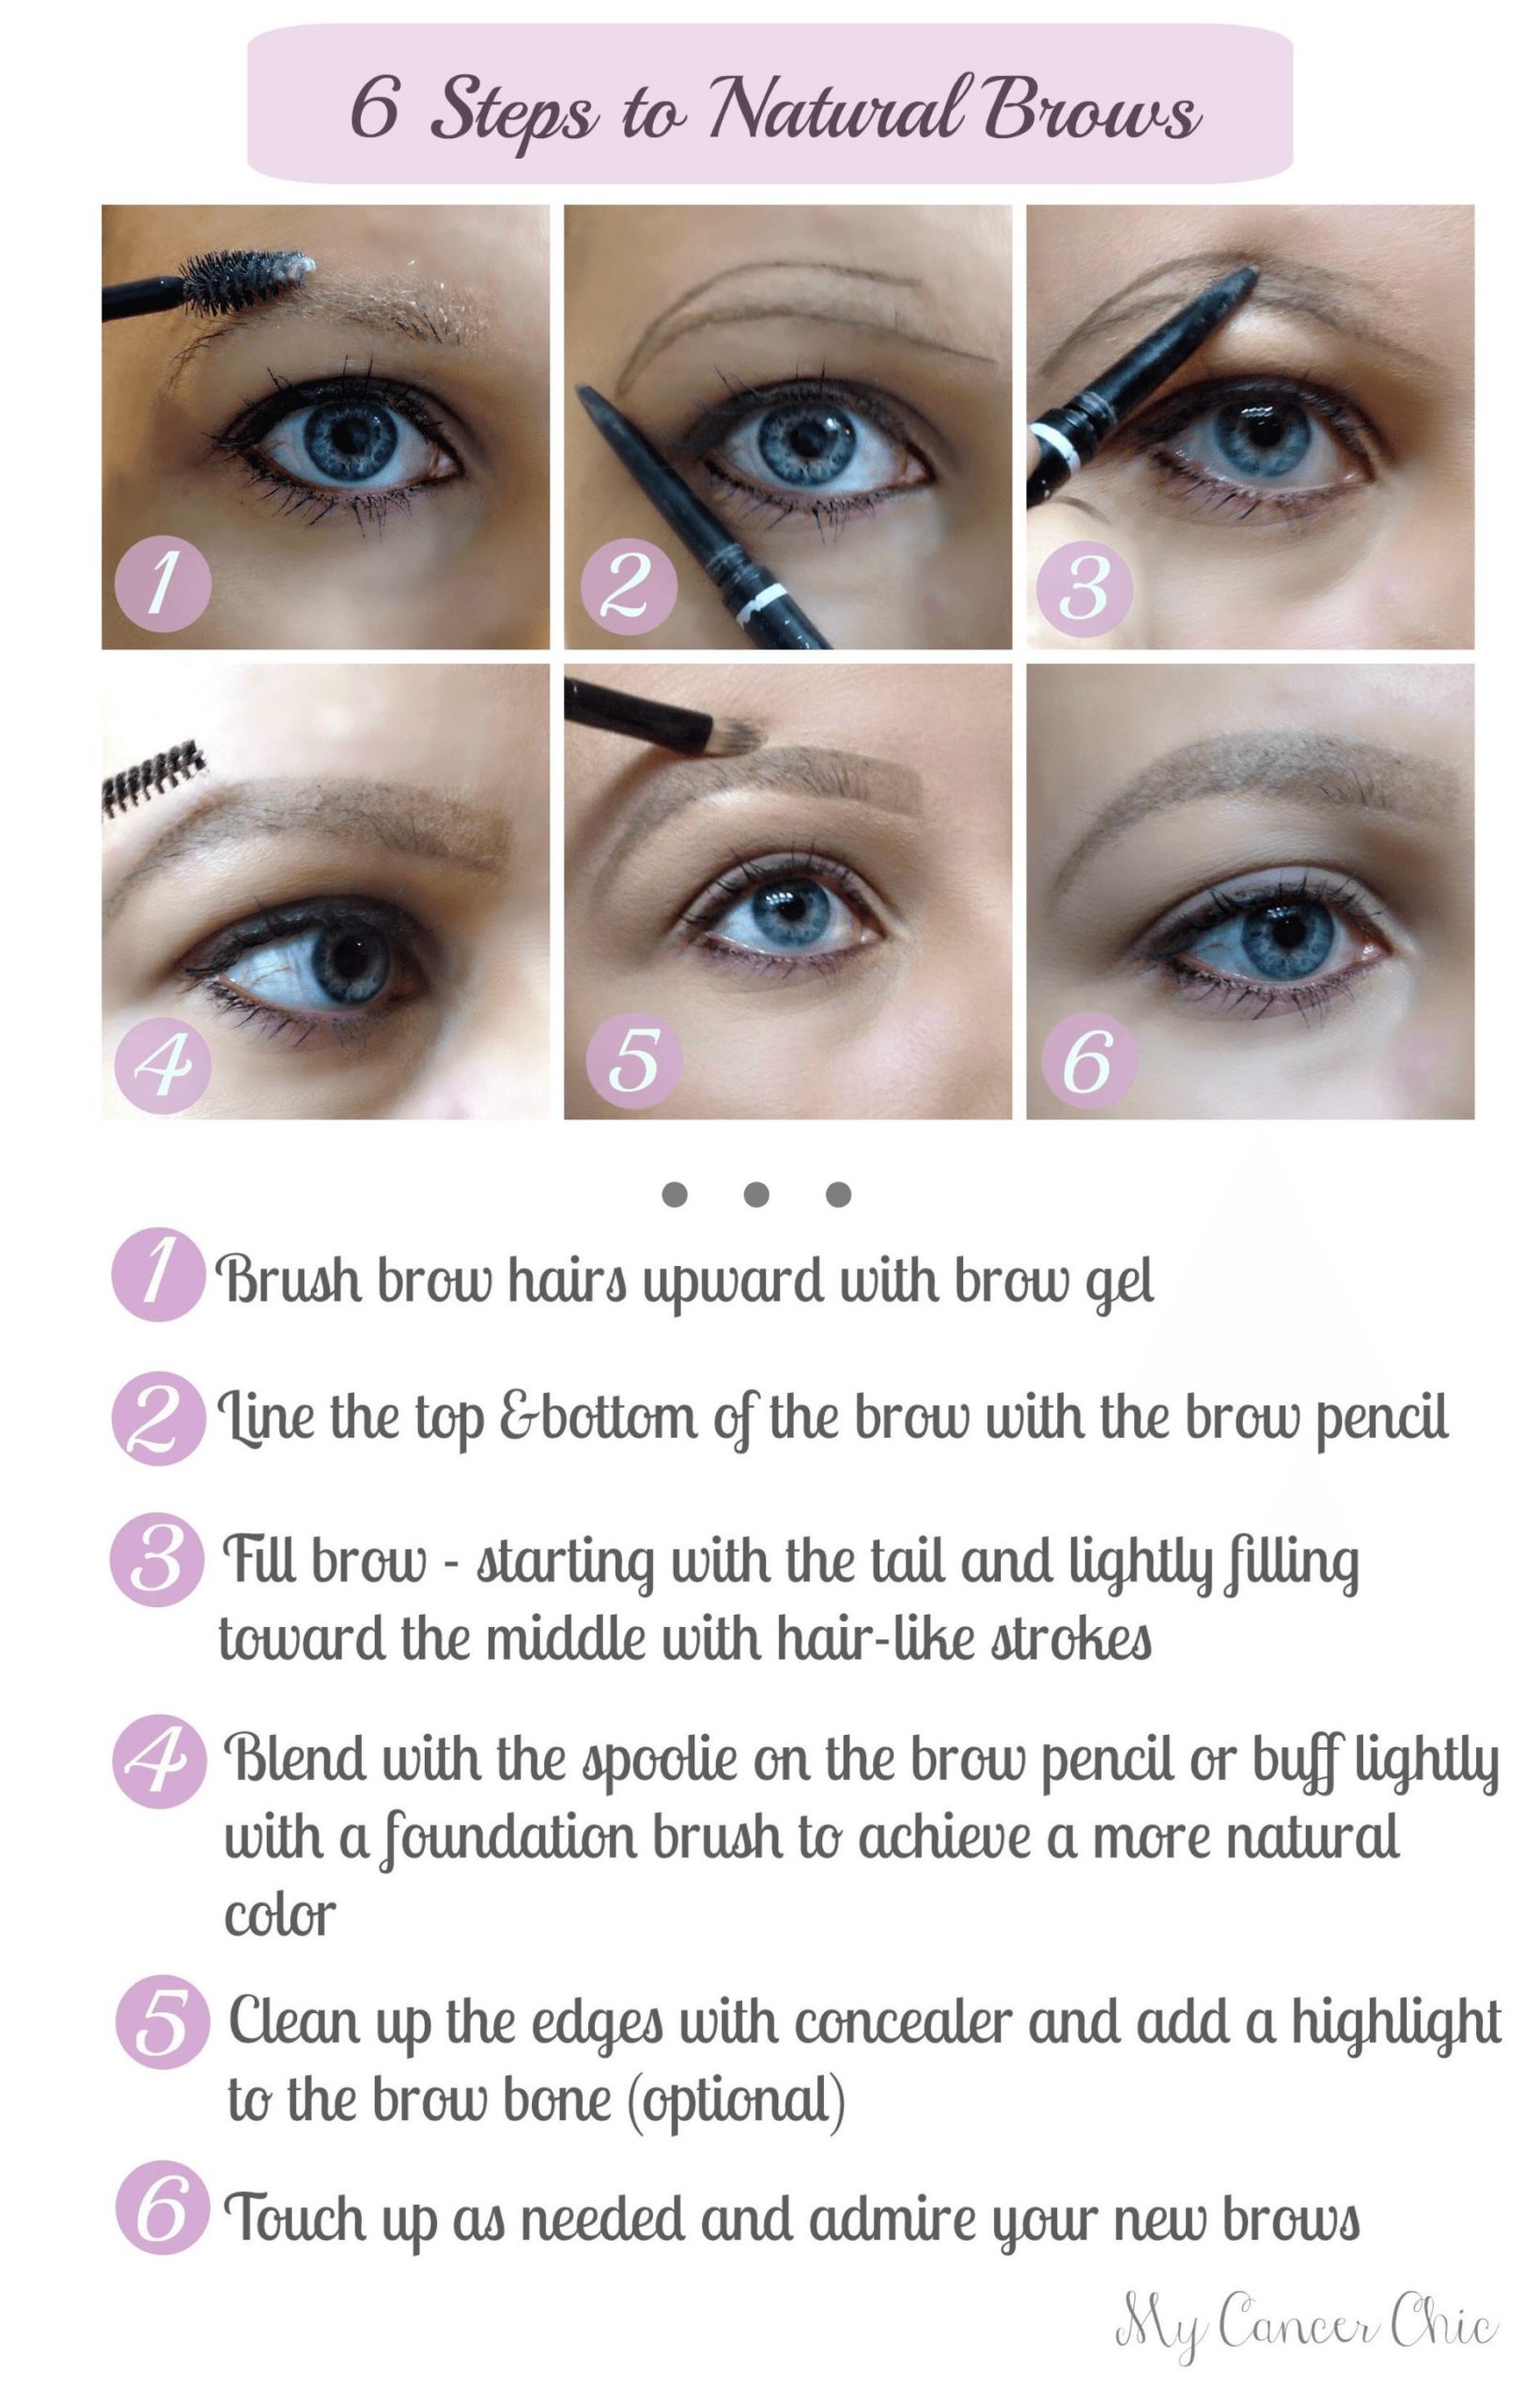
The third key to successful natural eyebrows is a light application and LOTS of blending!
I have been cursed to always have sparse areas due to having plucked my brows thing since the 2000s. So, I am obsessed with naturally thick brows. Also, it was a few years before I went through chemotherapy that I started learning the basics of brow shaping. It also includes how to fill in your brows with pencils and create hair-like strokes. Honestly, losing my brows during chemo was horrific. Nonetheless, it was a little less traumatizing because I had the tools and experience needed to easily fake natural eyebrows with different brow products.
Shop The Post
Lastly, in order to make your brows appear natural you must apply the product lightly and focus on blending it out. So, there is no such thing as too much brushing. Also, if you brush the product out too much with a spoolie just add a few hair-like strokes back in to fill in sparse areas.
Therefore, no matter what shape you decide on or what products you use, blending is key. Also, by blending the product into your hairs (no matter how few you have) your whole look will be more realistic. We don't want anyone to end up looking like you used a Sharpie to draw on your brows. Moreover, the goal is structured, shaped, and natural-looking brows and soft lines really help achieve that.
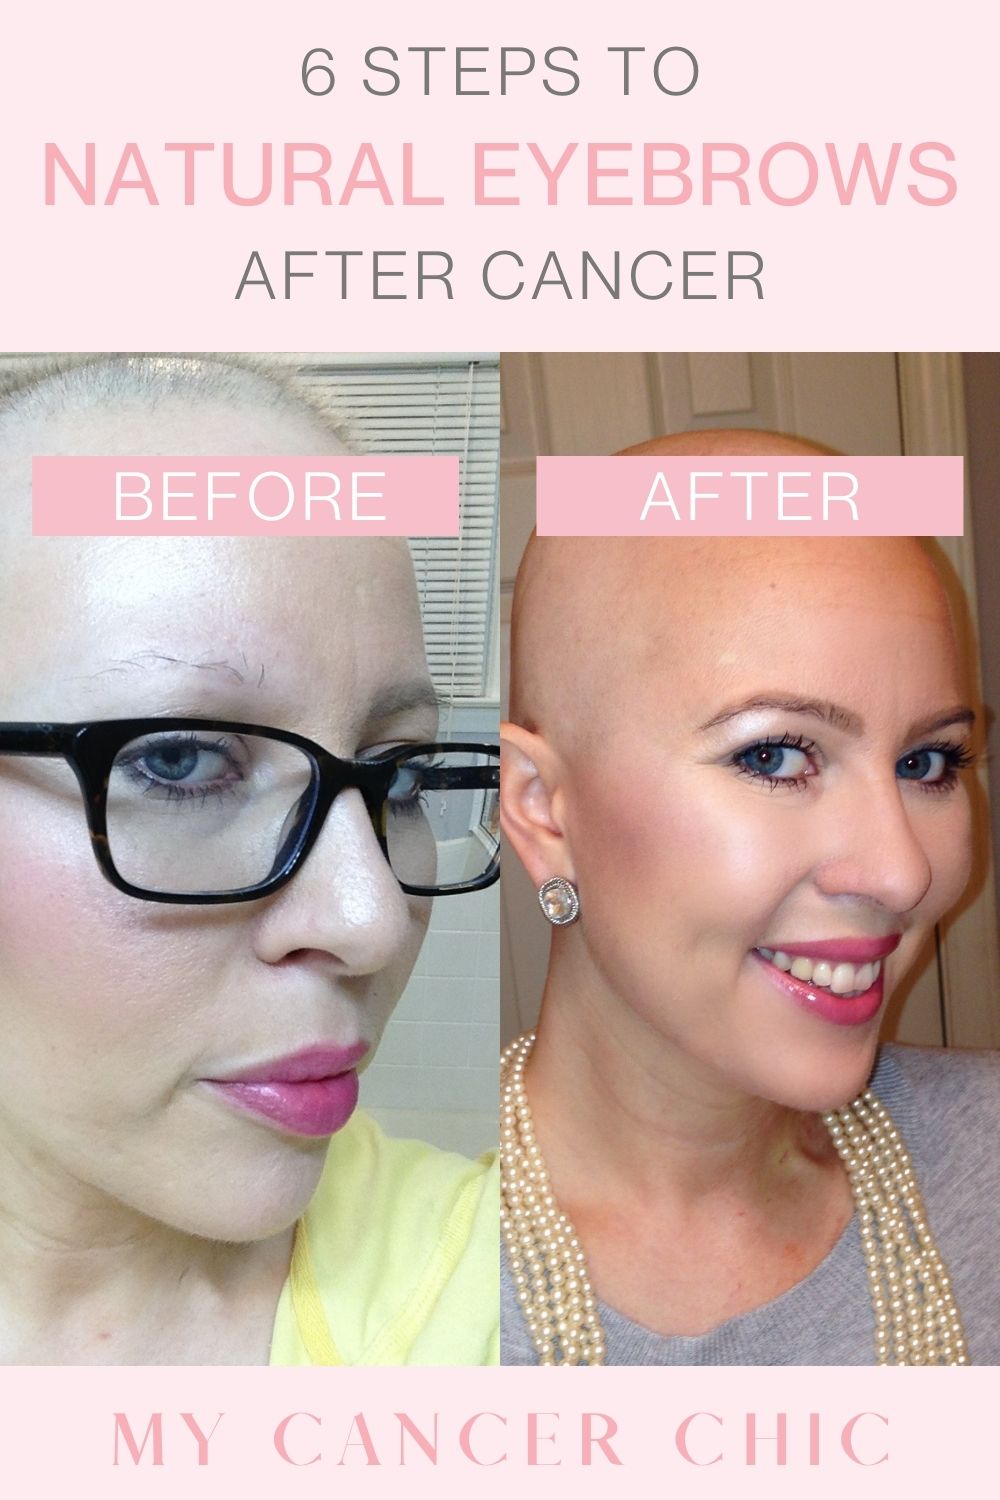
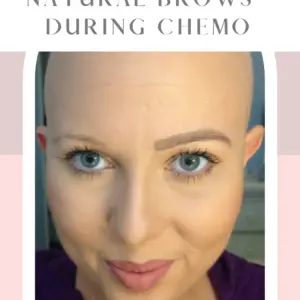
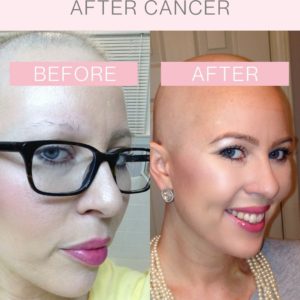
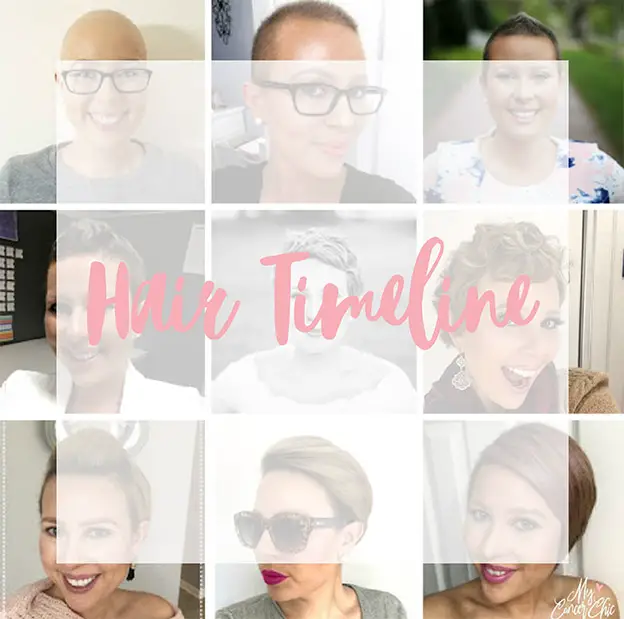
Here are a few examples of my natural eyebrows during & after chemotherapy.
How to Create Natural Eyebrows Video Tutorials
Now that I have given you the lowdown on what I think are the most important aspects of brow creation, and my favorite products, it's time to watch the tutorials and practice. Here are some of the brow videos I have made for you all. Let me know in the comments. Also, if you have other questions or would like to see other brow product application tutorials. Good luck my fellow brow lovers.
- Pinterest TV Episode I hosted with expert makeup artist Patti on Brow Guidelines (must be watched in the Pinterst app)
- Tutorial on how to use the Benefit Microfilling Brow Pen
- Full Brow Tutorial using the Stila Brow Pen
Moreover, a version of this article was originally written for and published on IHadCancer.Com
More Brow Content & Resources
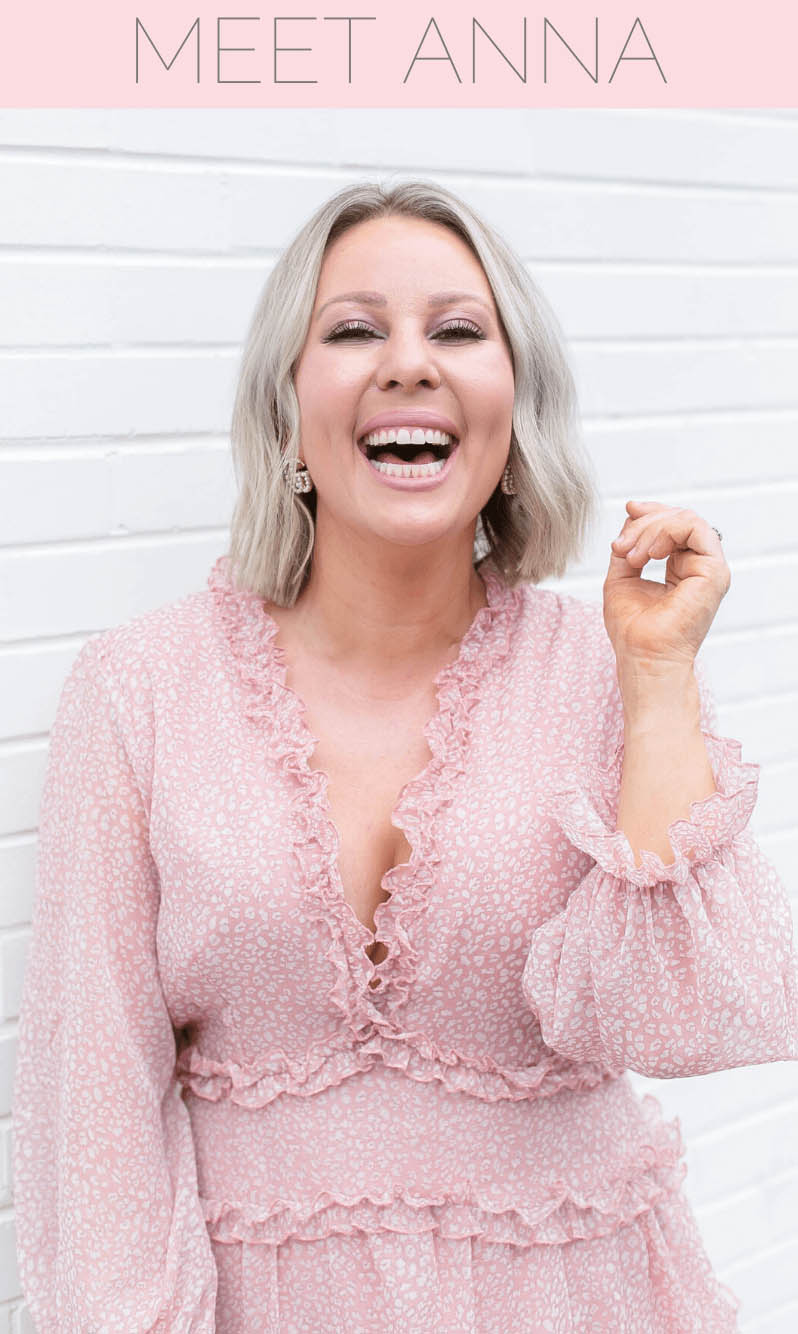
Breast cancer survivor, lover of style, beauty and all things pink! Inspiring you to thrive through adversity.
READ MORE







7 Comments