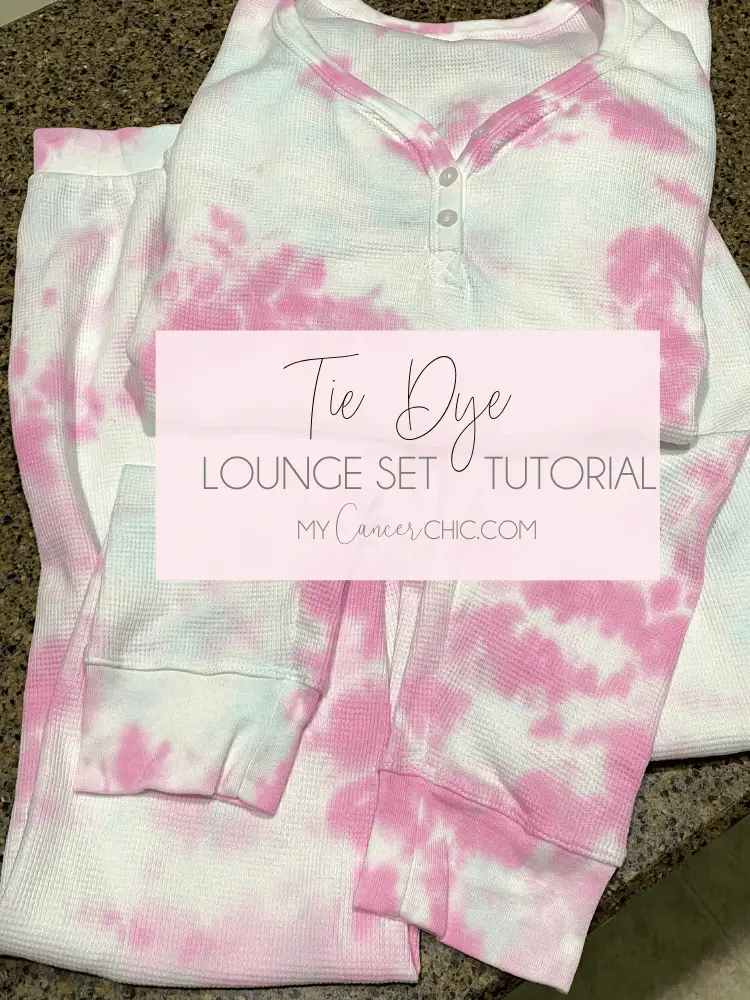
I was a bit late to join the tie dye trend but spending time at home I fell hard for the more pastel light wash tie dye lounge sets. With everything going on we’re are trying to save money and since the lounge sets I was finding were either upwards of $100 (WHAT?!) or wouldn’t arrive until July, I decided to make a set myself. Turns out it was the easiest process and I am so happy with how the tie dye turned out. Sharing the steps and my tips with you so you can easily do your own tie dye lounge set at home with clothes you already own or something you pick up cheaply.

Step 1: Secure White or Light Colored Clothes
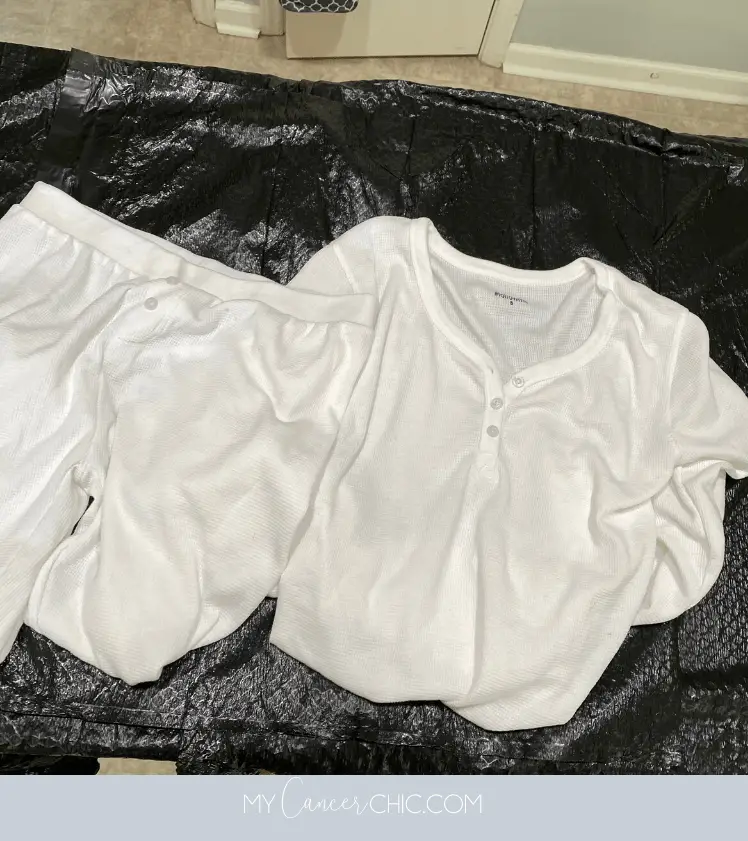
This was the hardest part for me! I spent hours searching for the cheap white clothes I wanted to tie dye. I guess everyone had the same idea so the cheap white shorts, sweatpants, etc were all sold out in my sizes or backordered. I finally found this henley lounge set on Amazon for $20 at midnight one night and was so happy it arrived in 2 days. I am linking a few other options below. When stores reopen post-pandemic you can likely grab cheap white items in-store Target, Wal-Mart or even Michaels/Joann’s.
Shop White Items to Dye
[show_shopthepost_widget id=”4007628″]
Step 2: Decide on Your Colors
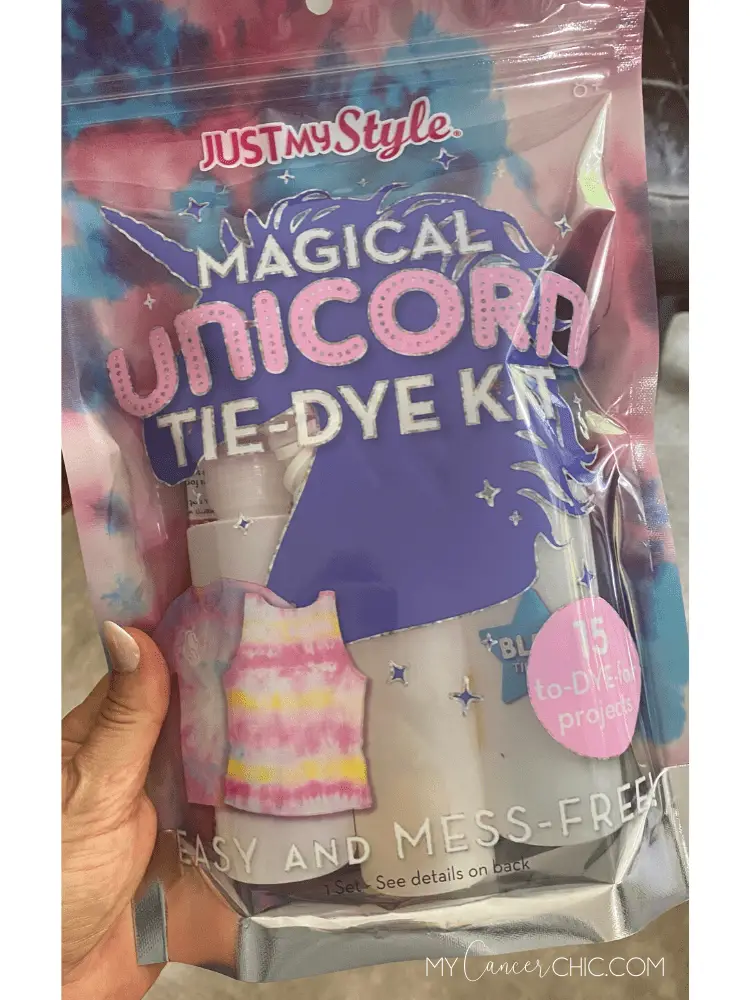
I knew I wanted a light pink set, with a hint of blue. Were any of you surprised? So I snagged this kid’s tie-dye kit with only 3 colors, which was perfect for my project. Sadly that set is currently sold out but I am linking a few other sets below. If you know you only want one color you could also go with these dyes that are purchased individually and simply mixed with water, but you will need to buy the bottles too.
Shop Tie Dye Kits
[show_shopthepost_widget id=”4007640″]
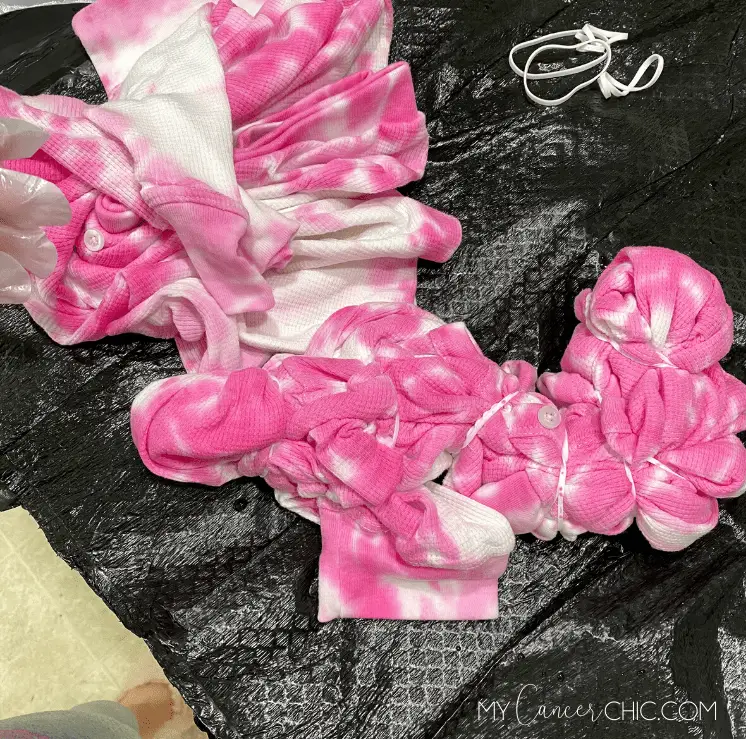
When it comes to mixing the dye, think about how much saturation you want. I wanted more of a light pastel look, so I added more water than dye. For the blue, I poured out half the dye and mixed it with warm water to dilute it even more.
Step 3: Pick Your Tie Dye Design | Application
Important: I started with damp colors that had been washed the night before.
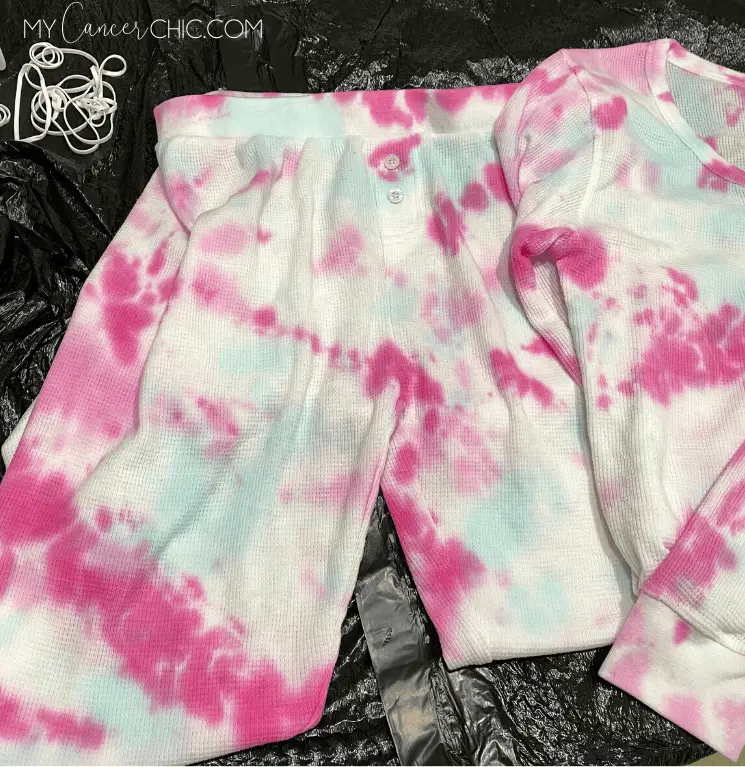
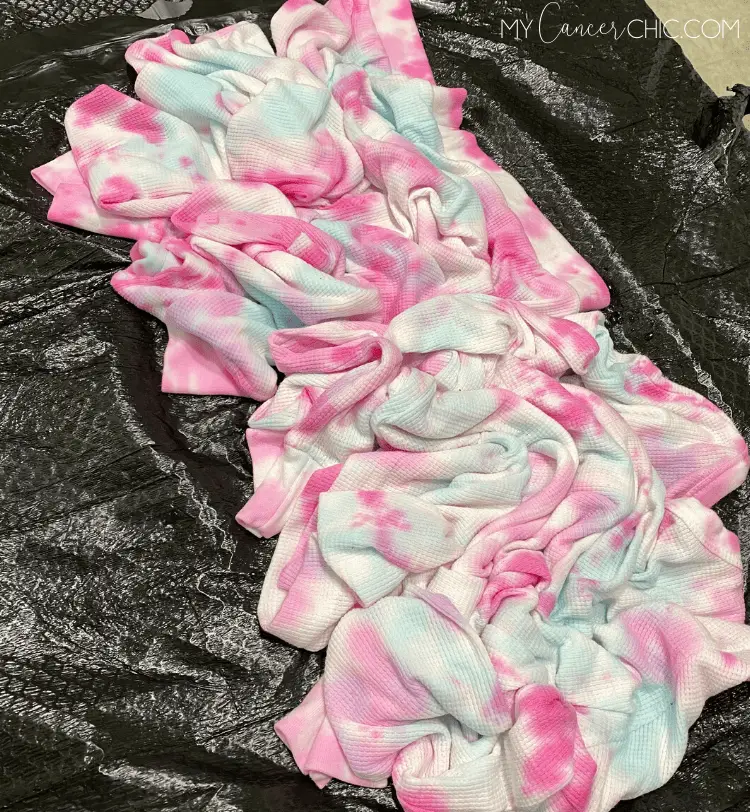
There are so many tie dye patterns/approaches to choose from. For my set, I knew I wanted a random muted crinkle design so I decided to bunch of each leg of the pants, bunch the top and threw on a few rubber bands.
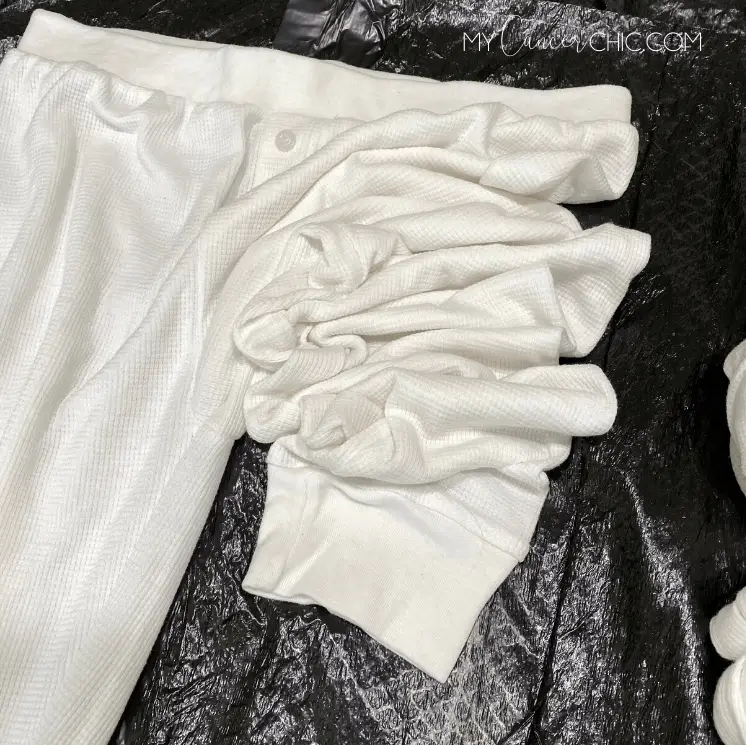
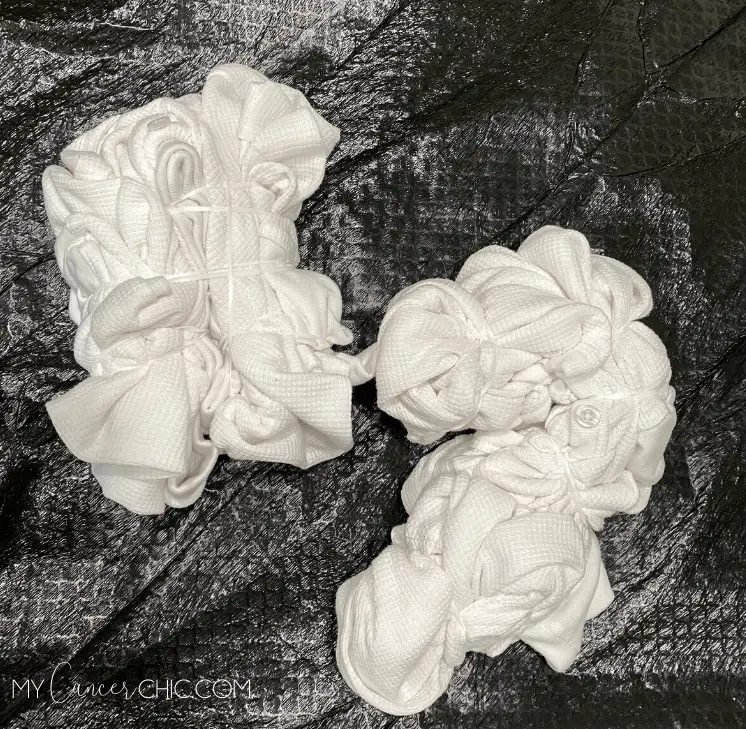
I then popped on my gloves and applied the mix of warm water and dye. I used the full bottle of pink that came with my kit.
Right before I ran out of pink, I took off the rubber bands and added a little more color in certain spots. I then I re-bunched the fabric and added the light blue color as an accent.
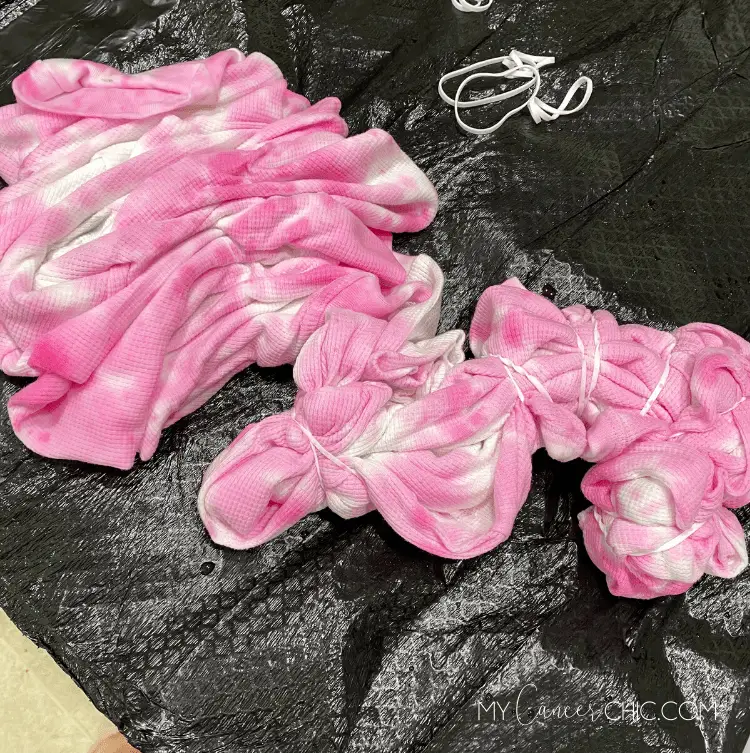
Step 4: Set Your Tie Dye
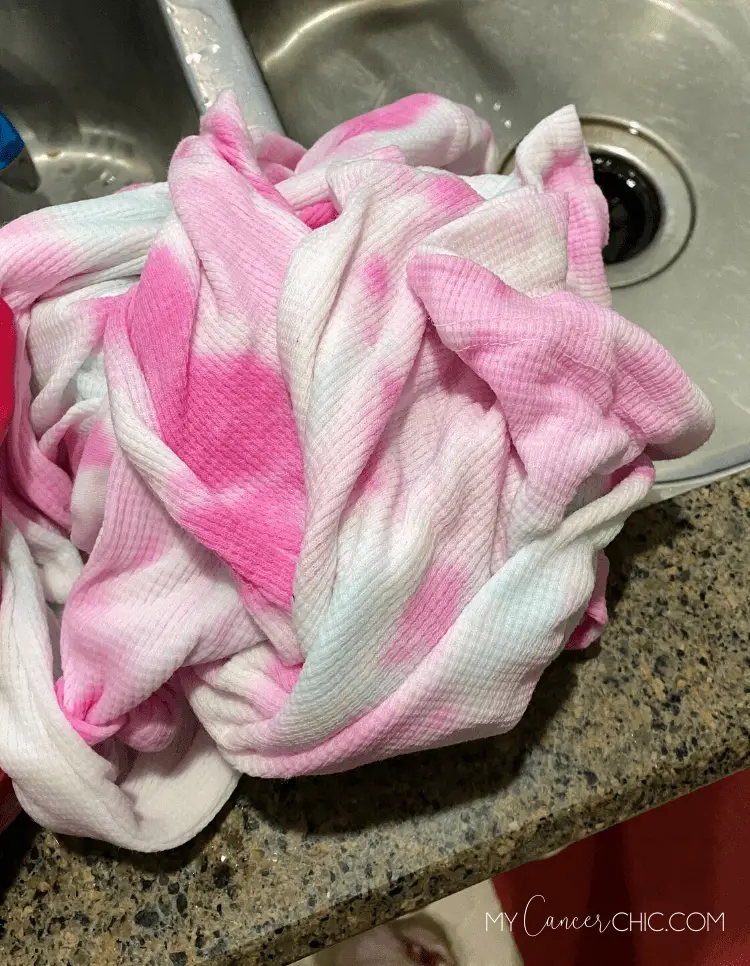
In order to set your tie dye I found it easiest to wrap it up in the trash bags I covered the counter with and put a rubber band around it. The idea is to keep it damp in the bag while the color is setting.
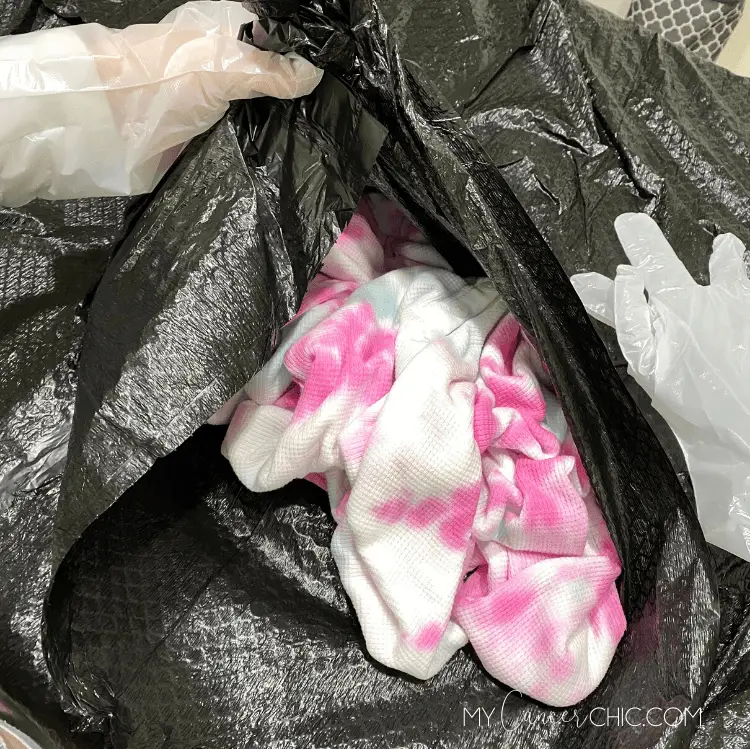
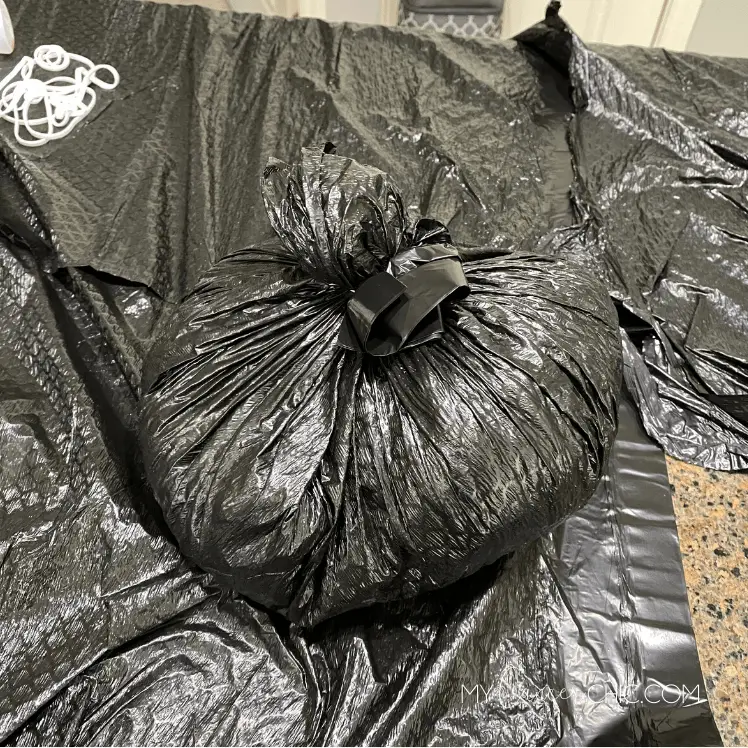
I let mine set for 6 hours but if you want more intense colors, you can let it set longer. I then ran the set under warm water in the sink until the water ran clear and then threw the set in the wash on warm (high water) and ran it with a little bit of detergent. I finished out the project by air drying the set.
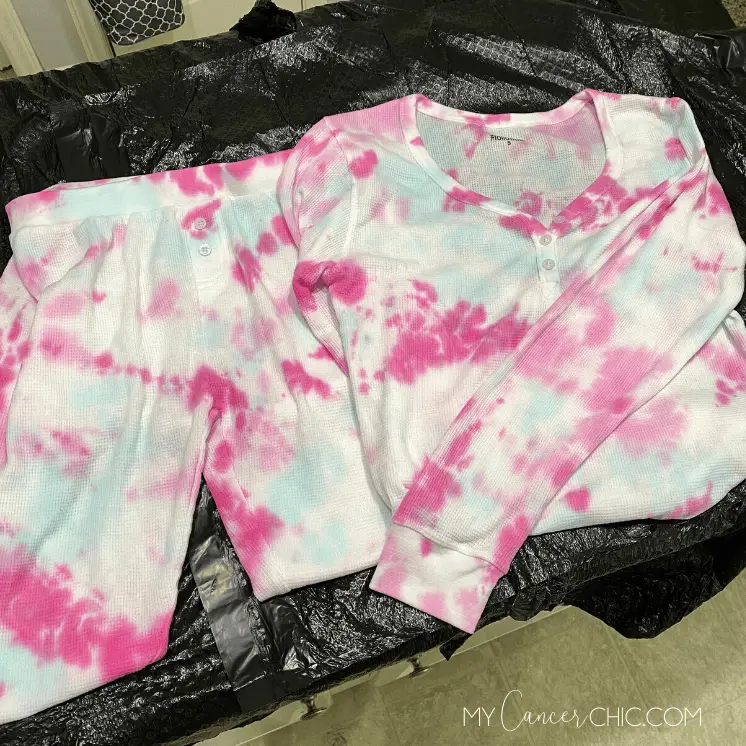
Not counting the washing/drying time the project took me about 10 minutes and I am so excited with how my tie dye matching set turned out. I am already planning to do some more items this weekend and tie dye a set for a friend as well. Safe your money on that $100 set and make one that’s more unique at home.
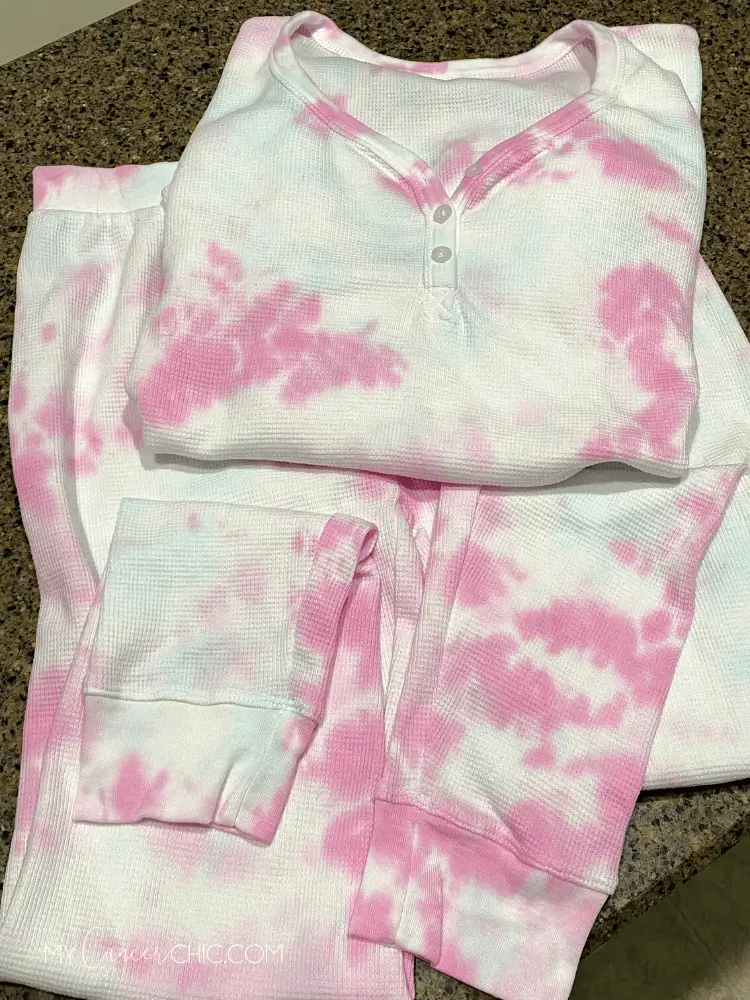
Now I am ready for all the lounging in style. Check out my full lounge guide with all my favorite books, movies and cozys to make the most of being home.

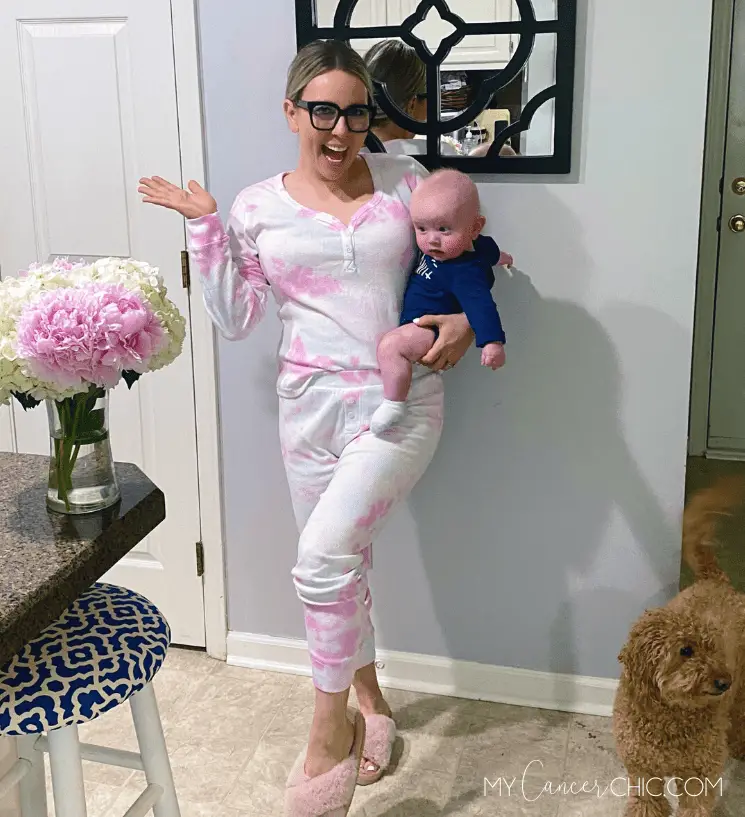

If you use these tie dye tips, share your tie dye projects with me on social media @mycancerchic!
Shop This Post
[show_shopthepost_widget id=”4007666″]
