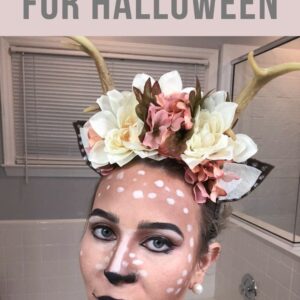
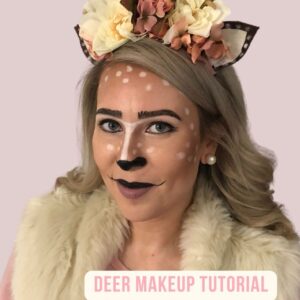
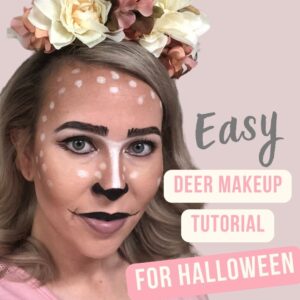
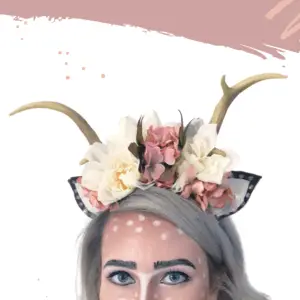
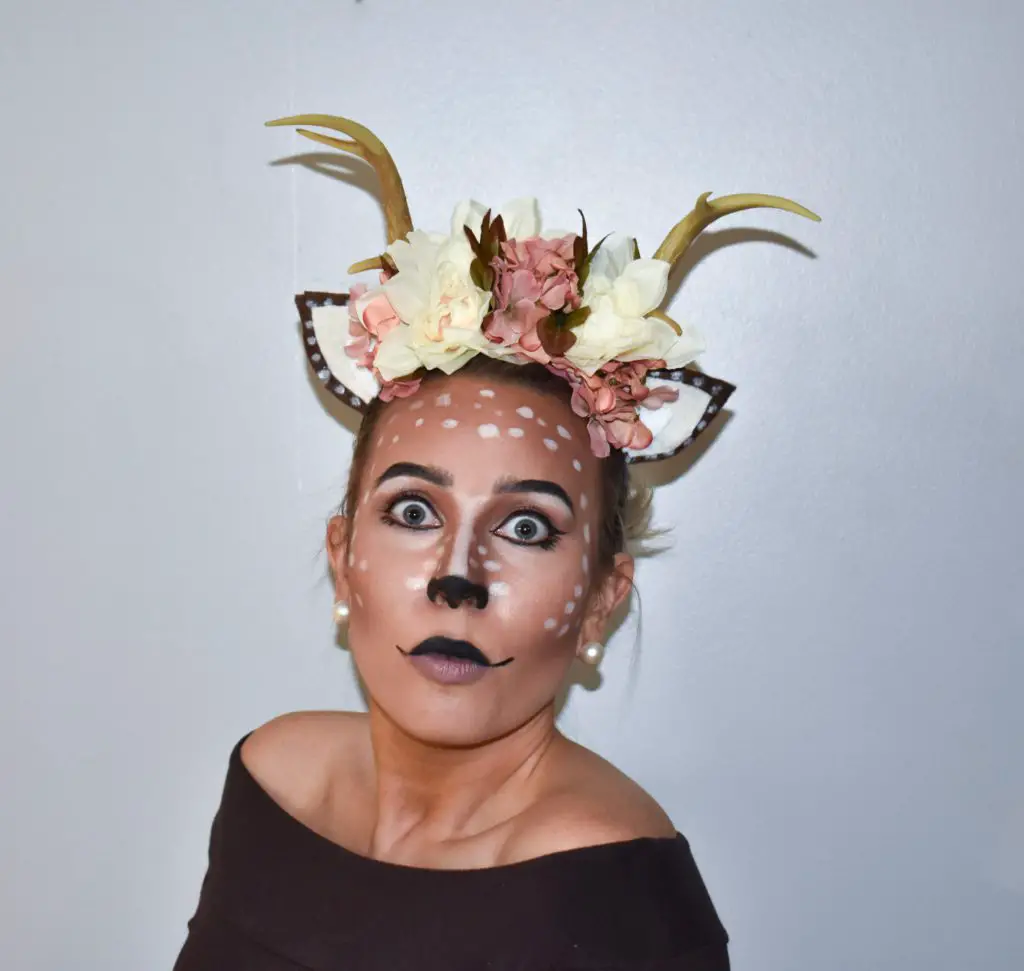
Are you looking for an easy and adorable last-minute Halloween costume? This deer makeup look is so easy to apply within 15-20 minutes and you can get all the supplies for the antler headdress from your local Walmart or craft store. I loved this deer Halloween makeup so much I wore it two years in a row. Let's die into the deer makeup tutorial.
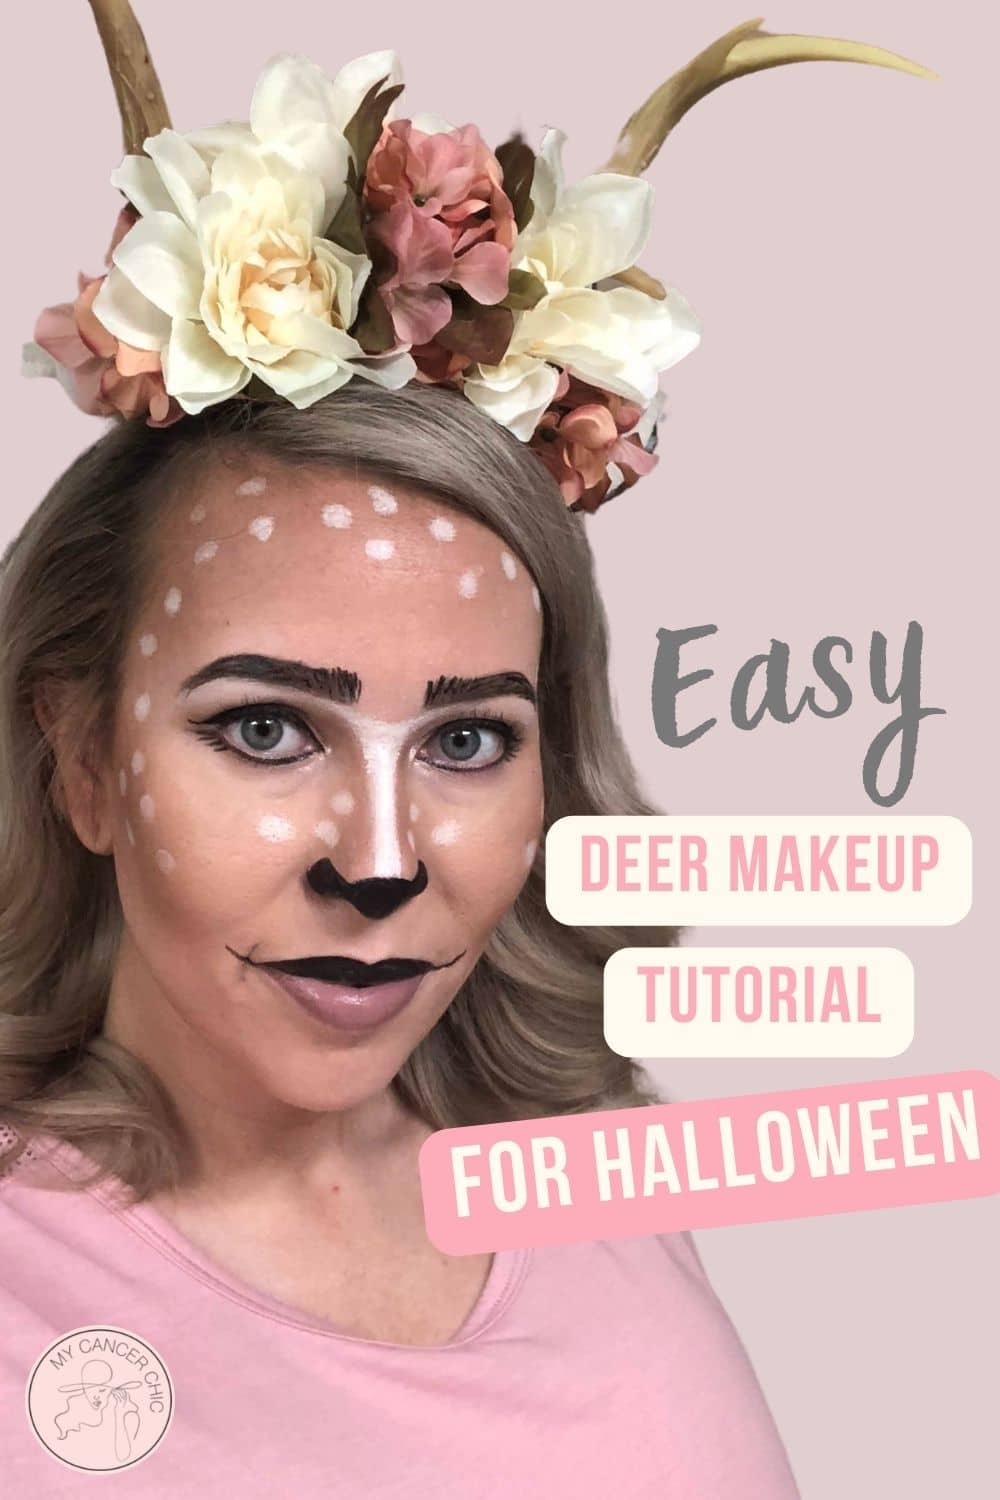
Halloween Deer Makeup & Antler Tutorial
I loved this deer Halloween makeup so much I wore it two years in a row because it's an easy costume to put together. It's such a fun Halloween makeup look that's timeless, creative, and fun to put together.
For more Halloween makeup tutorials, check out this tutorial for creating mermaid makeup!
Supplies for DIY Halloween Deer Antlers
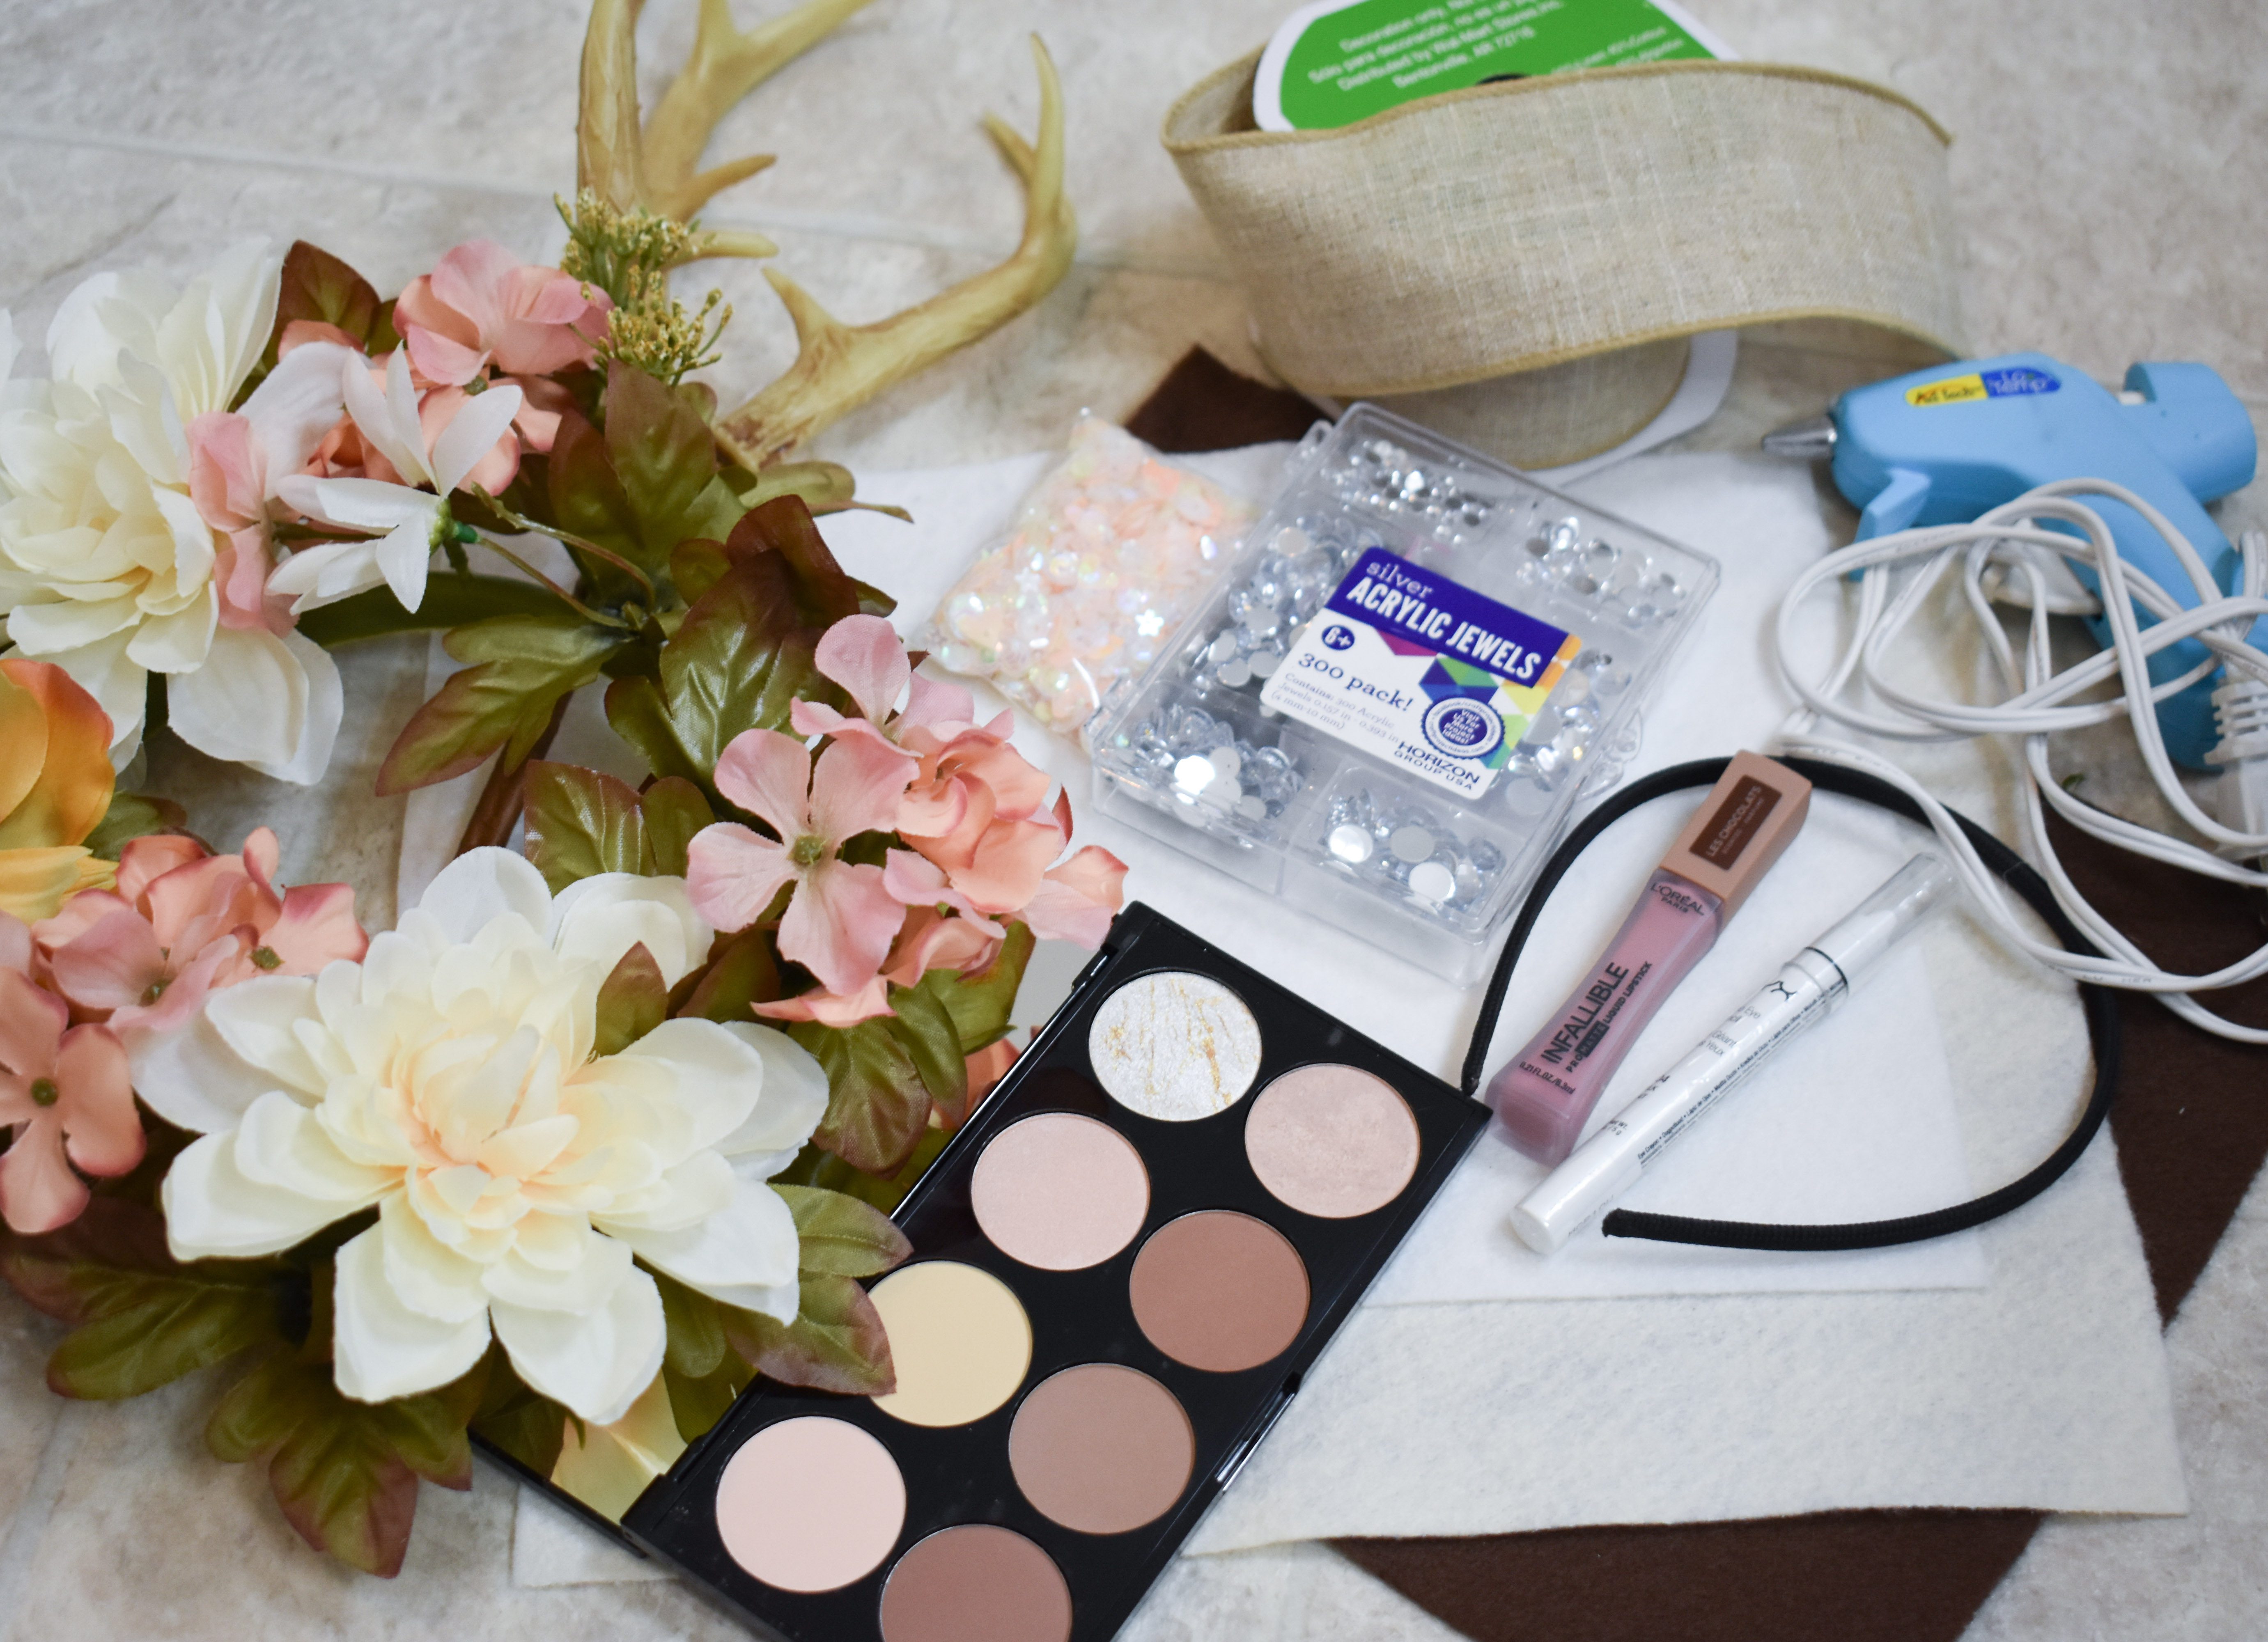
Before we dive into the makeup tutorial, here is the list of supplies you'll need to make the antlers:
- Plain headband (hard and think is better)
- 3 sheets of felt (various shades of brown & beige)
- Fake flowers/leaves
- Glue gun
- Floral twine
- Plastic antlers
- White eye pen
- Black pot gel eyeliner
- Black felt tip eyeliner
- Dark bronzer
- Small blending eyeshadow brush
- Large fluffy brush
- Small lip brush
- Sequins/jewels (optional)
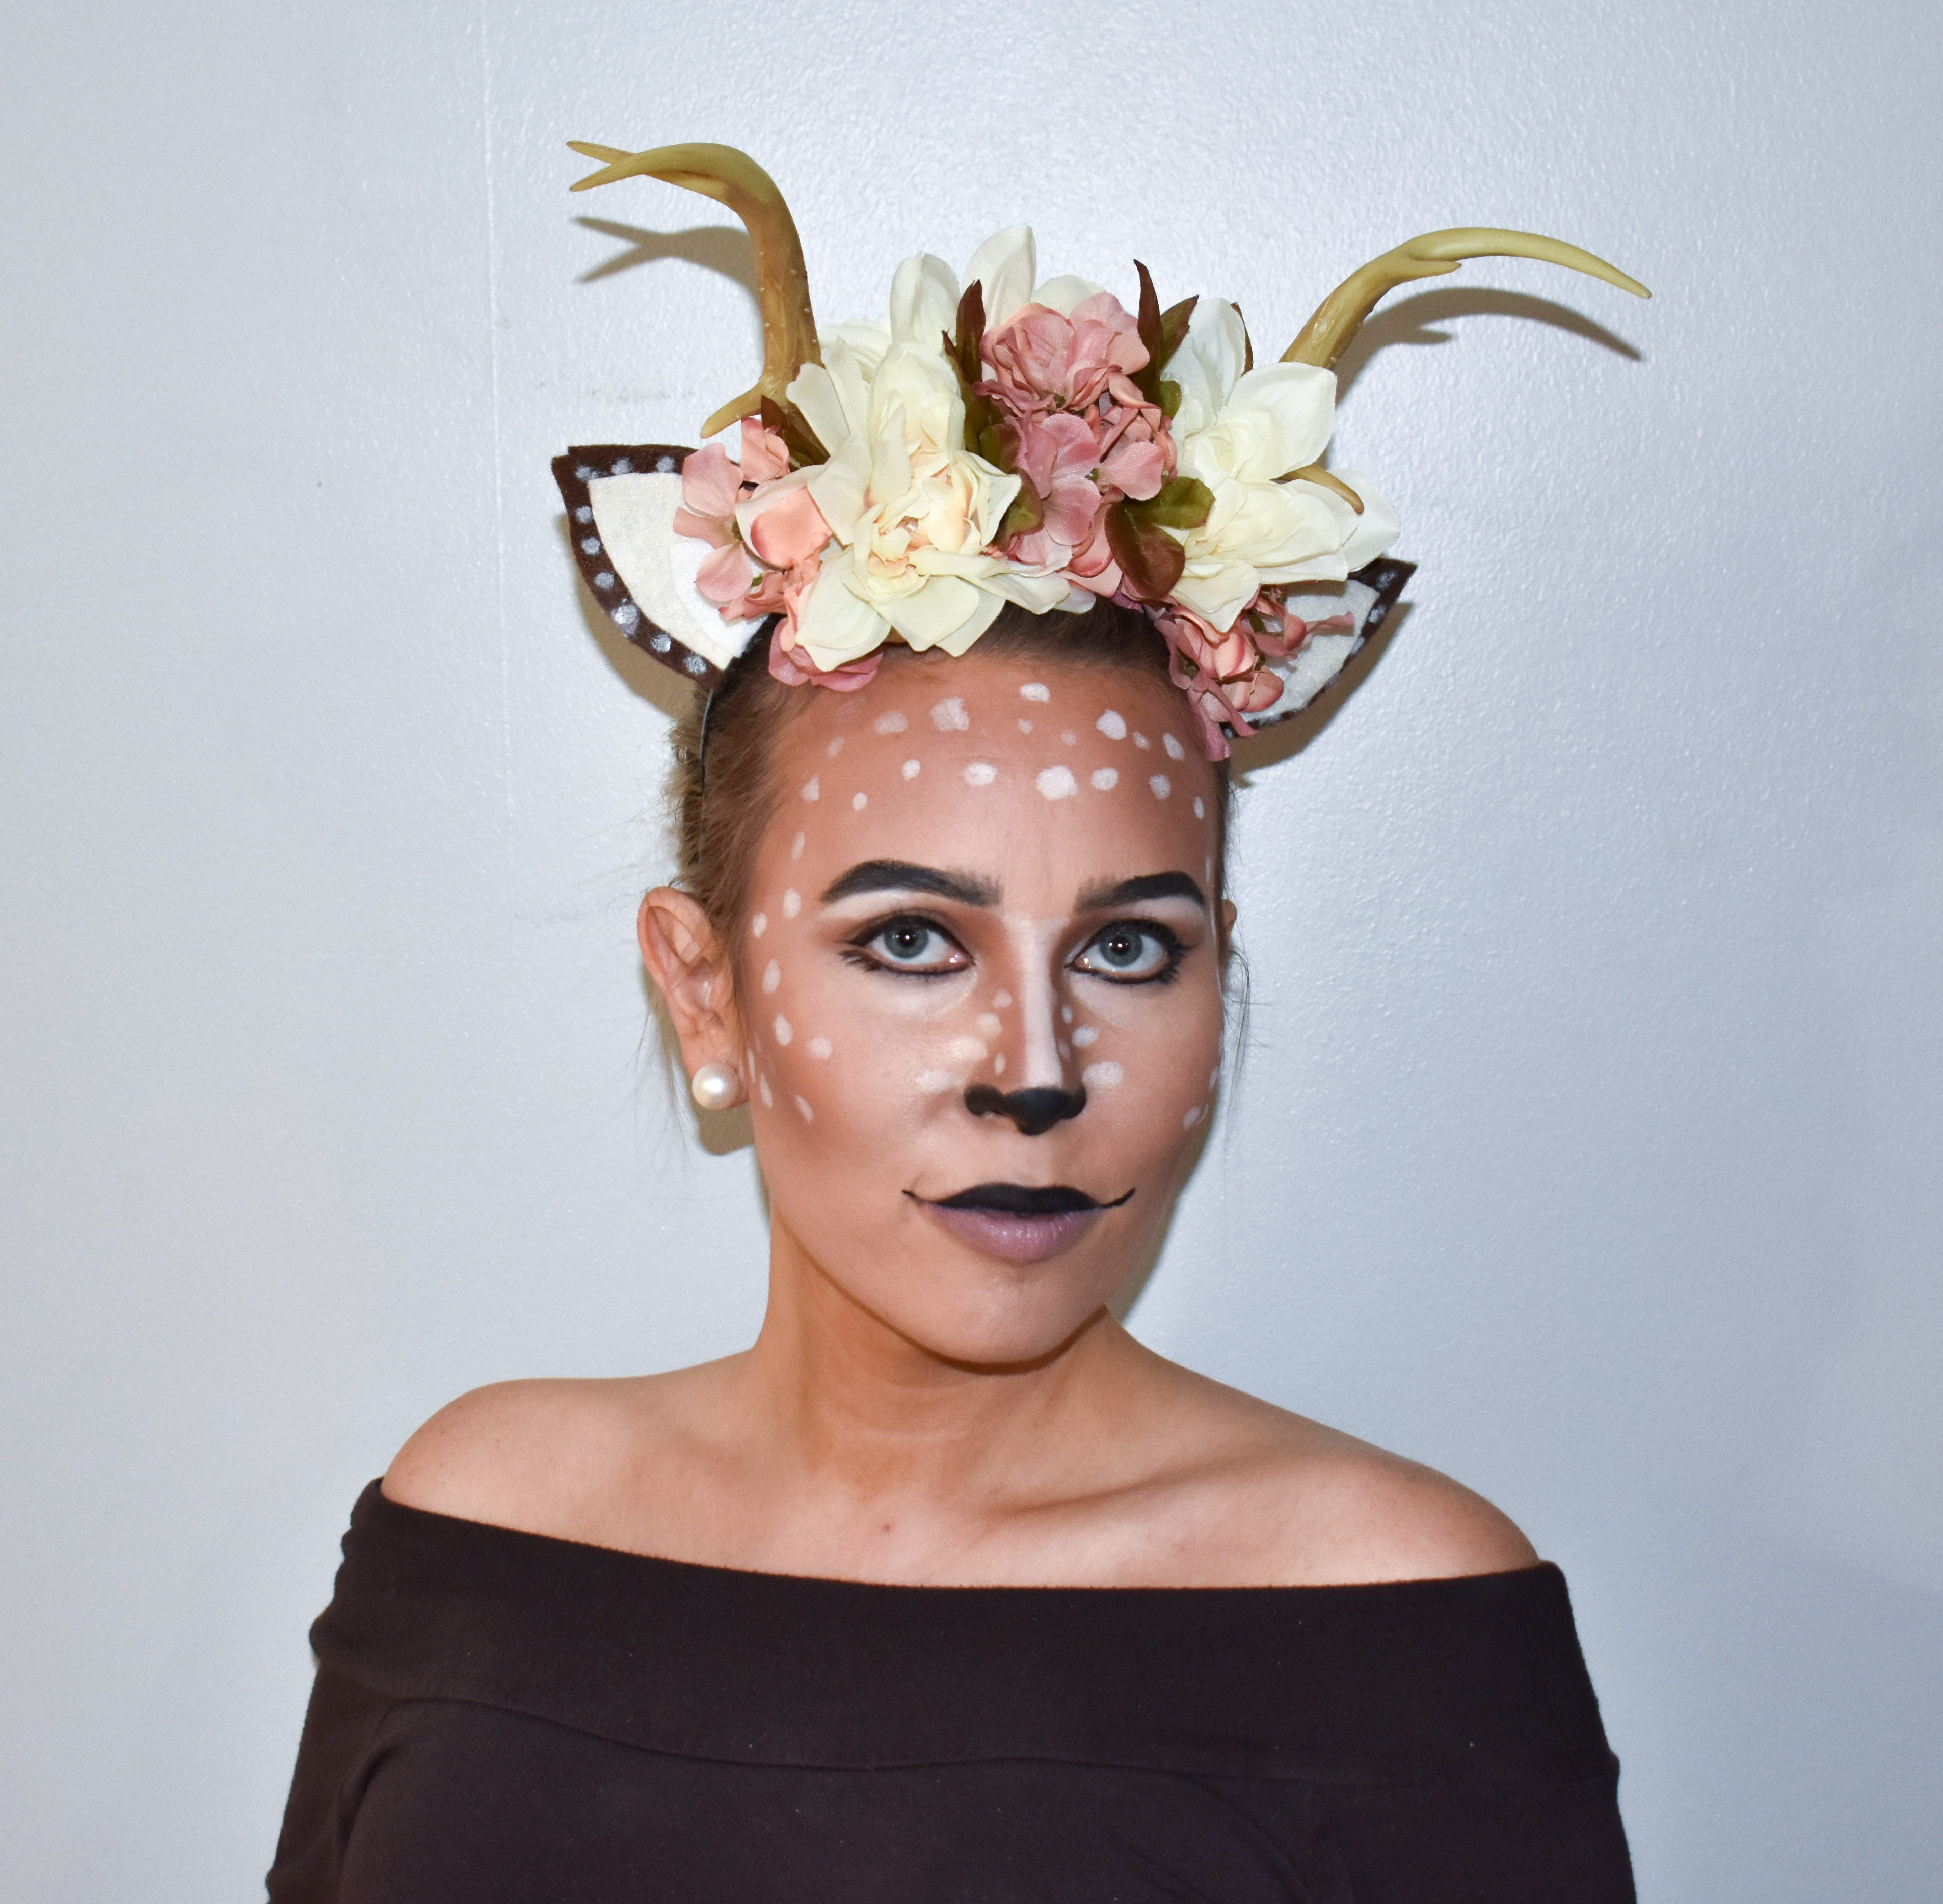
Steps for DIY Halloween Deer Antlers
The whole process here is fairly quick and easy. You also have creative control to make these antlers however you please!
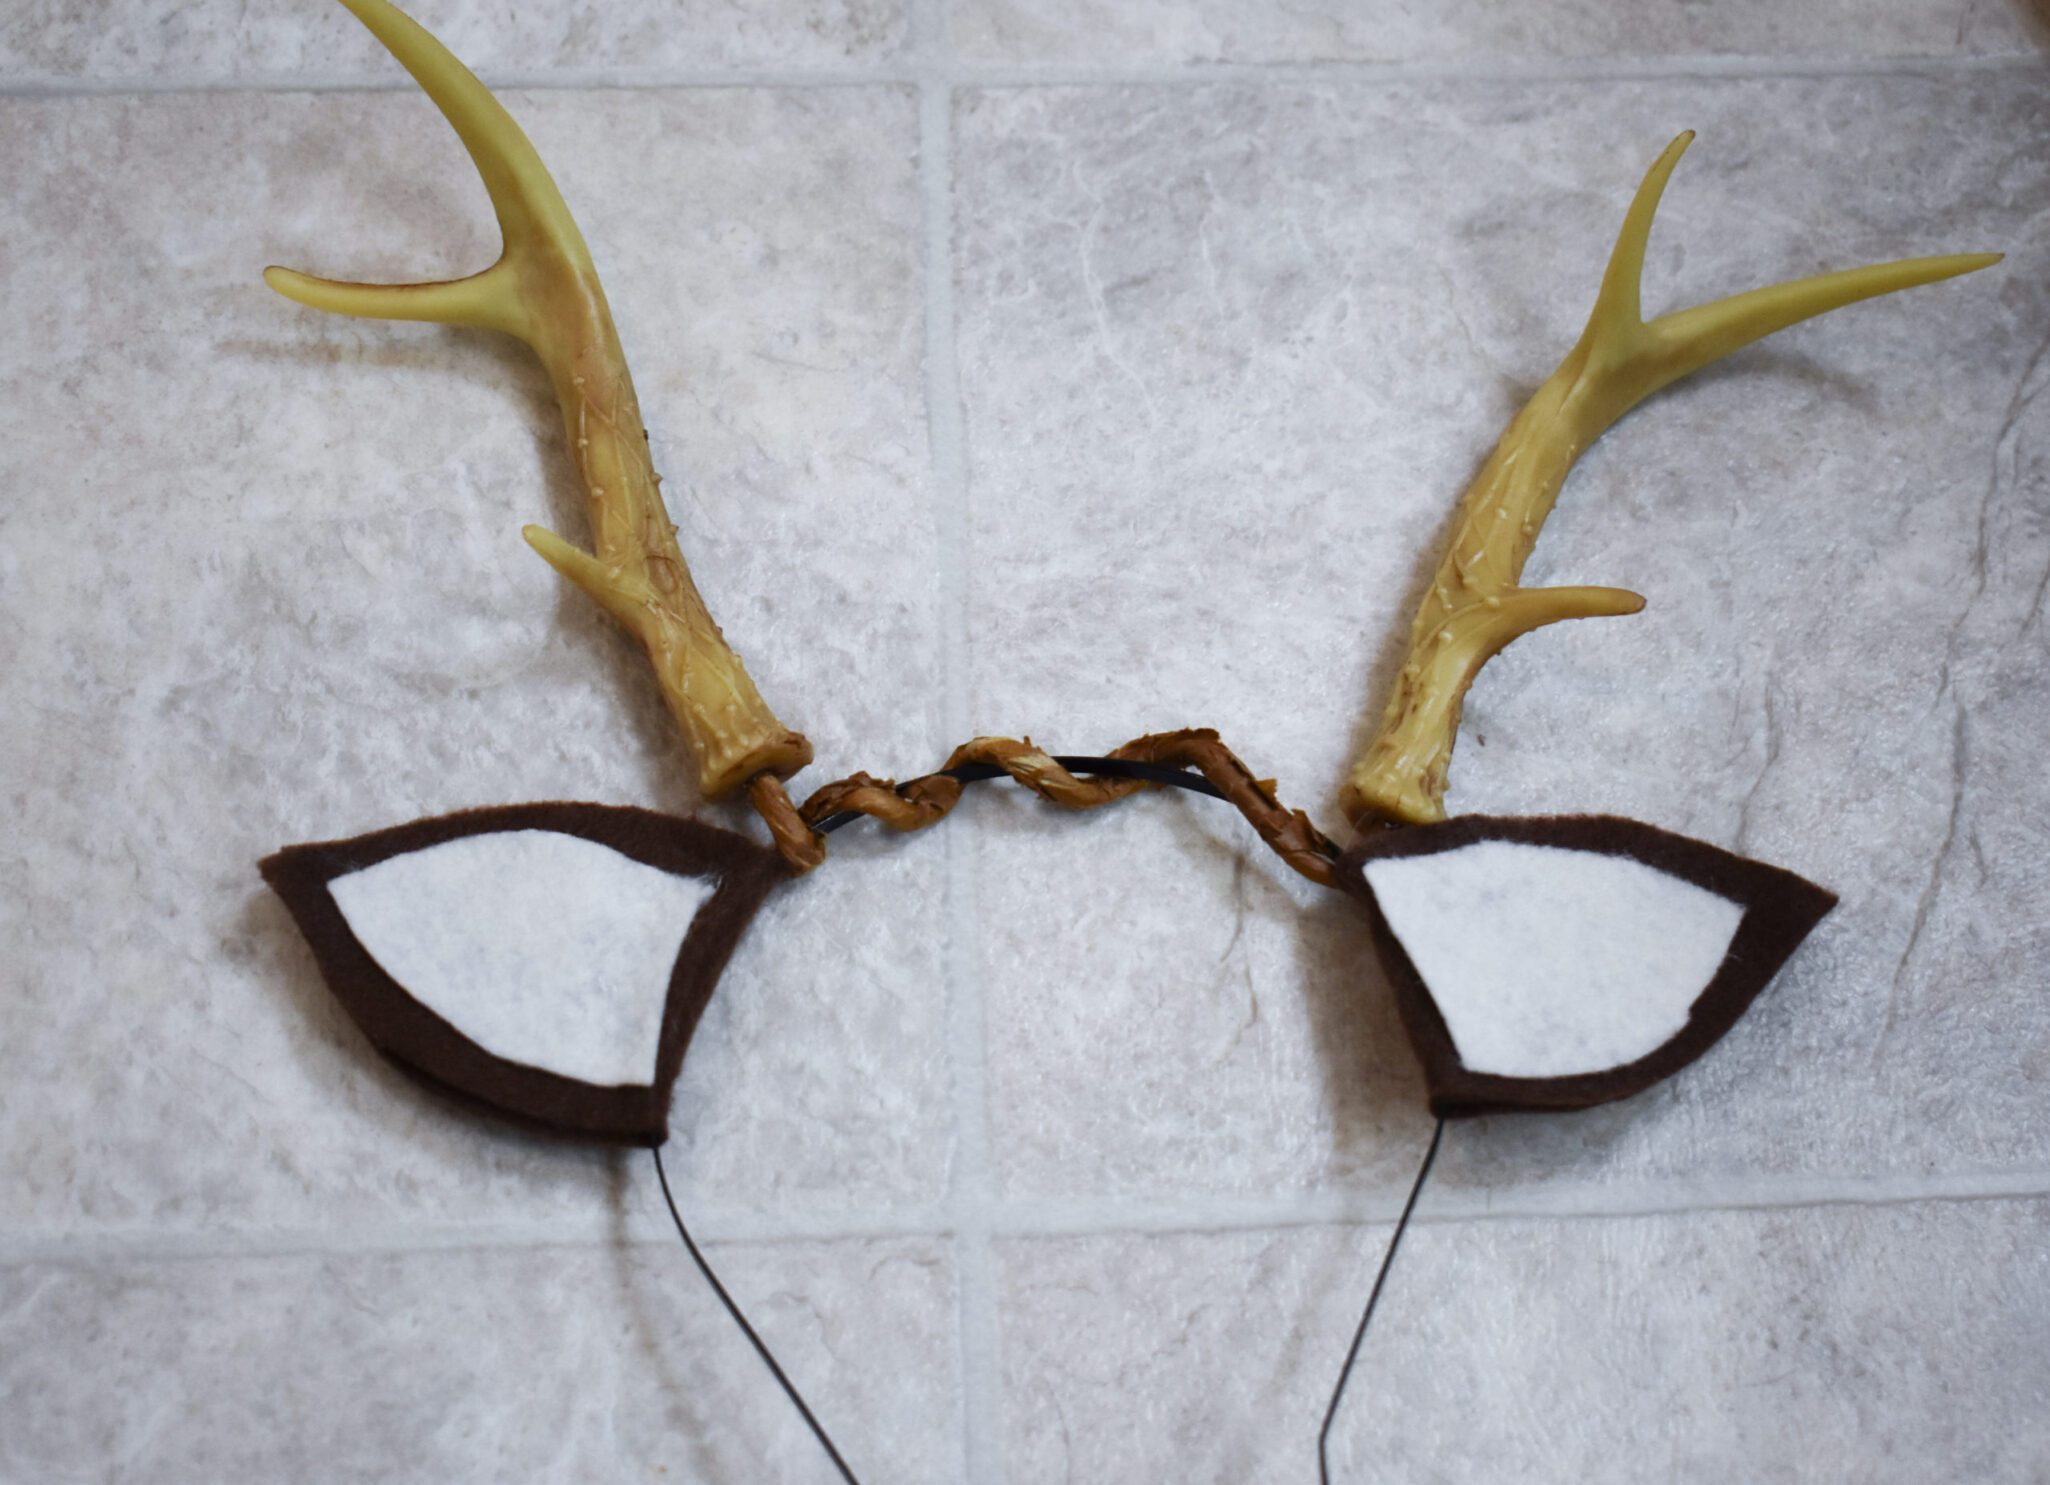
Step 1
Remove the antlers from the base and twist around the headband. If your antlers don't have a stiff base use floral twine or tape to attach to the headband.
Step 2
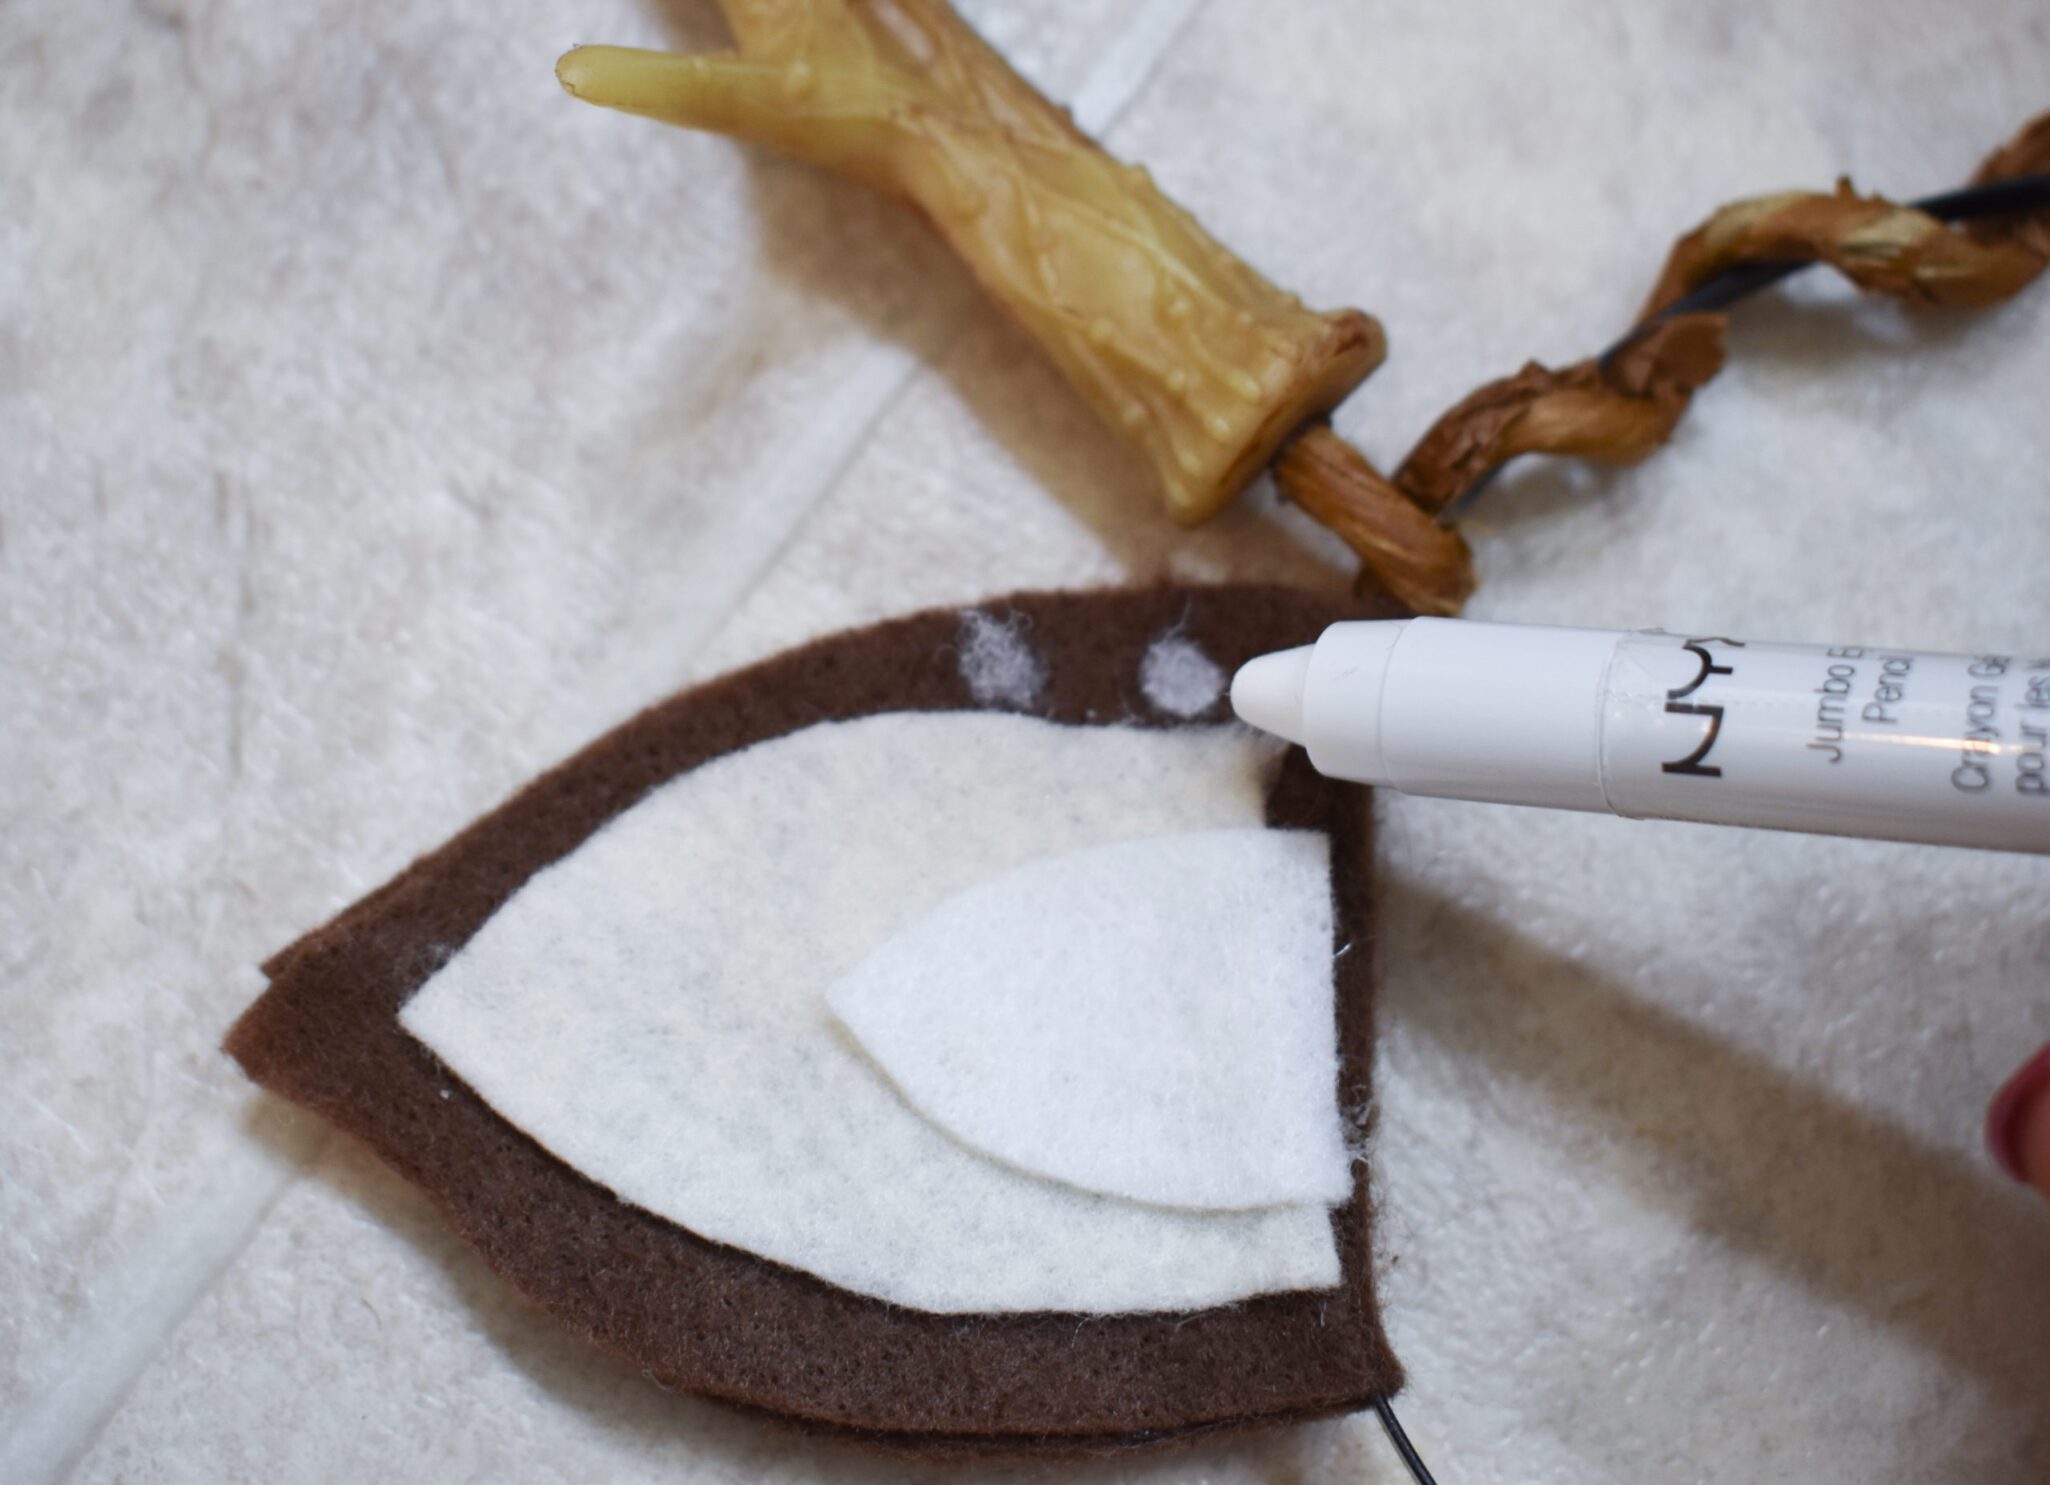
Prepare the ears by cutting out the largest pieces in dark brown. Make sure the dark brown piece can be folded around the headband and glued. The two lighter colors of fabric will be glued to the front side of each ear.
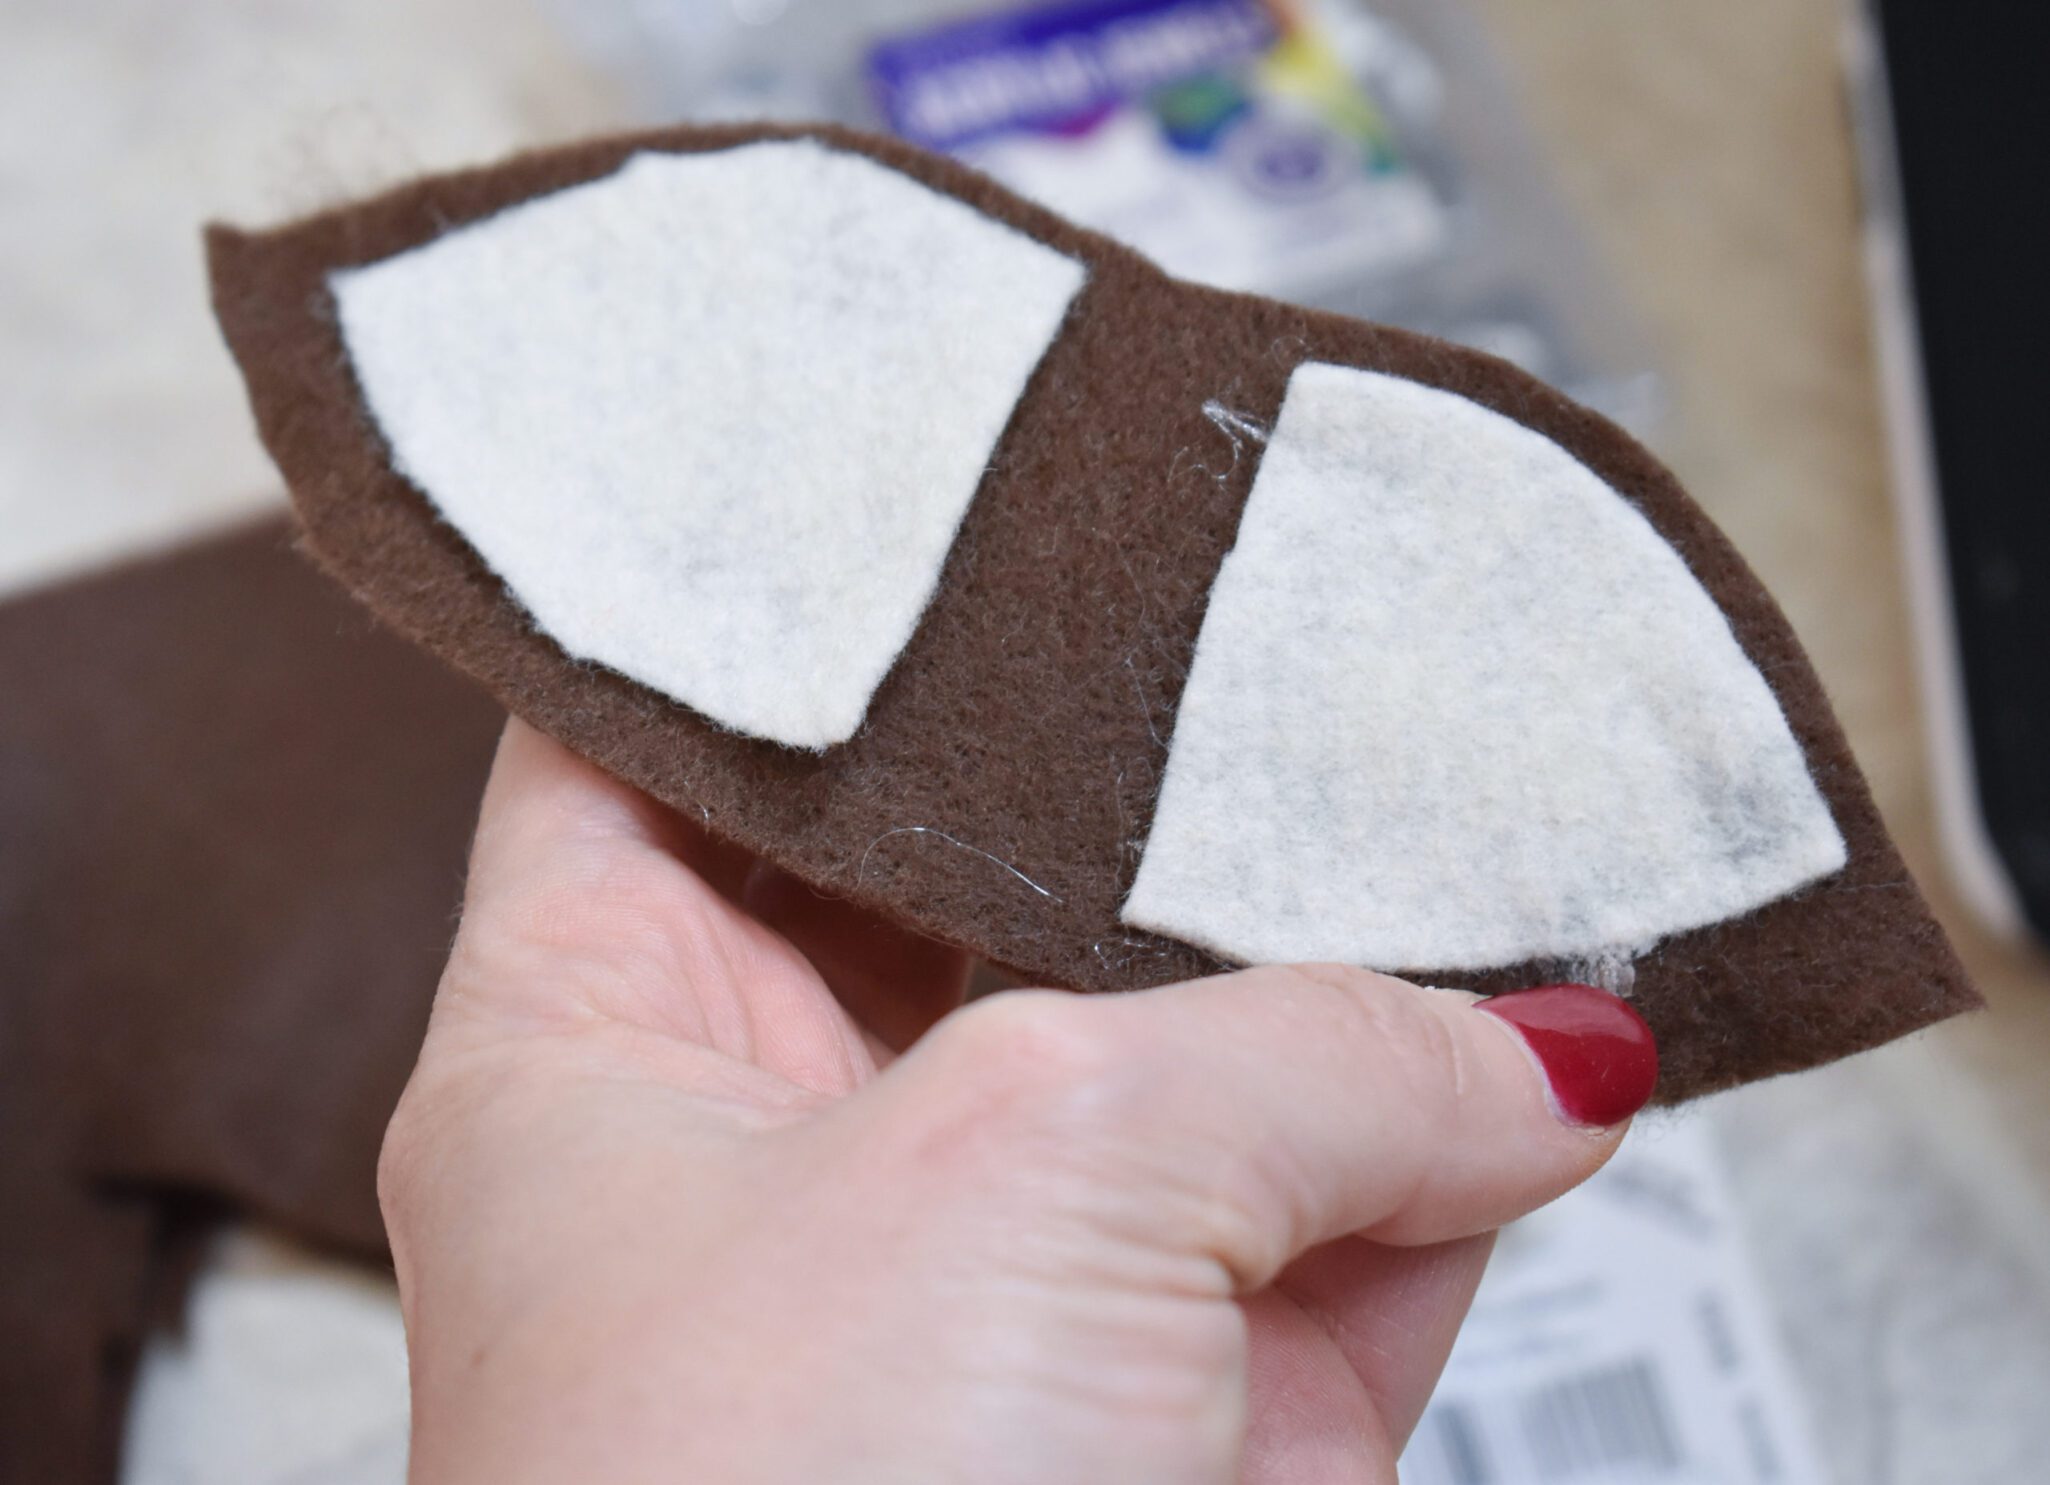
Use the white pen, sequins or jewels to add dots around the edge of the dark brown ear shape.
Step 4
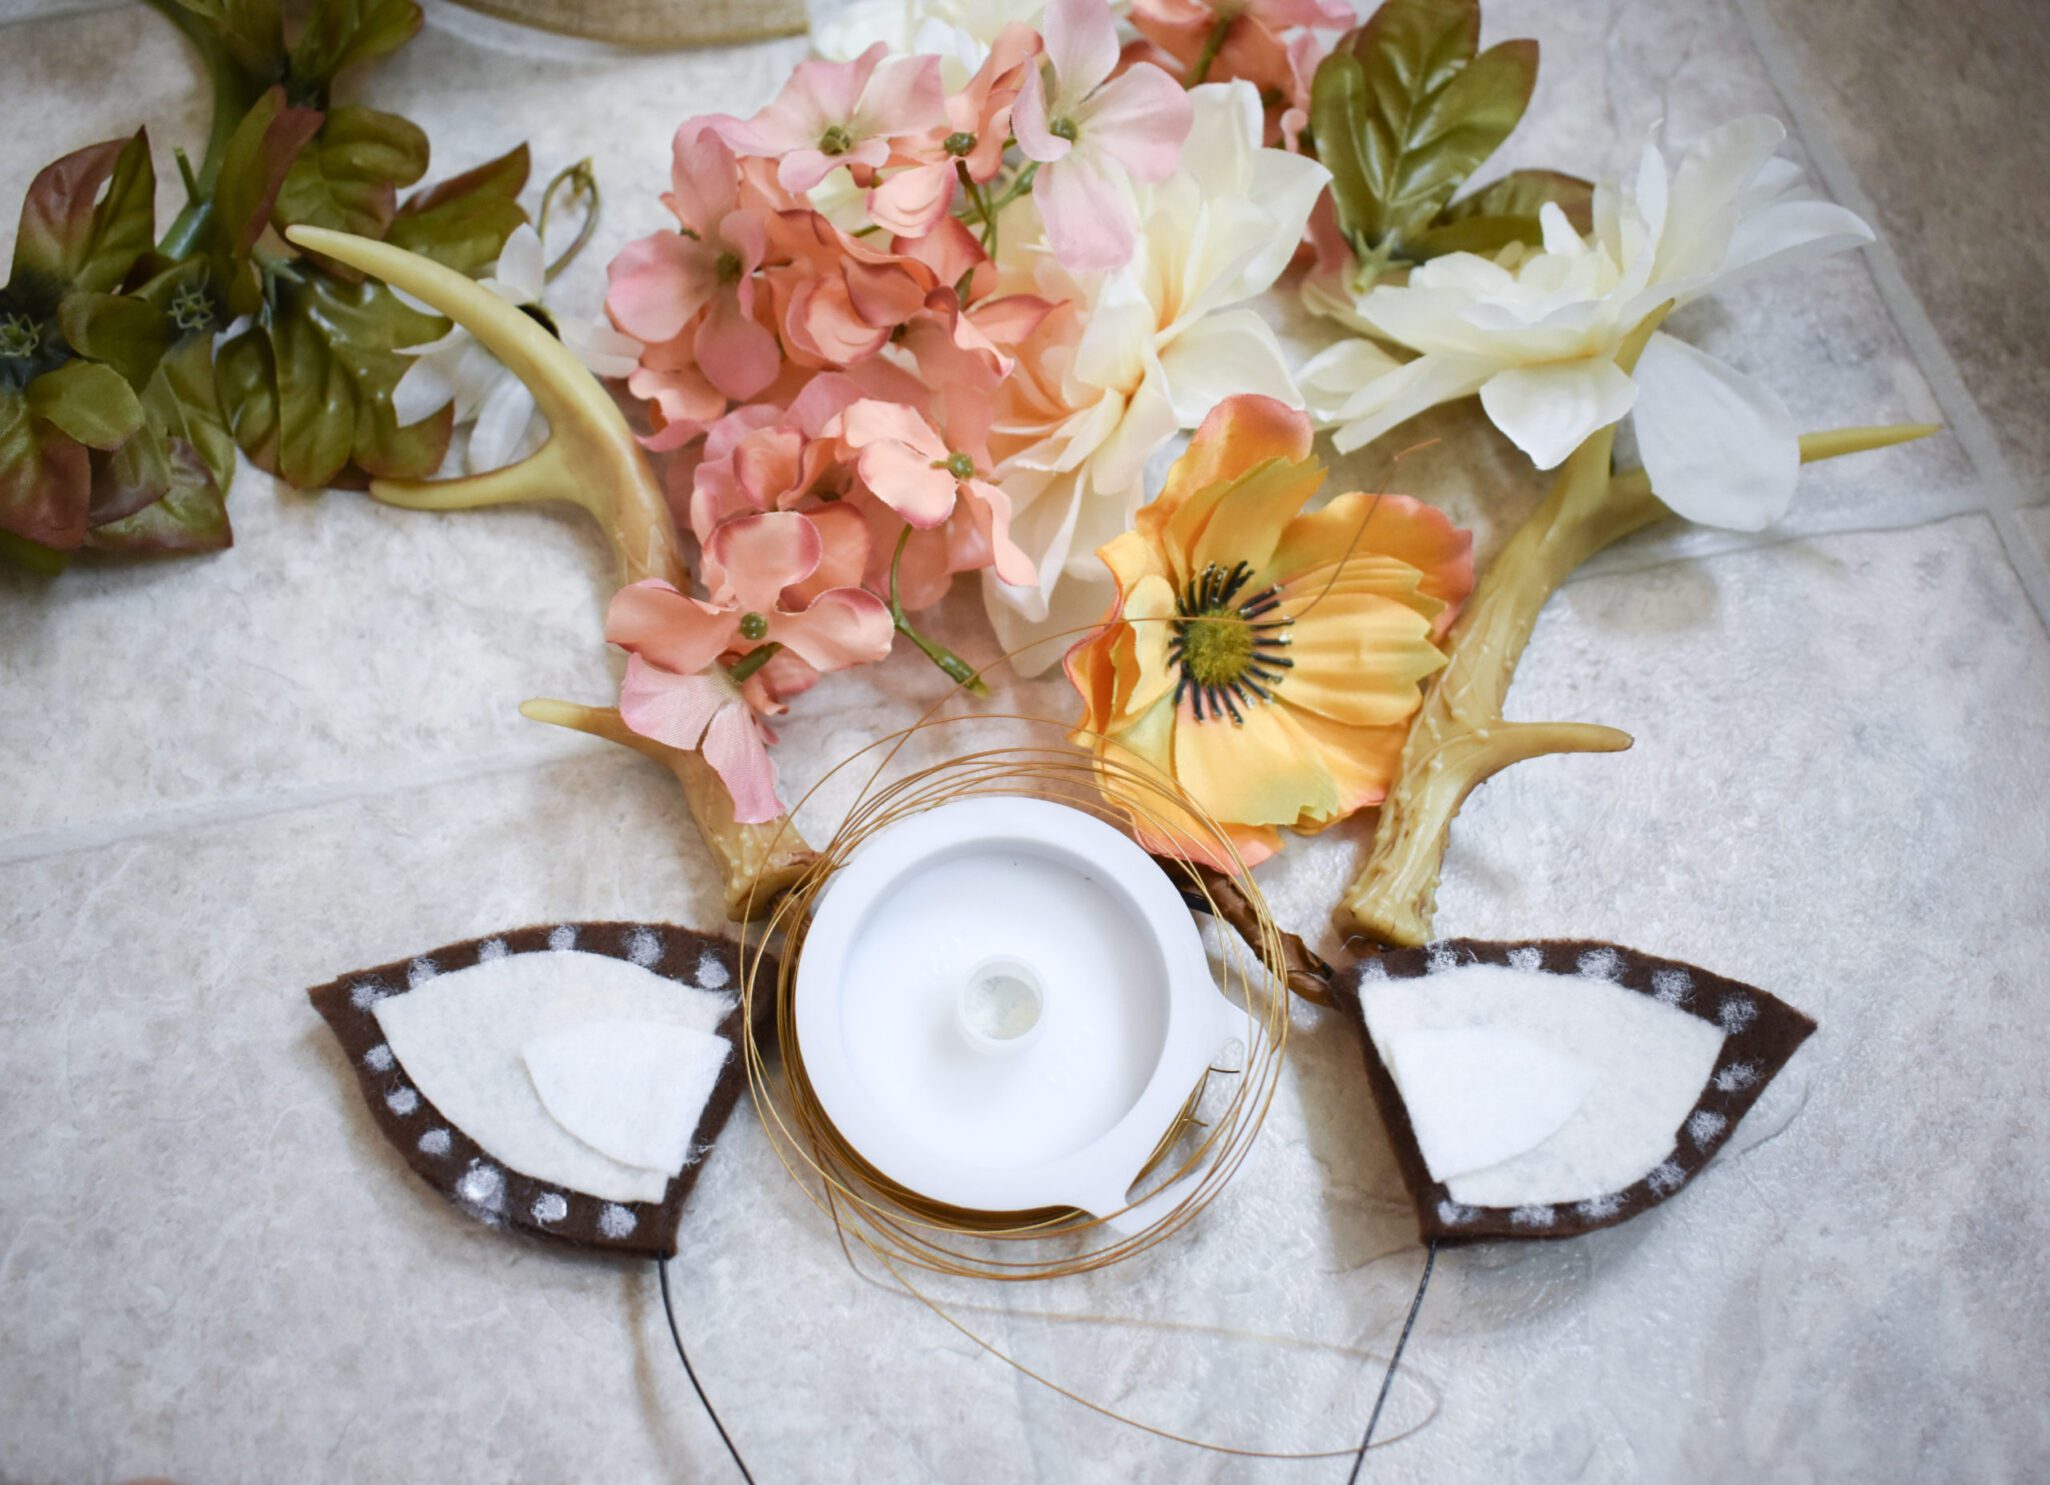
Glue the ear pieces around the headband adding extra glue to secure to the band itself.
Step 5
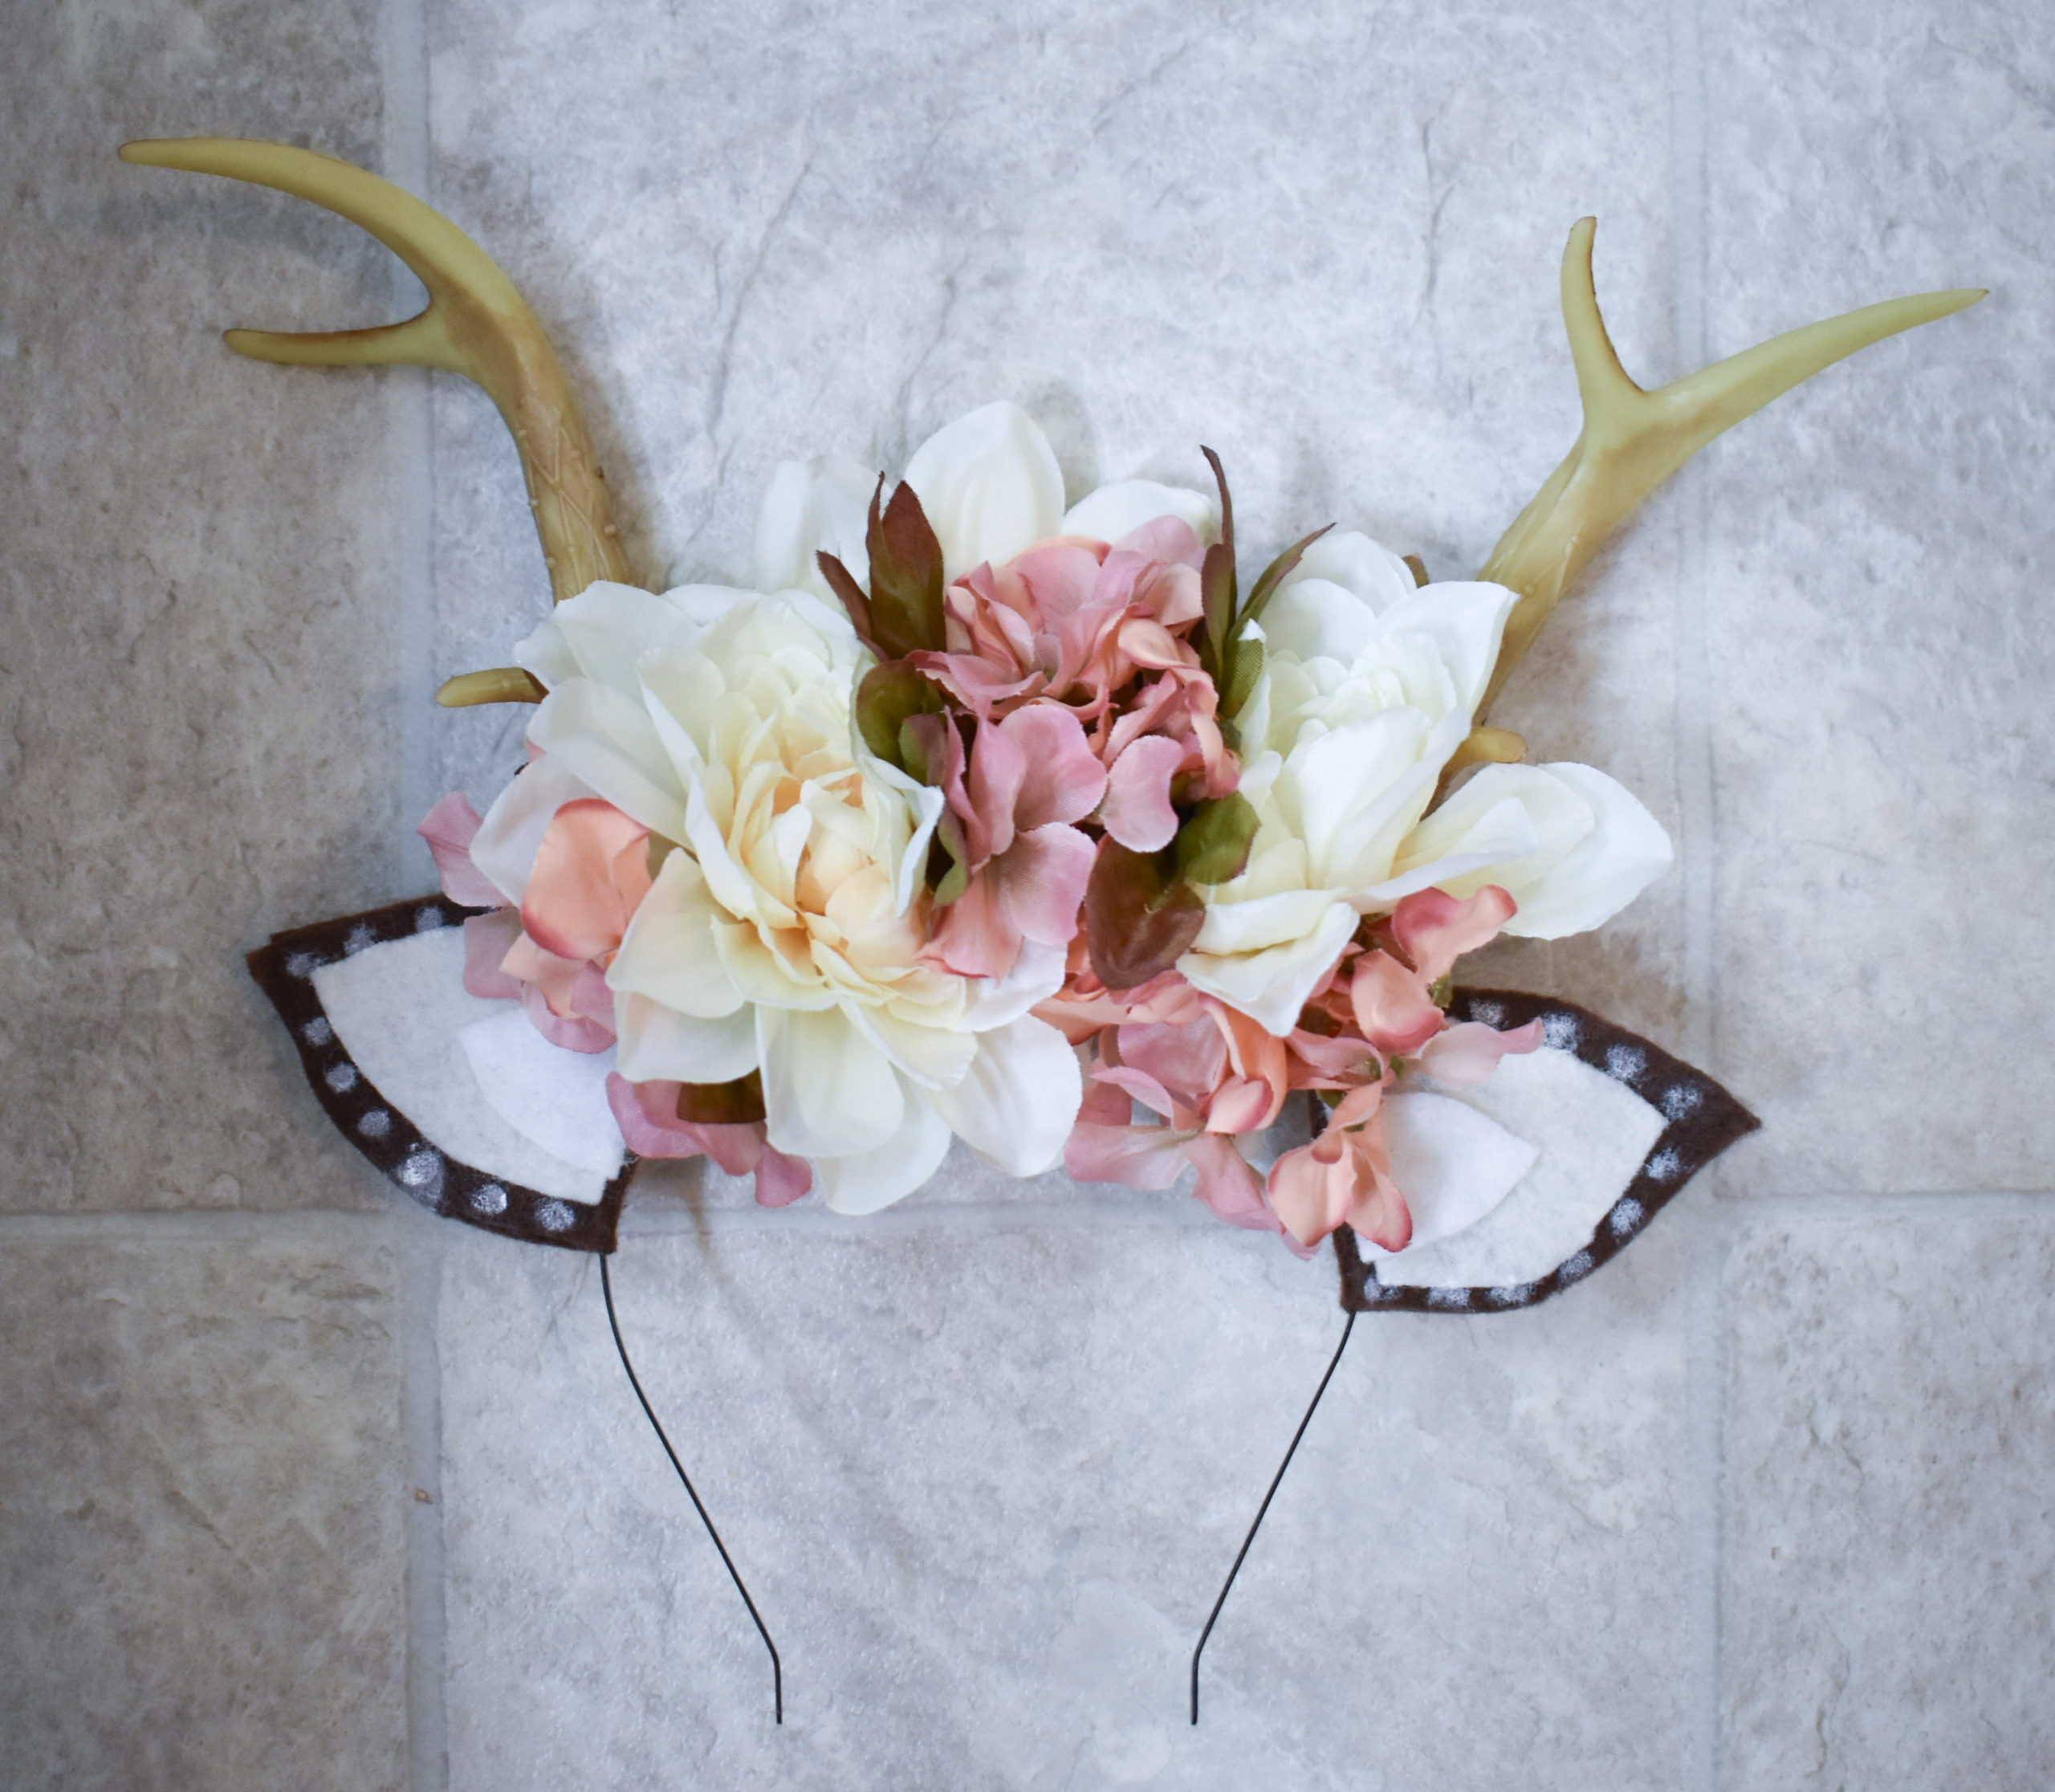
Arrange the leaves and flowers where you would like them on the headband and glue or secure with the floral wire.
Save this tutorial on Pinterest!
Deer Makeup Step-by-Step Tutorial
Now here are the simple steps to applying the makeup. I recommend having black eyeliner pencil or long-lasting liquid liner, full coverage foundation, brown eye shadow, white eye shadow or white face paint, and then lighter shades of facial powder for full deer makeup.
Step 1: Foundation & Eyebrows
Start with a blank face of full coverage foundation, strong filled-in brows and mascara–check out my everyday makeup tips.
Apply two or three layers of eye shadow, starting from a dark brown and ending with a cream-colored shadow below the eyebrows.
Darken brows using a product such as the ABH Dipbrow and an angled brush. Use a small angled or concealer brush to create bushy hair-like strokes at the start of the brows.
Add darker eye shadow to the sides of your nose. This will create a definition to the deer look.
Step 2: Cheekbones & Forehead
Using a large fluffy brush dark shade around the cheekbones and forehead. Use the smaller brush to darken the sides of the nose straight down. Bring the shading up to the brow and in the crease of the eye.
Step 3: Apply Makeup to Nose
To create the deer nose, use the gel eyeliner to create a dark circle around the tip of your nose. Use concealer or a white pen to clean up the lines.
Step 4: Apply Liquid Eye Liner
Now it's time to apply the eye makeup. Use the liquid eyeliner to create a thick wing on the top of each eye.
Create a line below the actual line of the eye and feather the ends of the line with small strokes.
Then connect the eyeliner to the inner corner of your eyes. It should look like a little wing sticking out toward each side of your nose.
Step 5: Apply White Spots
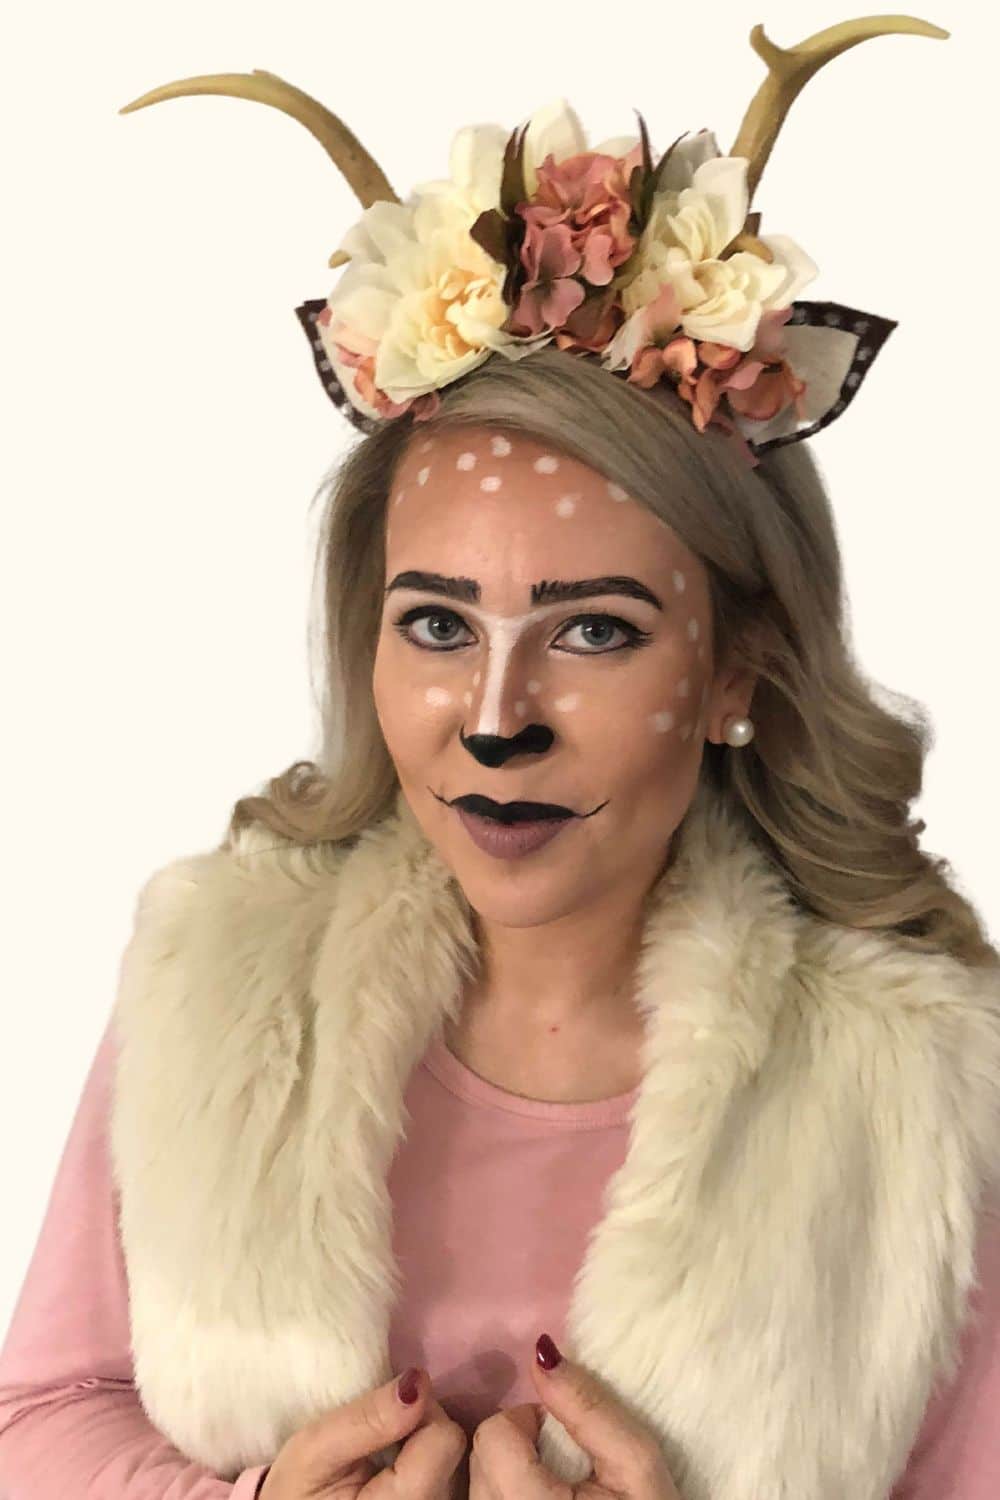
Use the white pen to create scattered dots on the sides of the nose and a white line down the middle. Bring the white line up to the brows and gently blend the line with your finger.
Add more white dots around the cheekbones and the middle of your forehead. Alternate sizes.
Step 6: Define the Upper Lip
Use the gel eyeliner and lipstick brush to darker the top lip and add lines going out from the corners of the mouth to create the illusion of a snout-like mouth.
You can apply some definition to the bottom lip with some lip gloss or a light skin-colored lipstick.
Step 7: Apply False Lashes
For a little contrast and extra wow, add a pair fake lashes as I did in the cat tutorial last year.
Step 8: Darken the Eyebrows
To finish the look, darken the brows with the gel eyeliner and darken any contour areas that don't stand out well.
Final Thoughts
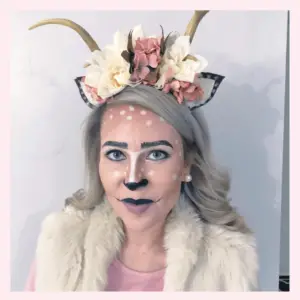
We're ready for the fun part which is putting on your antlers and creating a super cute outfit with maybe a brown sweater, faux fur vest, and your favorite pair of boots.
Now you're ready to go to your next Halloween party as a darling deer! I hope you enjoyed this cheap and easy Halloween deer makeup and antler tutorial.
If you wear this cute deer makeup out to a party or Halloween event, I'd love to see your look, tag me on social media with @MyCancerChic.
Do you have any Halloween plans and if so, what are you dressing up as?
This post was originally published on IHadCancer.

Breast cancer survivor, lover of style, beauty and all things pink! Inspiring you to thrive through adversity.
READ MORE


Popular Posts

