It was once considered a challenge to style short hair, but now those of us with shorter length hair have tons of cute hairstyles to choose from. I love sharing quick hair styling options because, after chemo, I had to style my short hair out of necessity.
One of my favorite styling tools for short hair is a flat iron. Hair straighteners are so versatile because they can be used to create straight hair, wavy hair, loose curls, or tight curls, and work on all hair types. If you don't want to buy multiple tools or use a curling wand, a straightener is an easy way to get effortless curls.
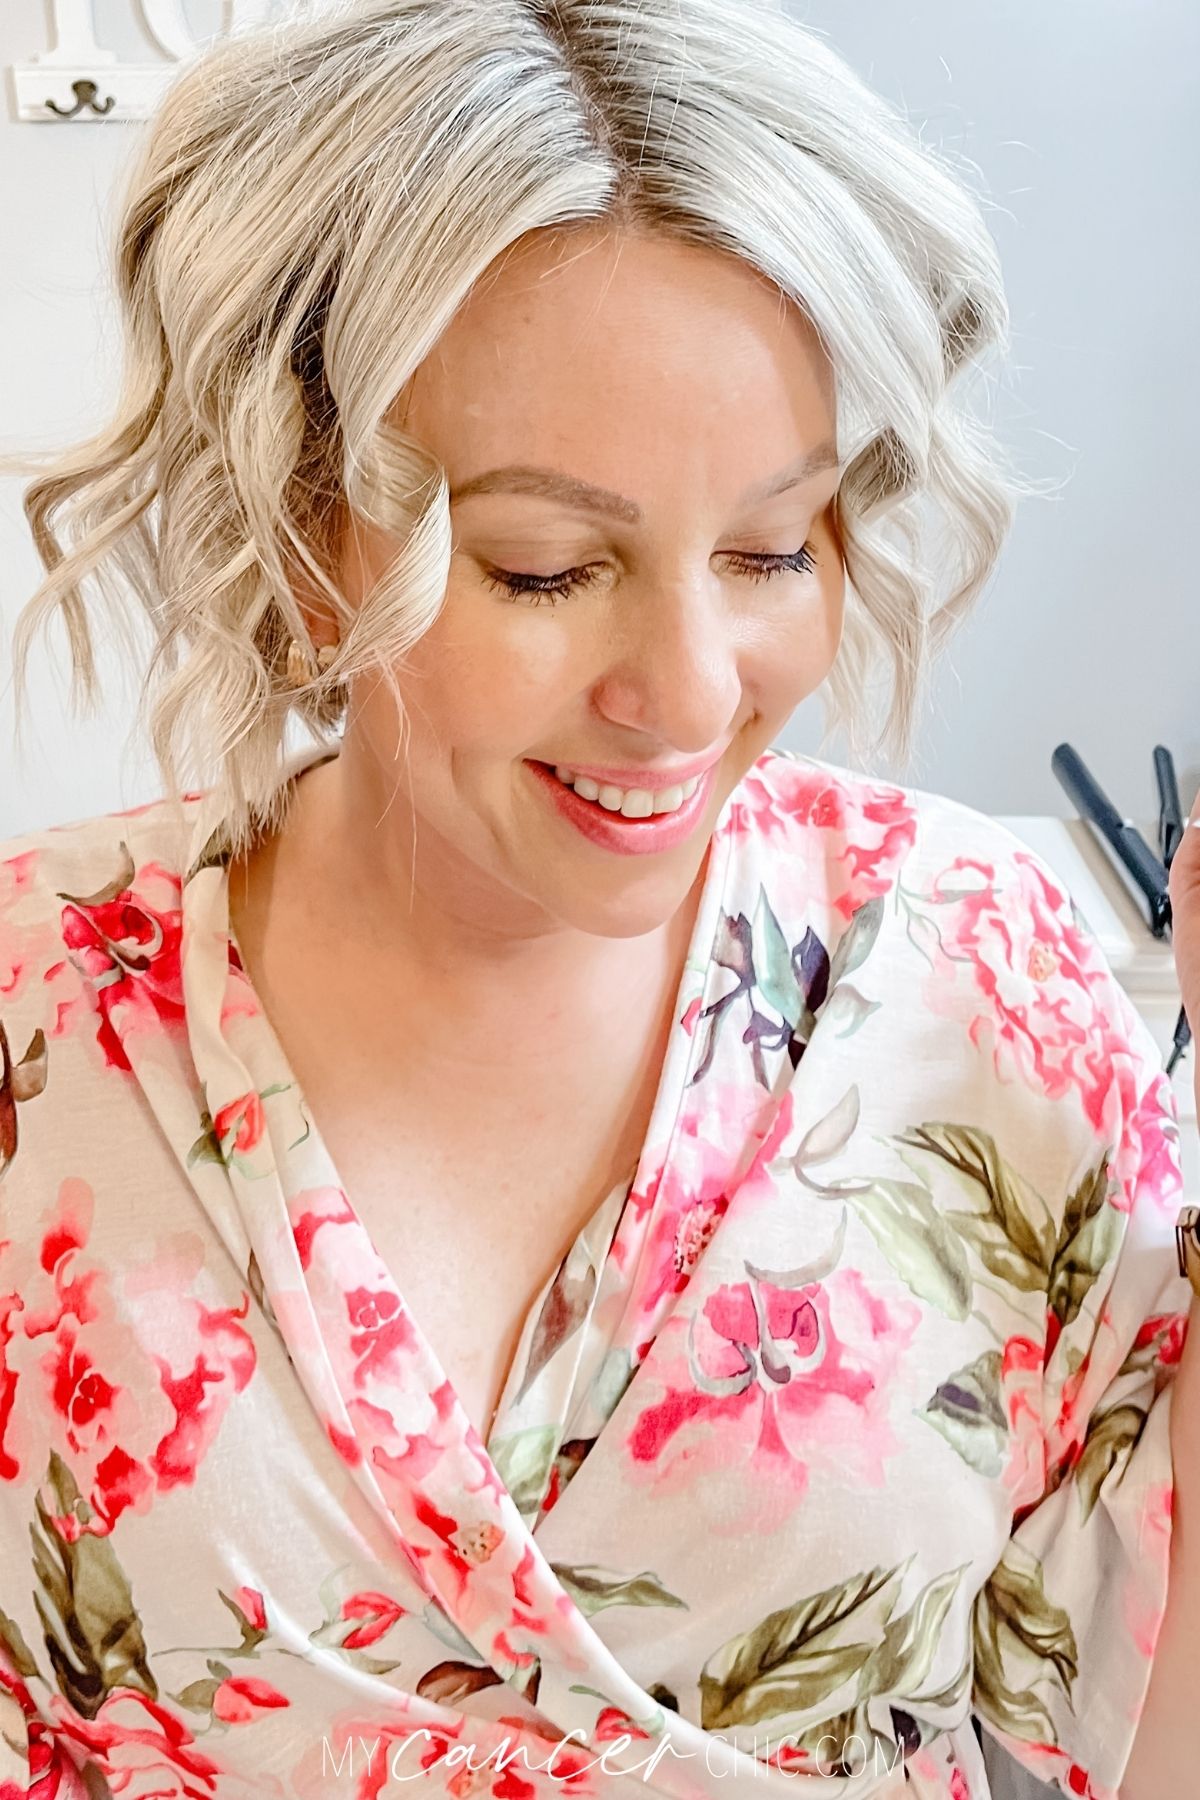
How to Curl Short Hair with a Flat Iron
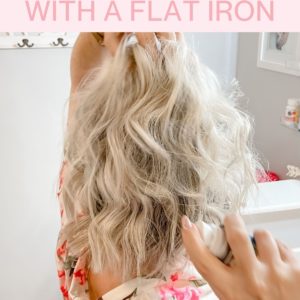
With a hair straightener, you can create natural texture as well as easy gorgeous curls and not be limited by the length of your hair. In this hair tutorial, I will show you how to create beach waves with a straightener on short hair.
1. Select Your Hair Products
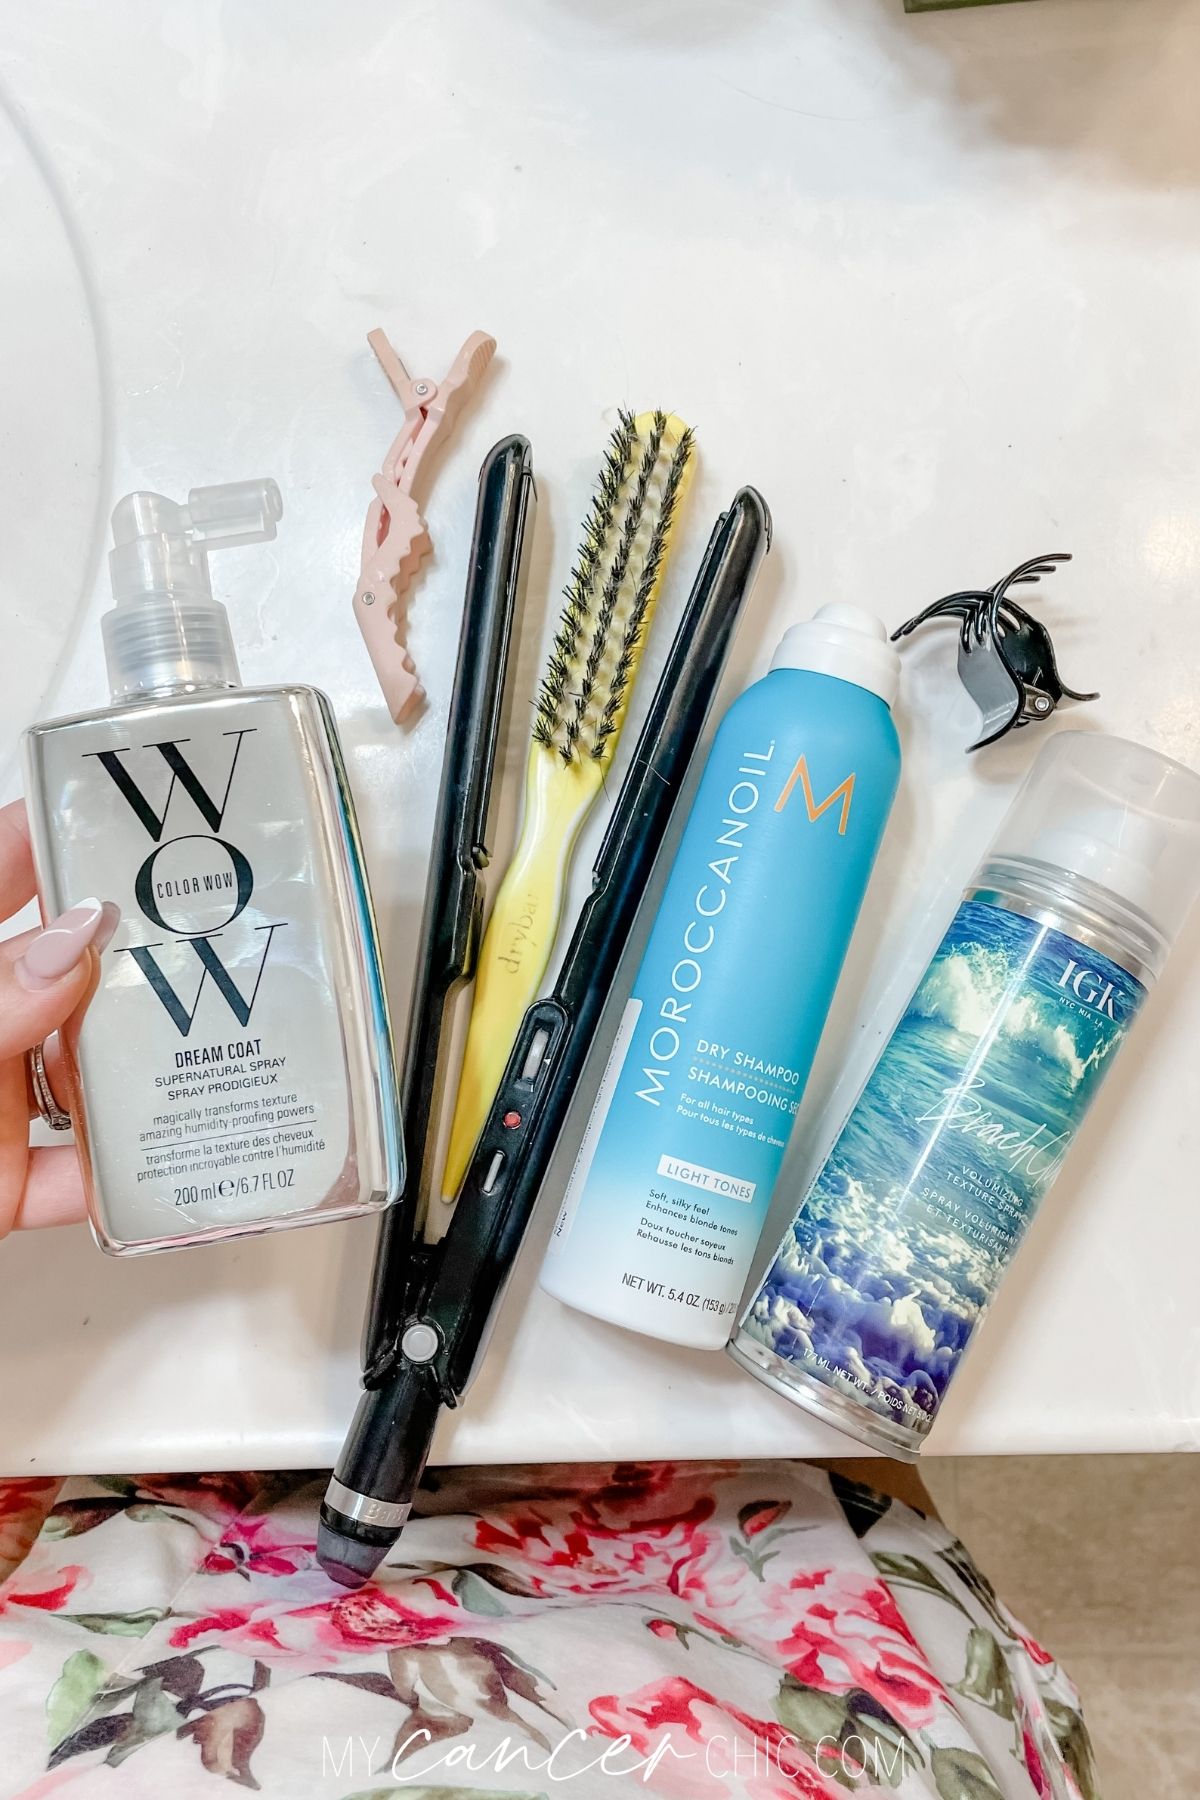
Before curling your hair, you will need to select your products & tools. Pro tip: look for a straightener with adjustable heat settings to prevent heat damage.
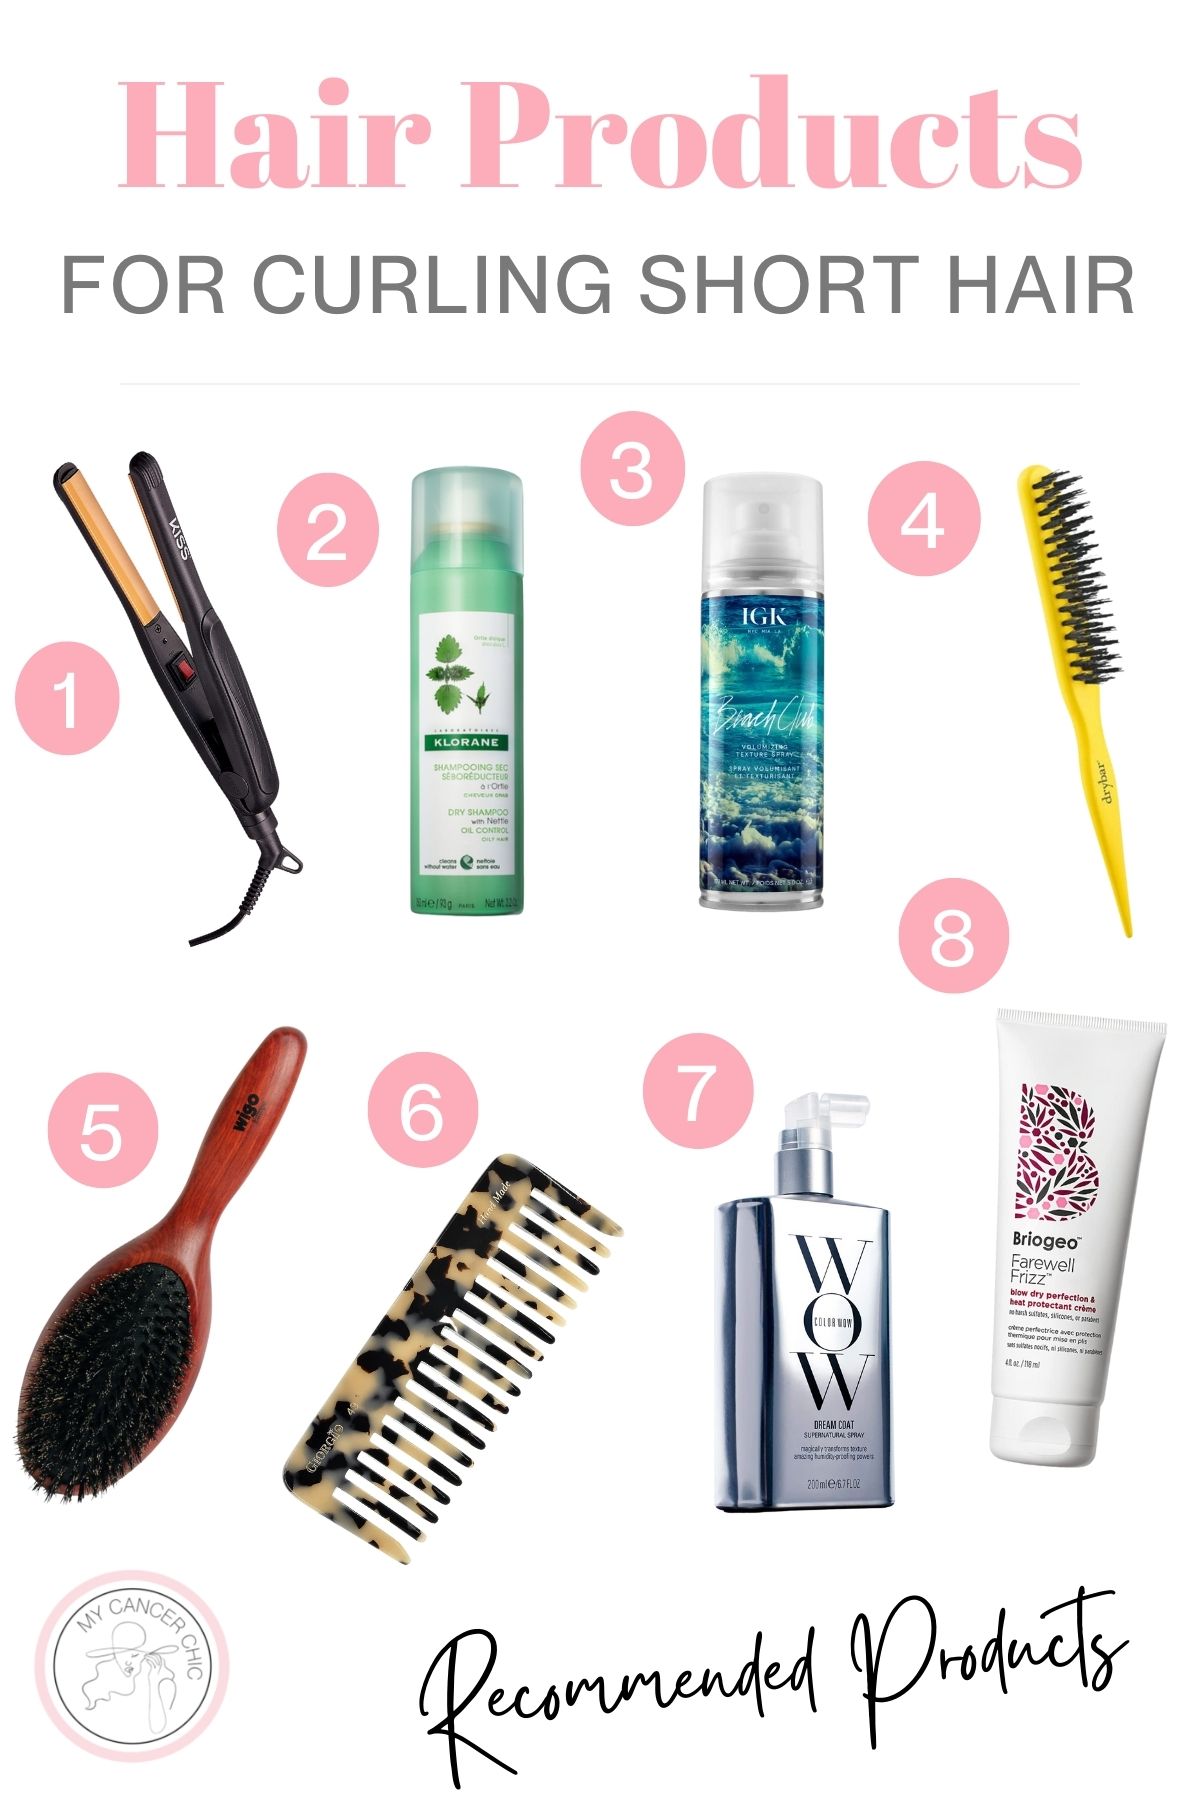
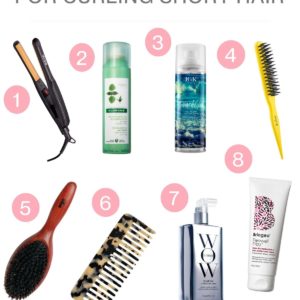
Here is a quick list of the haircare products that I love to use:
- Nano Titanium Ultra-Thin Straightening Iron / Smaller straightener: KISS Ceramic Tourmaline Flat Iron
- Klorane Oil-Control Dry Shampoo with Nettle
- IGK Beach Club Texture Spray
- Drybar Texas Tease Teasing Brush
- Smoothing brush: Wigo Boar Bristle Brush
- Giorgio Hair Detangling Comb
- Frizz spray: Color Wow Dream Coat Supernatural Spray
- Heat protectant: Briogeo Farewell Frizz
I use a 1" ceramic flat iron and a heat protectant in this tutorial. I swear by this particular heat protectant because it has fantastic anti-frizz properties and will protect your hair from any hot tool. I apply it after I shower to my clean hair and blow-dry a little to activate the product.
Regarding what flat iron you choose, think about the length of your hair and the width of the curls you want. I suggest a 1/2" or 1" flat iron for shorter hair and messy curls. Keep in mind that you will be using one-inch sections so you need a straightener that will work best for your hair thickness if you have fine hair or thick hair. If you have long thick hair you may want to use a 1" or a 1.5" straightener
You will also want a texture spray for the end; some people like a hair spray to make the style last. I don't like hairspray and rarely use it, so I rely more on texture spray.
2. Prep Your Hair
I find that curling hair works best on slightly dirty hair, but you know your hair best. The best tip for prepping your hair is to apply your heat protectant and a little bit of dry shampoo.
The dry shampoo will remove excess oil and give your hair volume and body on top of your head before you start. You will also want to brush out your hair before you begin to curl your hair with the straightener.
3. Decide on Which Type of Curl You Want
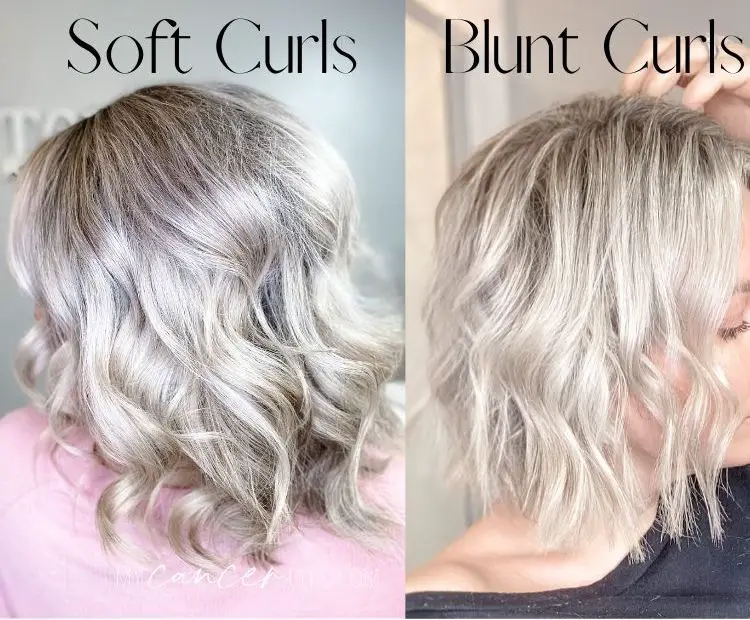
Consider whether you want a more polished look with fully curled ends and soft bounce. Or if you want a more messy natural look with blunt ends of your hair.
In today's tutorial, I will be showing you how to curl short hair with a straightener in the messy blunt ends style. I find the blunt ends are the best way to achieve an effortless curls look that works well for casual and work settings.
If you want a more polished curls style, check out this tutorial on curling short hair with a wand.
4. Separate Smaller Sections of Hair
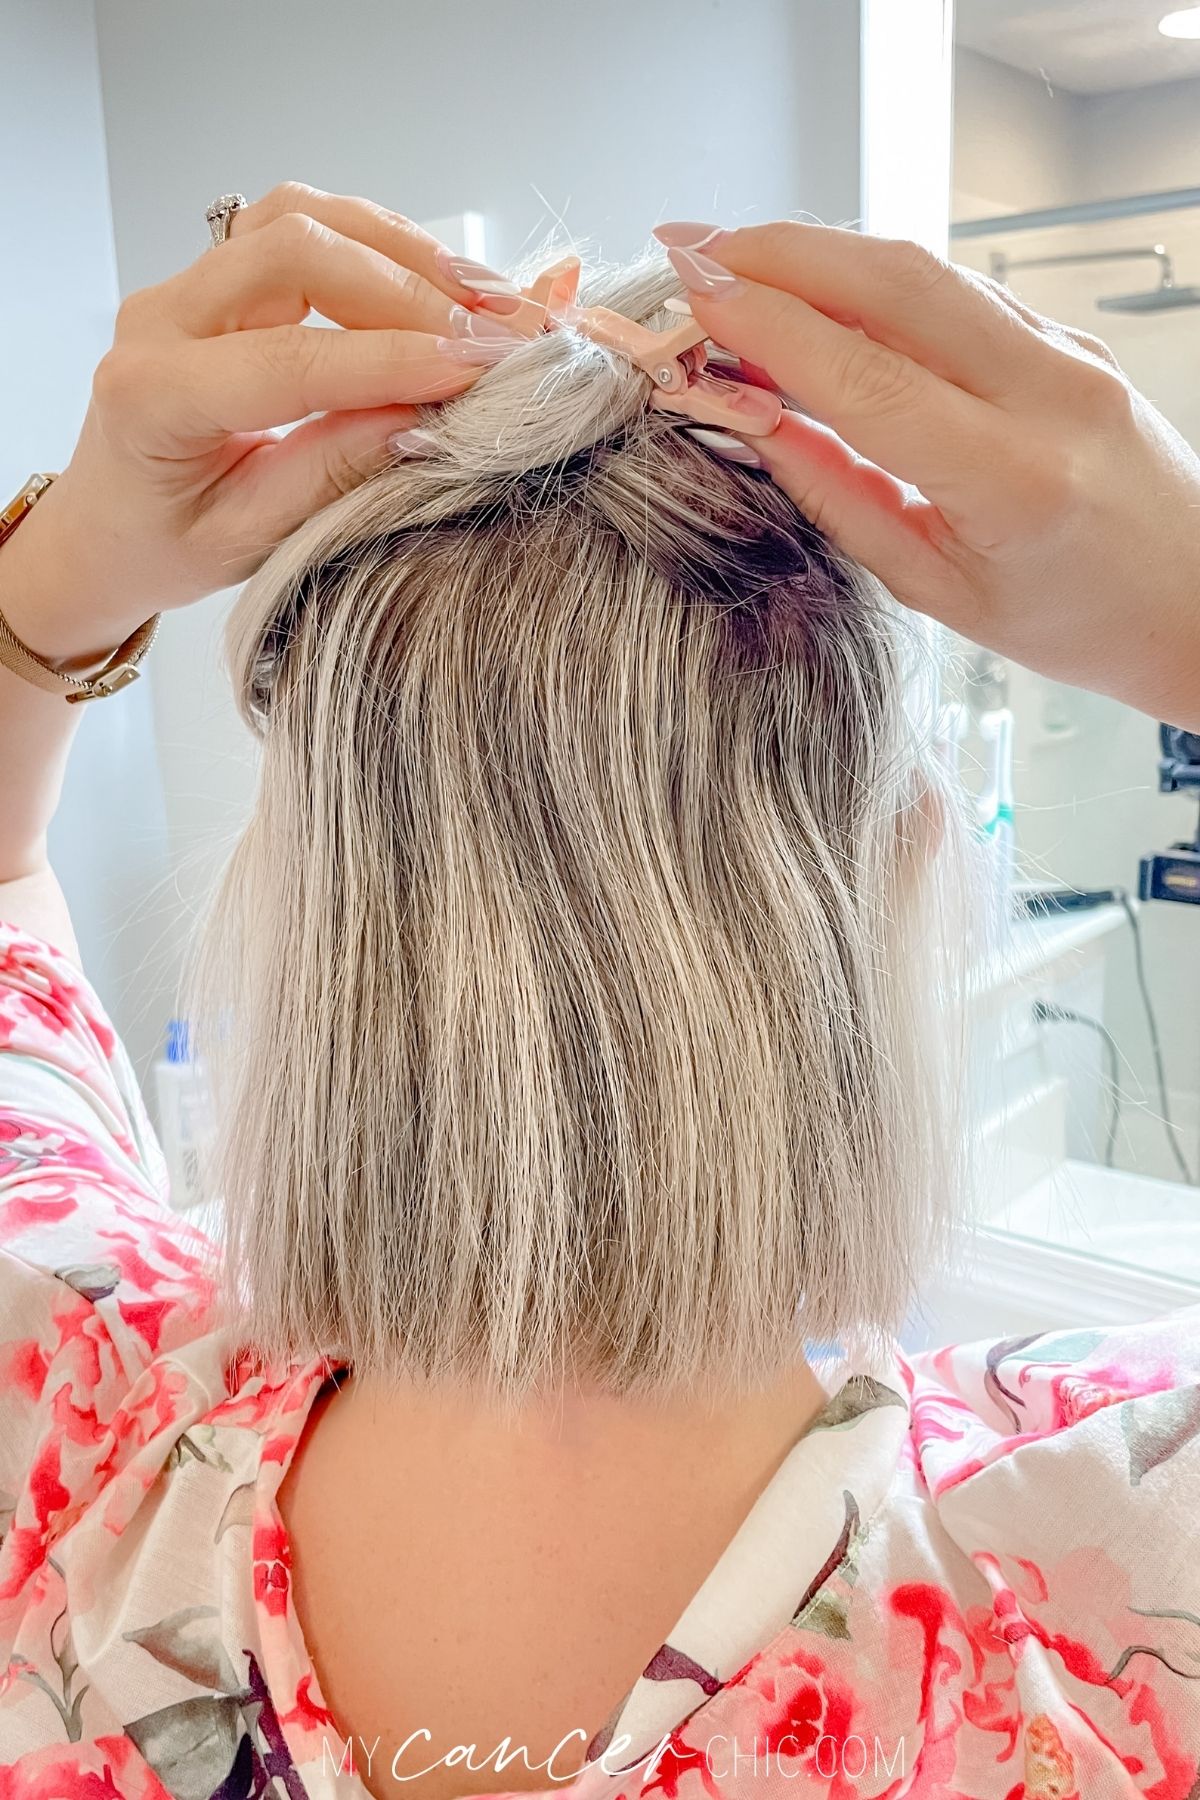
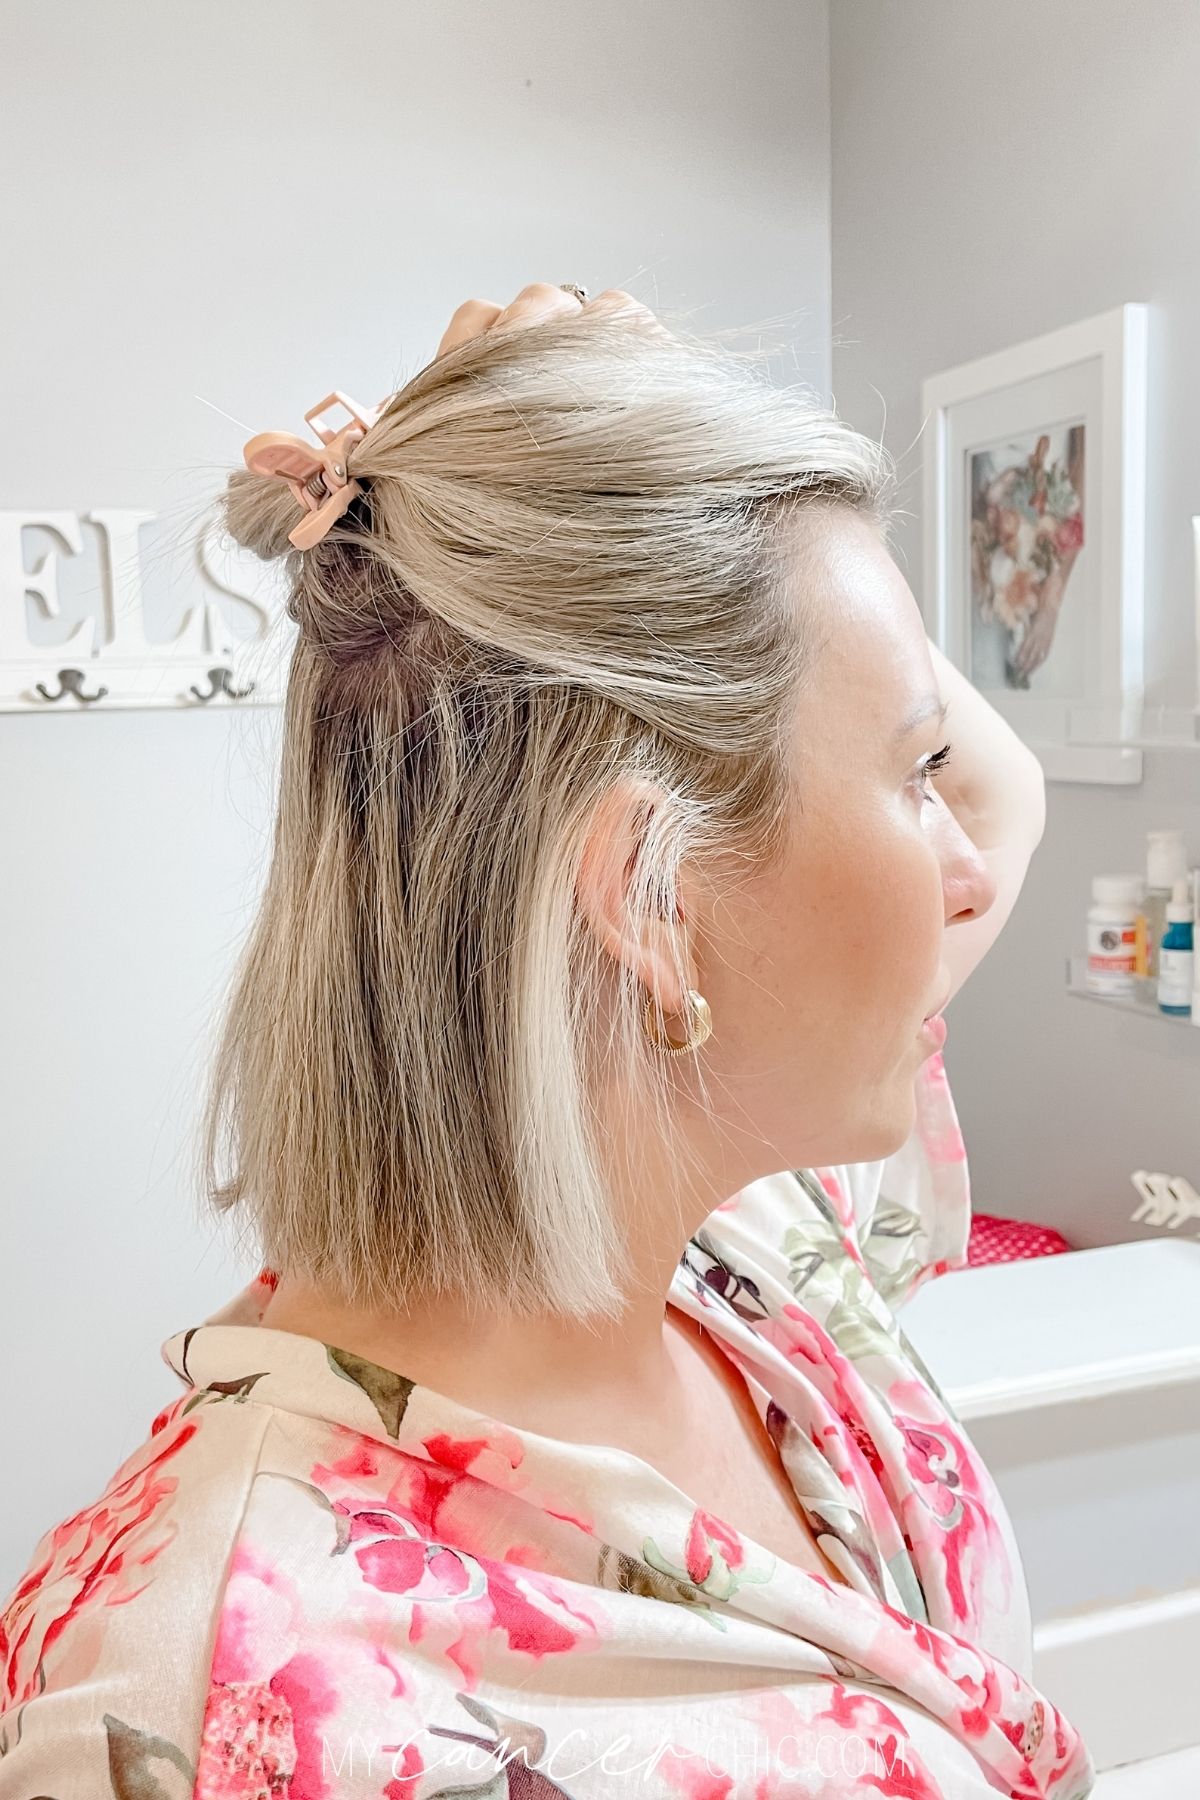
Once you have decided the type of curls you want, you will clip your hair into smaller sections of hair.
I get the best results when I separate my shorter hair into top and bottom layers and then start curling one-inch pieces in phases. You can usually do more two layers for curls on short hair, but if you have longer thicker hair you may need to separate it into more layers/sections of hair.
Clip the hair up, and if I am going for a blunt end, I start by straightening my bottom layer of hair with the flat iron. Particularly on the bottom, it's essential to have those sharp ends so the top layers lay correctly throughout the rest of your hair and it will add to the effortless but still polished look.
5. Begin Curling the Bottom Layer
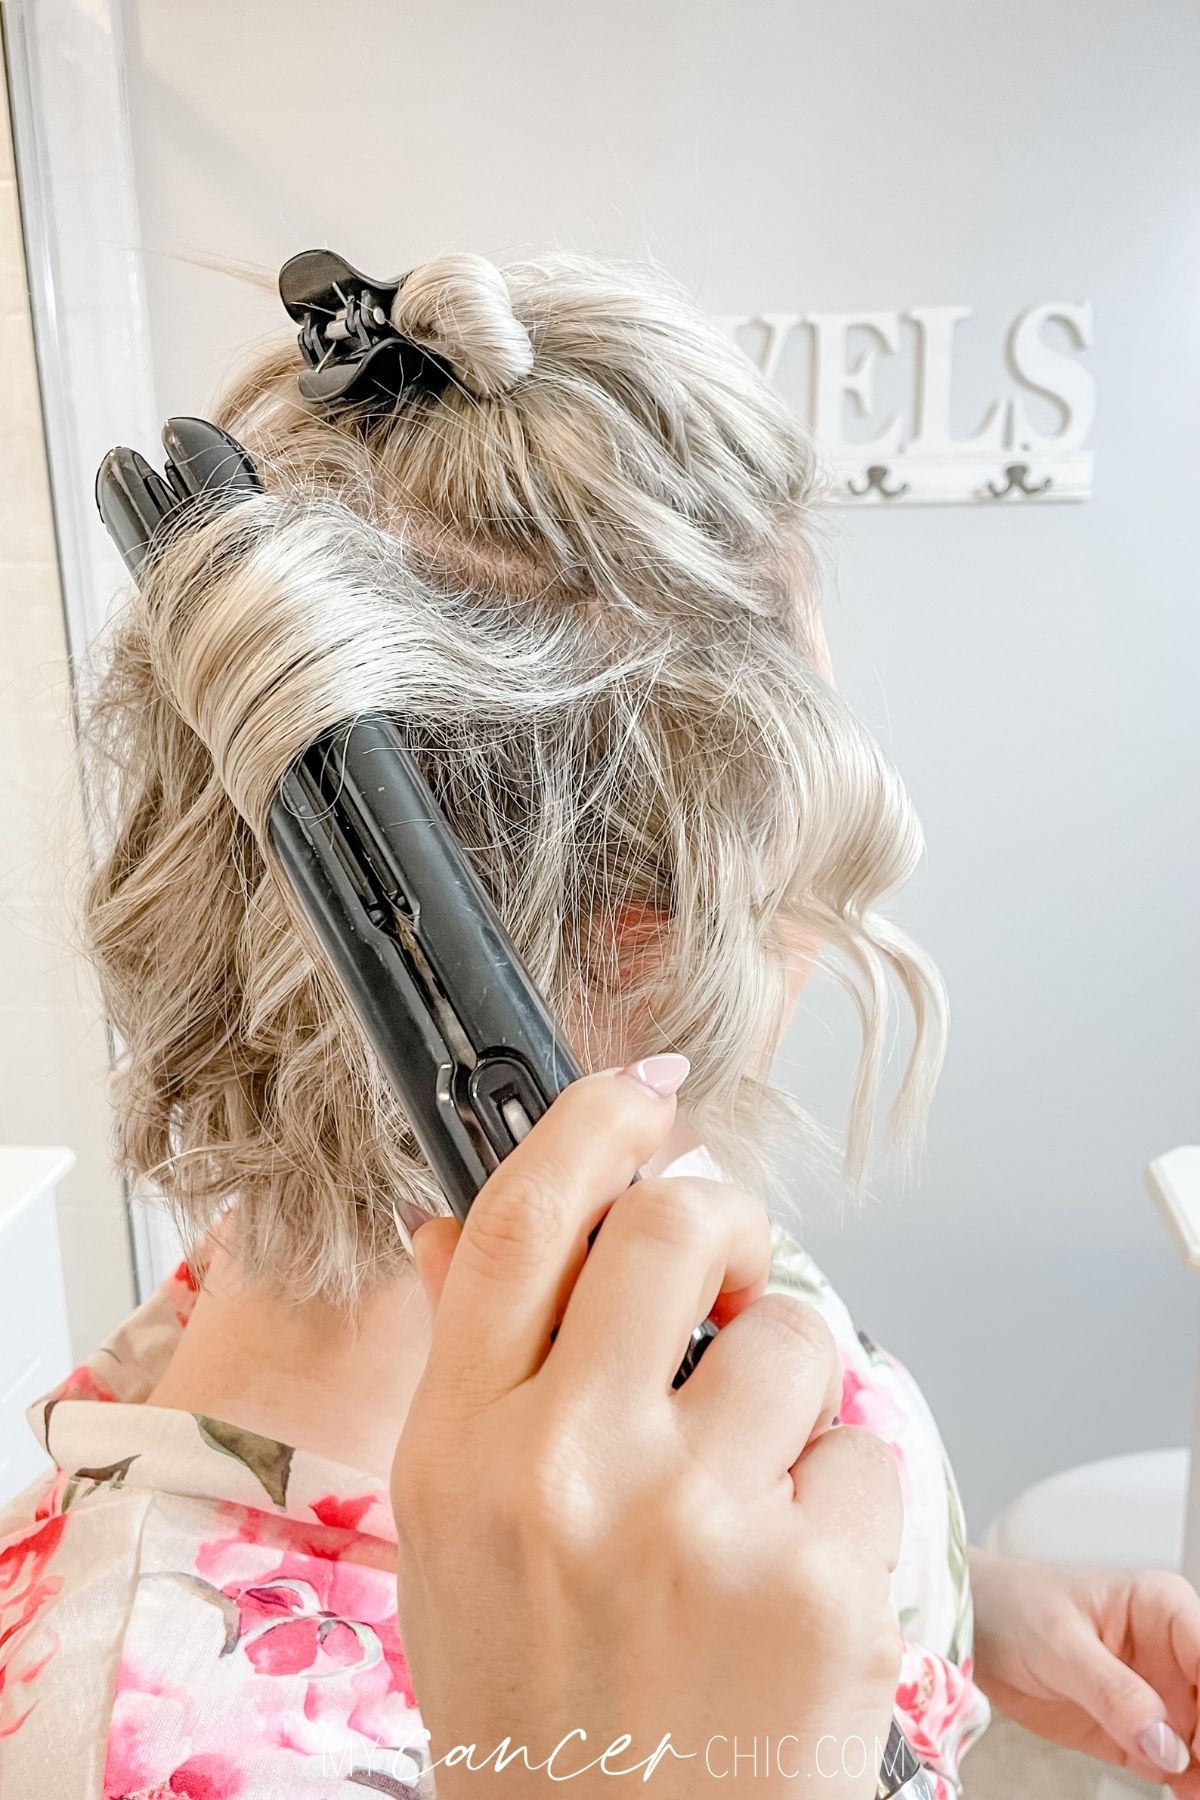
Now, we will start the curls. Point your flat iron tip away from your face and take a small section of hair in the middle.
Bring the flat iron to the top of the hair piece close to your scalp. Begin turning the flat iron slowly away from your face. The direction of the curl will be away from your face and will create the effortless wave curls we are trying to achieve.
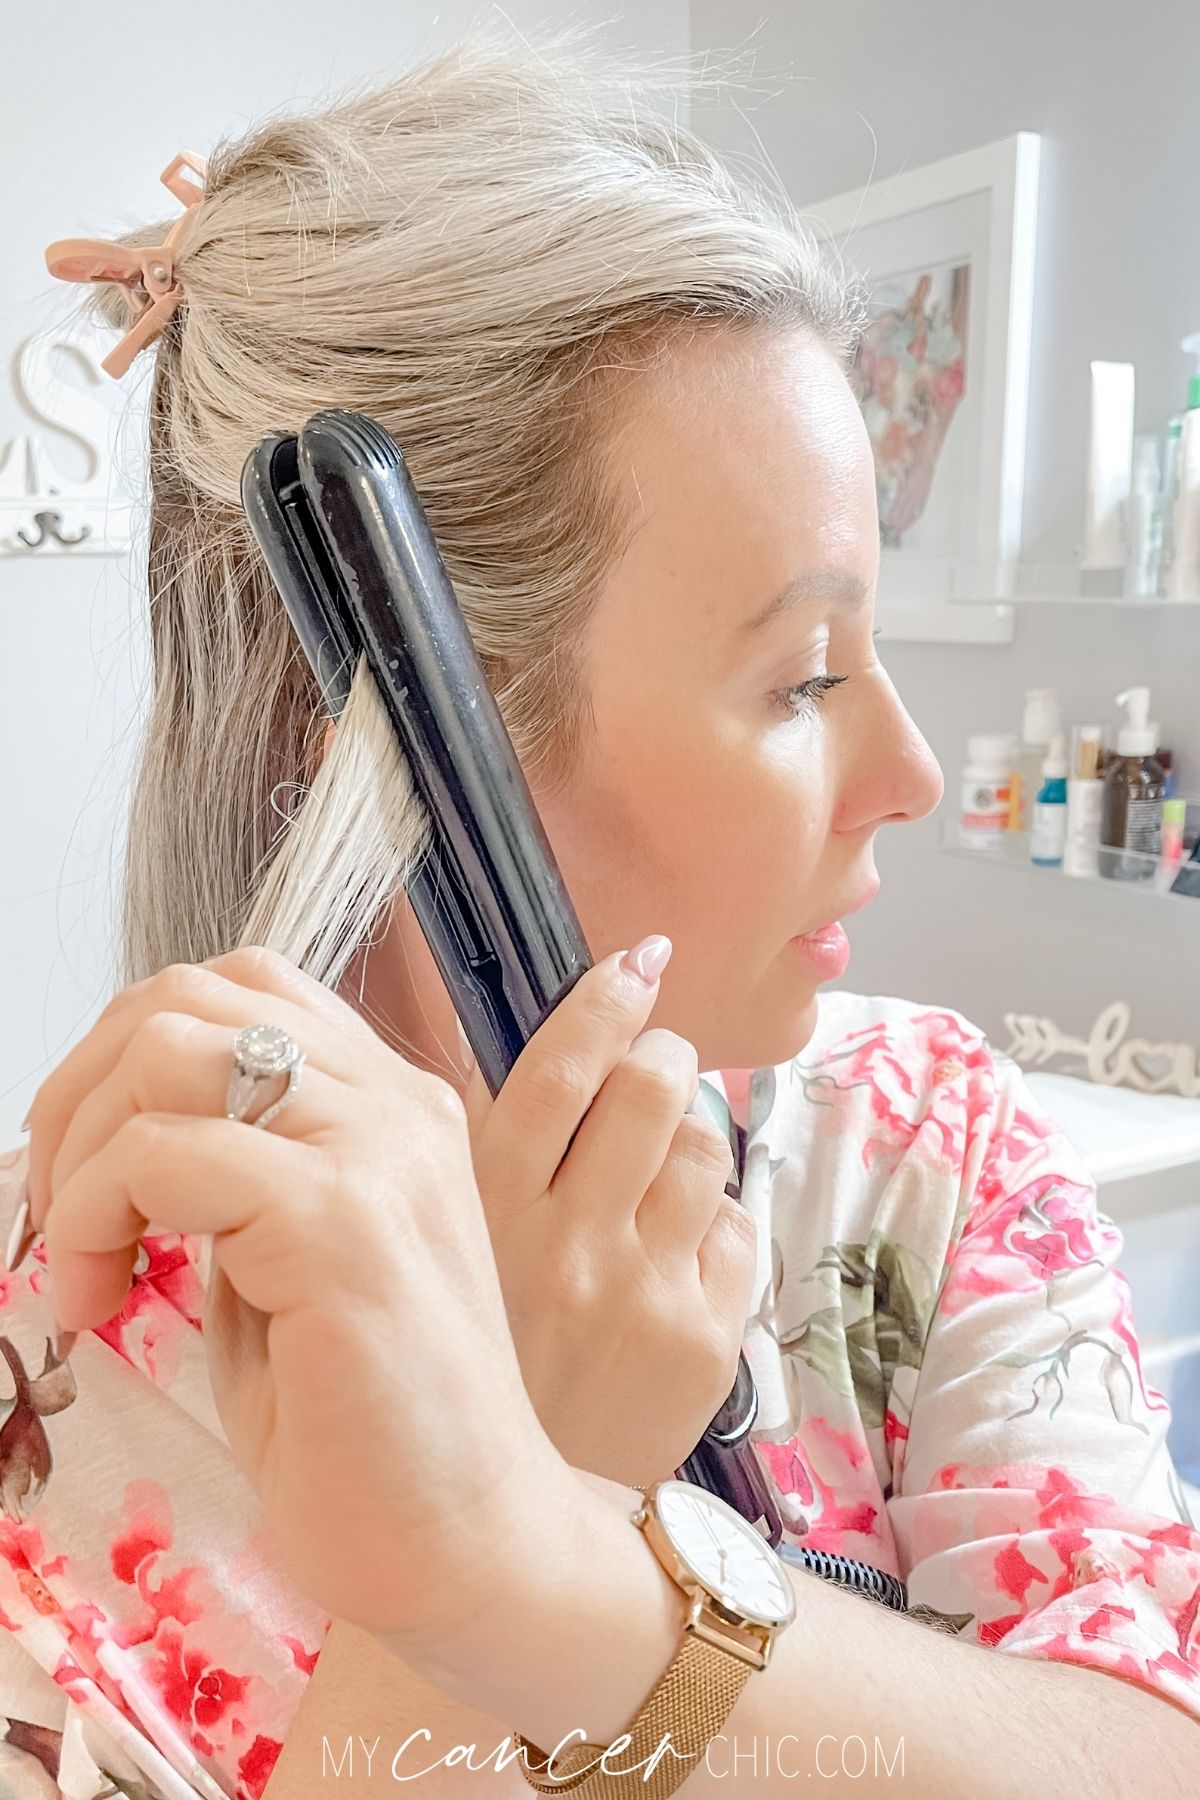
As you practice this method, you will find how long you need to hold your hair in each section. Sometimes you will need to redo a few areas of hair that don't take the curl with the flat iron the first time.
If you want tighter curls, rotate the straightener more tightly. If you want looser curls, move the flat iron quicker and with less pressure or control.
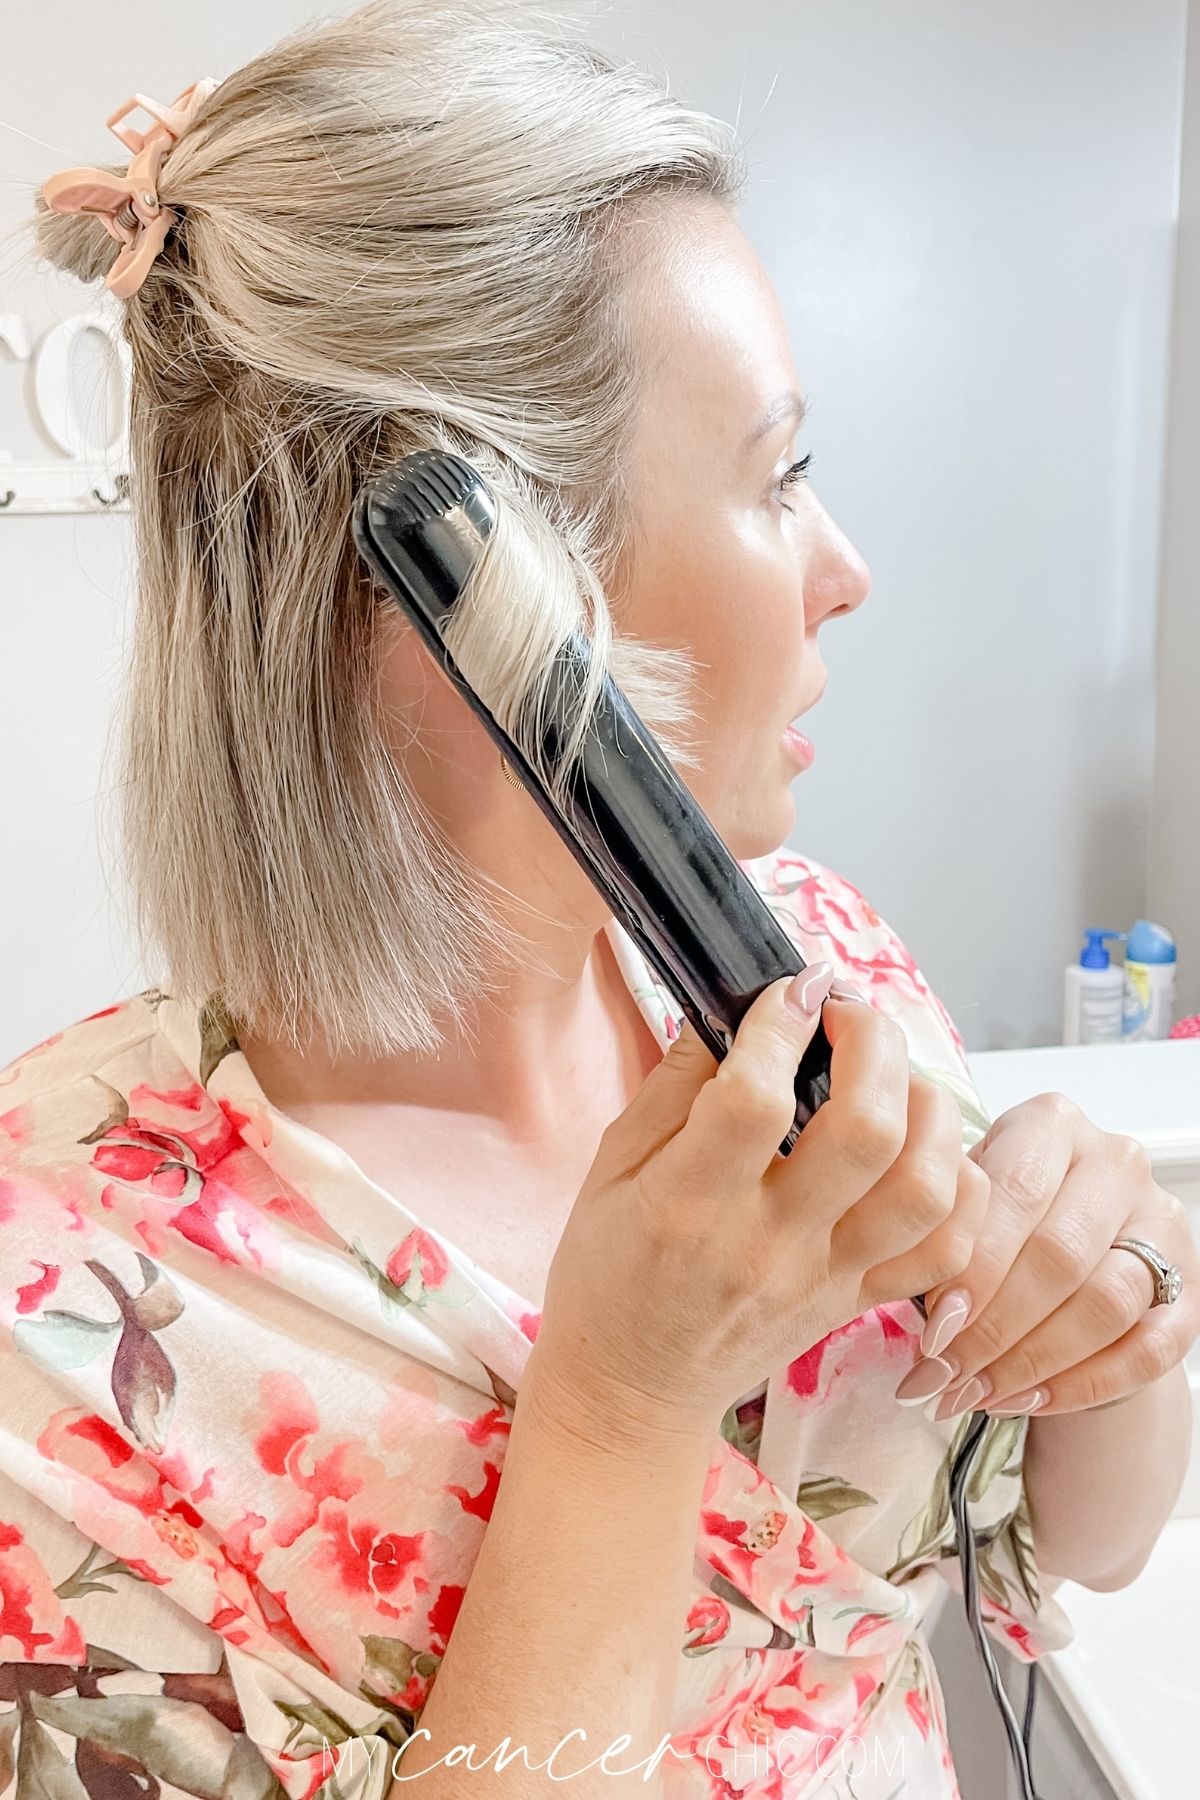
Work your way from the left to the middle. Then work the right to the center with the curling iron facing away from your face.
Let the curls cool as we move on to style your hair on the next layer.
6. Curl the Top Layer of Your Hair
On the top layer of hair, we are going to repeat the same process... but the placement of the flat iron when we start will be slightly lower down the head, not as close to the scalp.
By starting the curls lower down, the top with lay better, and the bottom layer of curls will continue to provide volume.
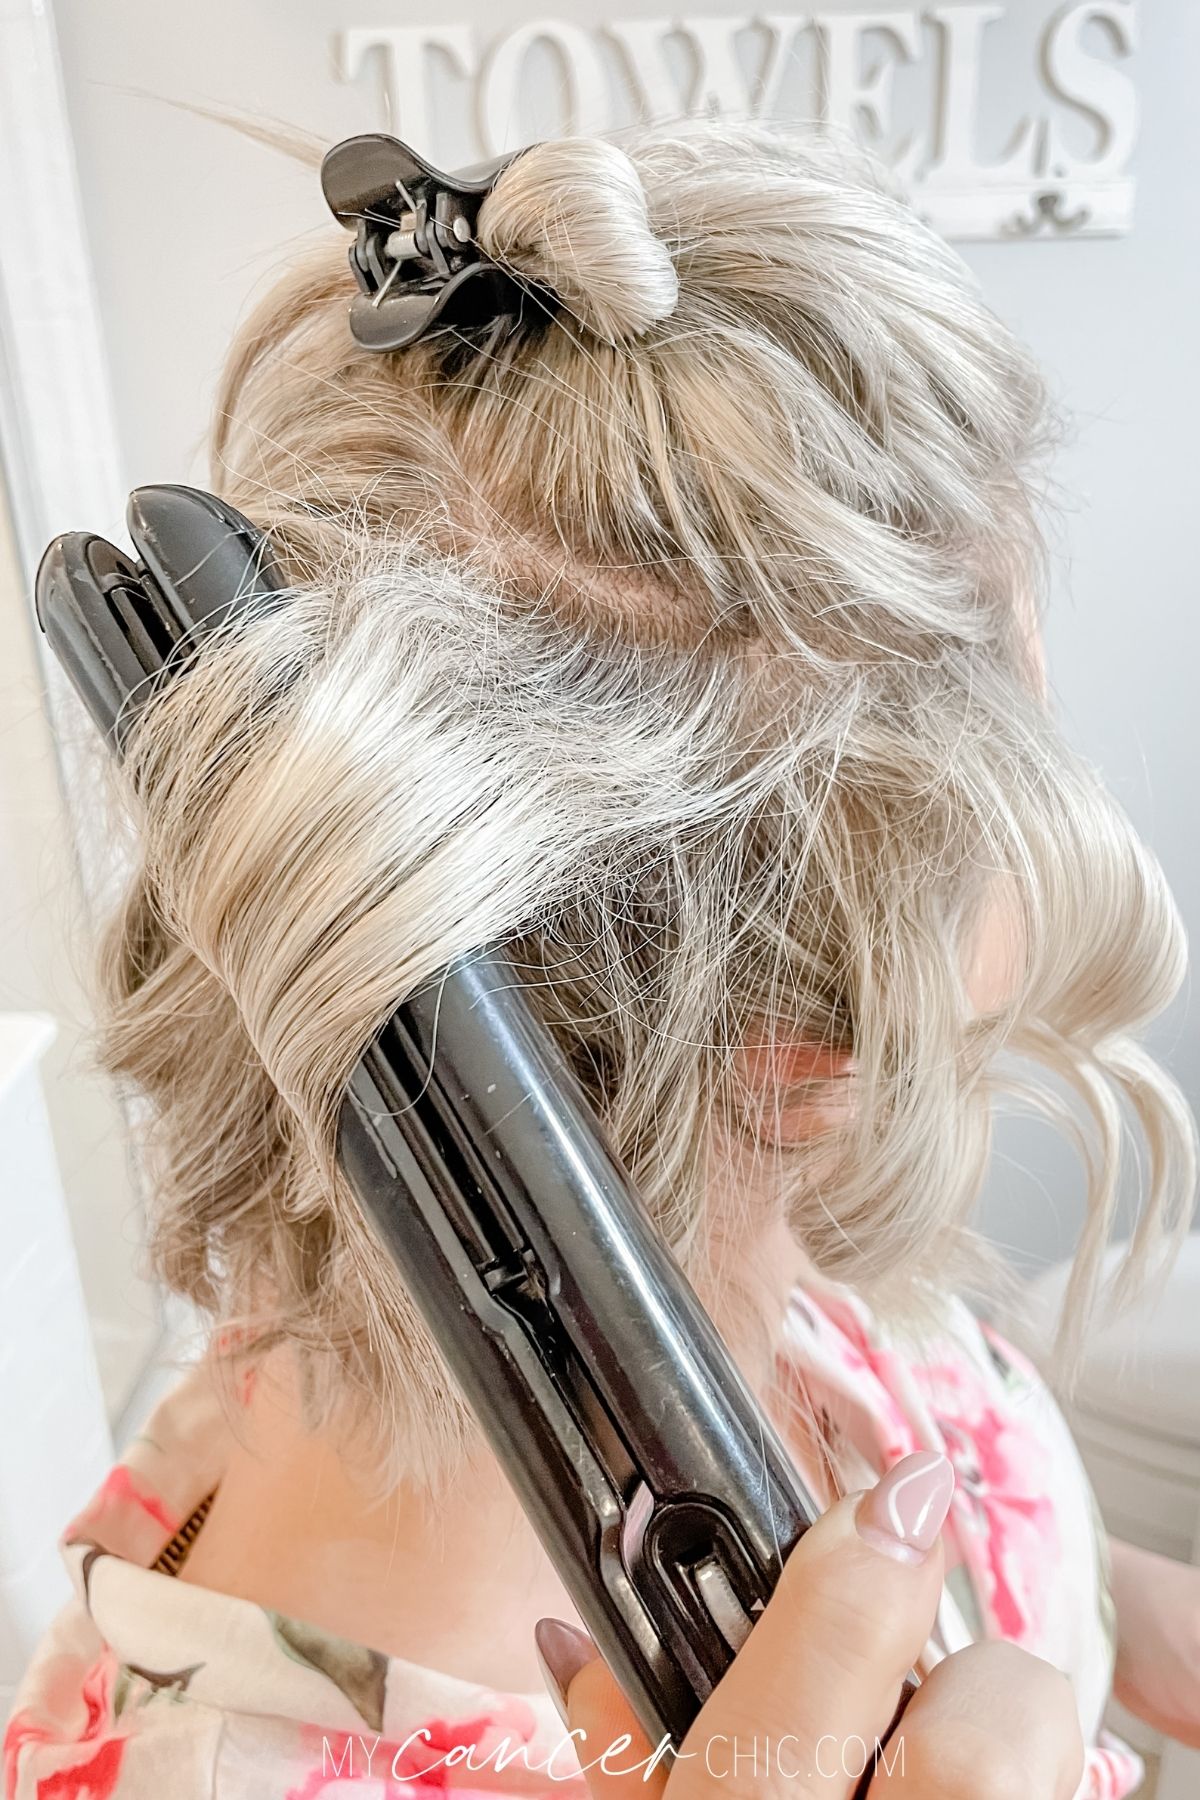
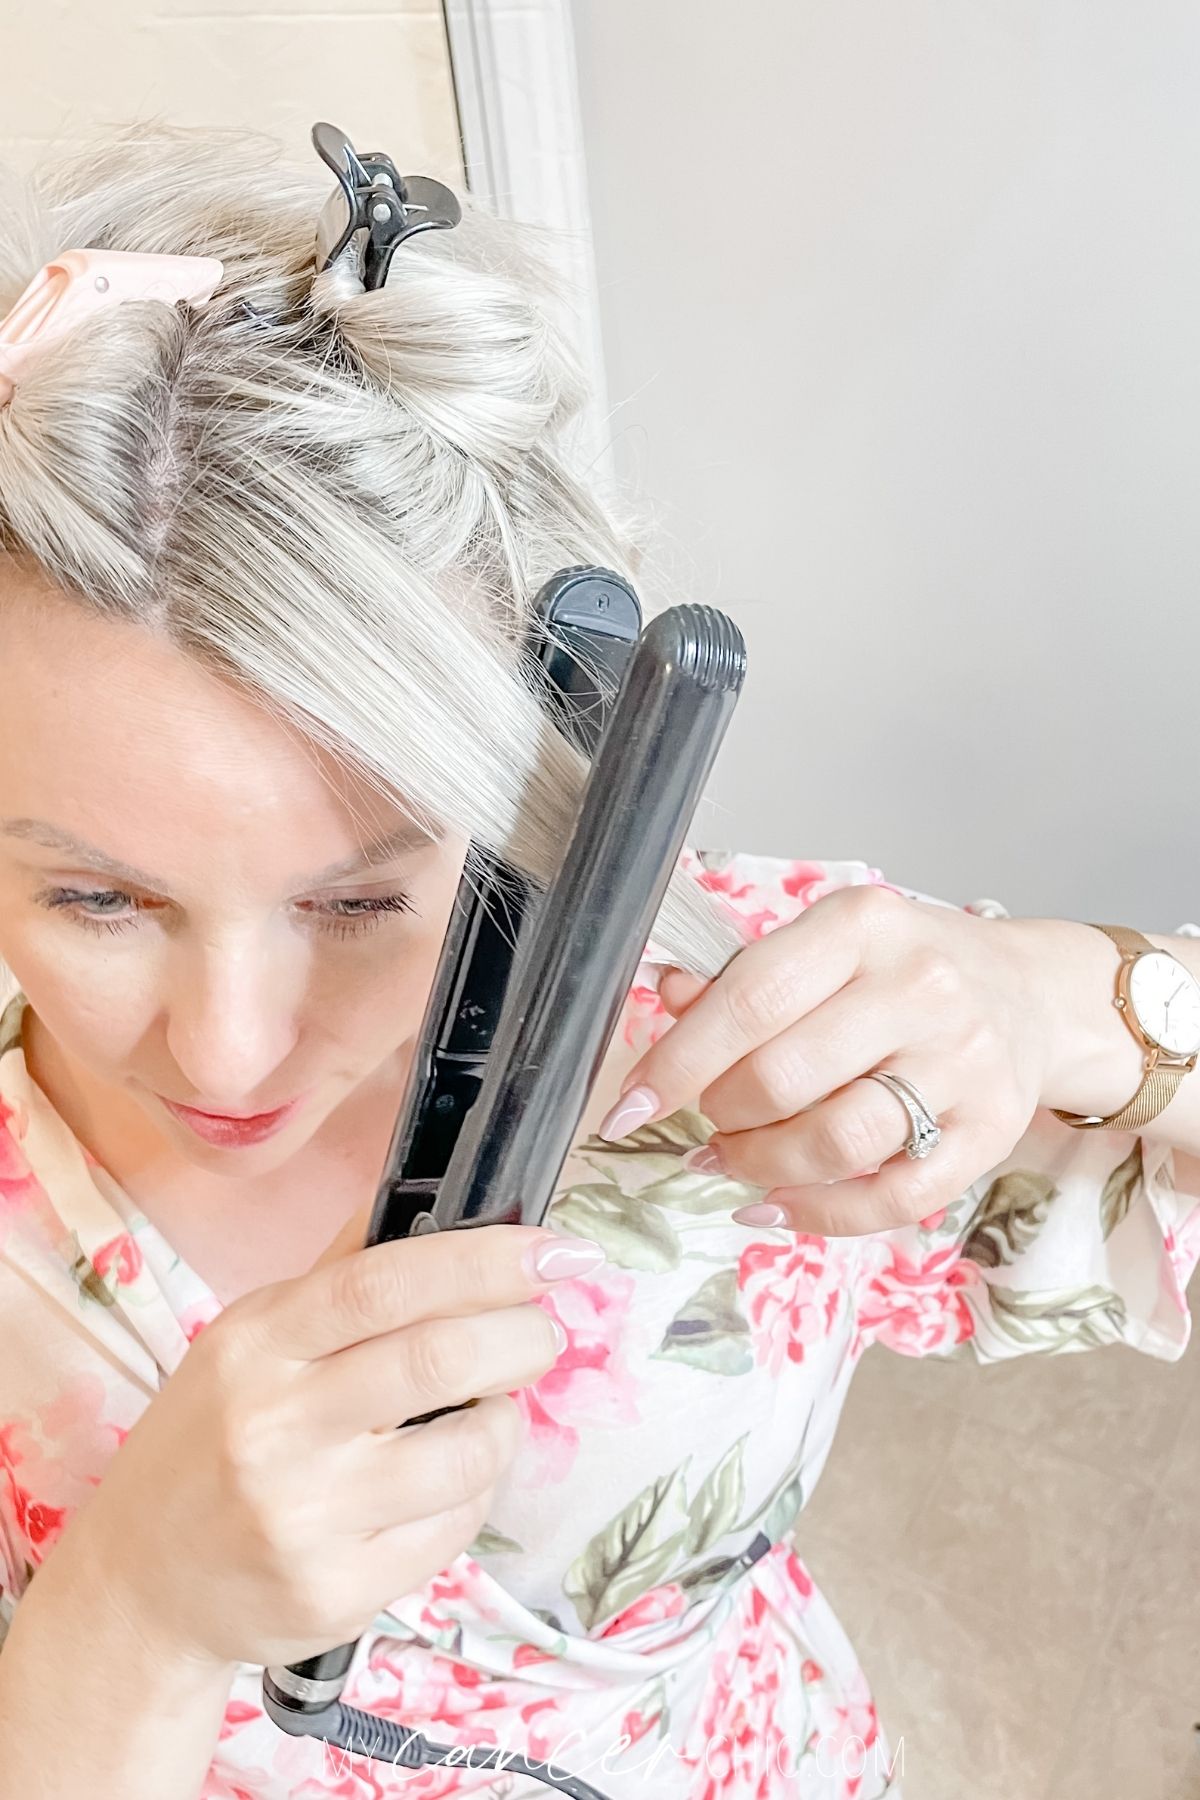
When you get to the front pieces around your face it can be challenging to curl short hair. One trick I have found is to shift the angle of the straightener from slanted to more of a vertical position. This angle will help the curls around the face lay better.
Play around with different angles of the flat iron on these pieces to see what style you like for your hair.
7. Comb the Curls
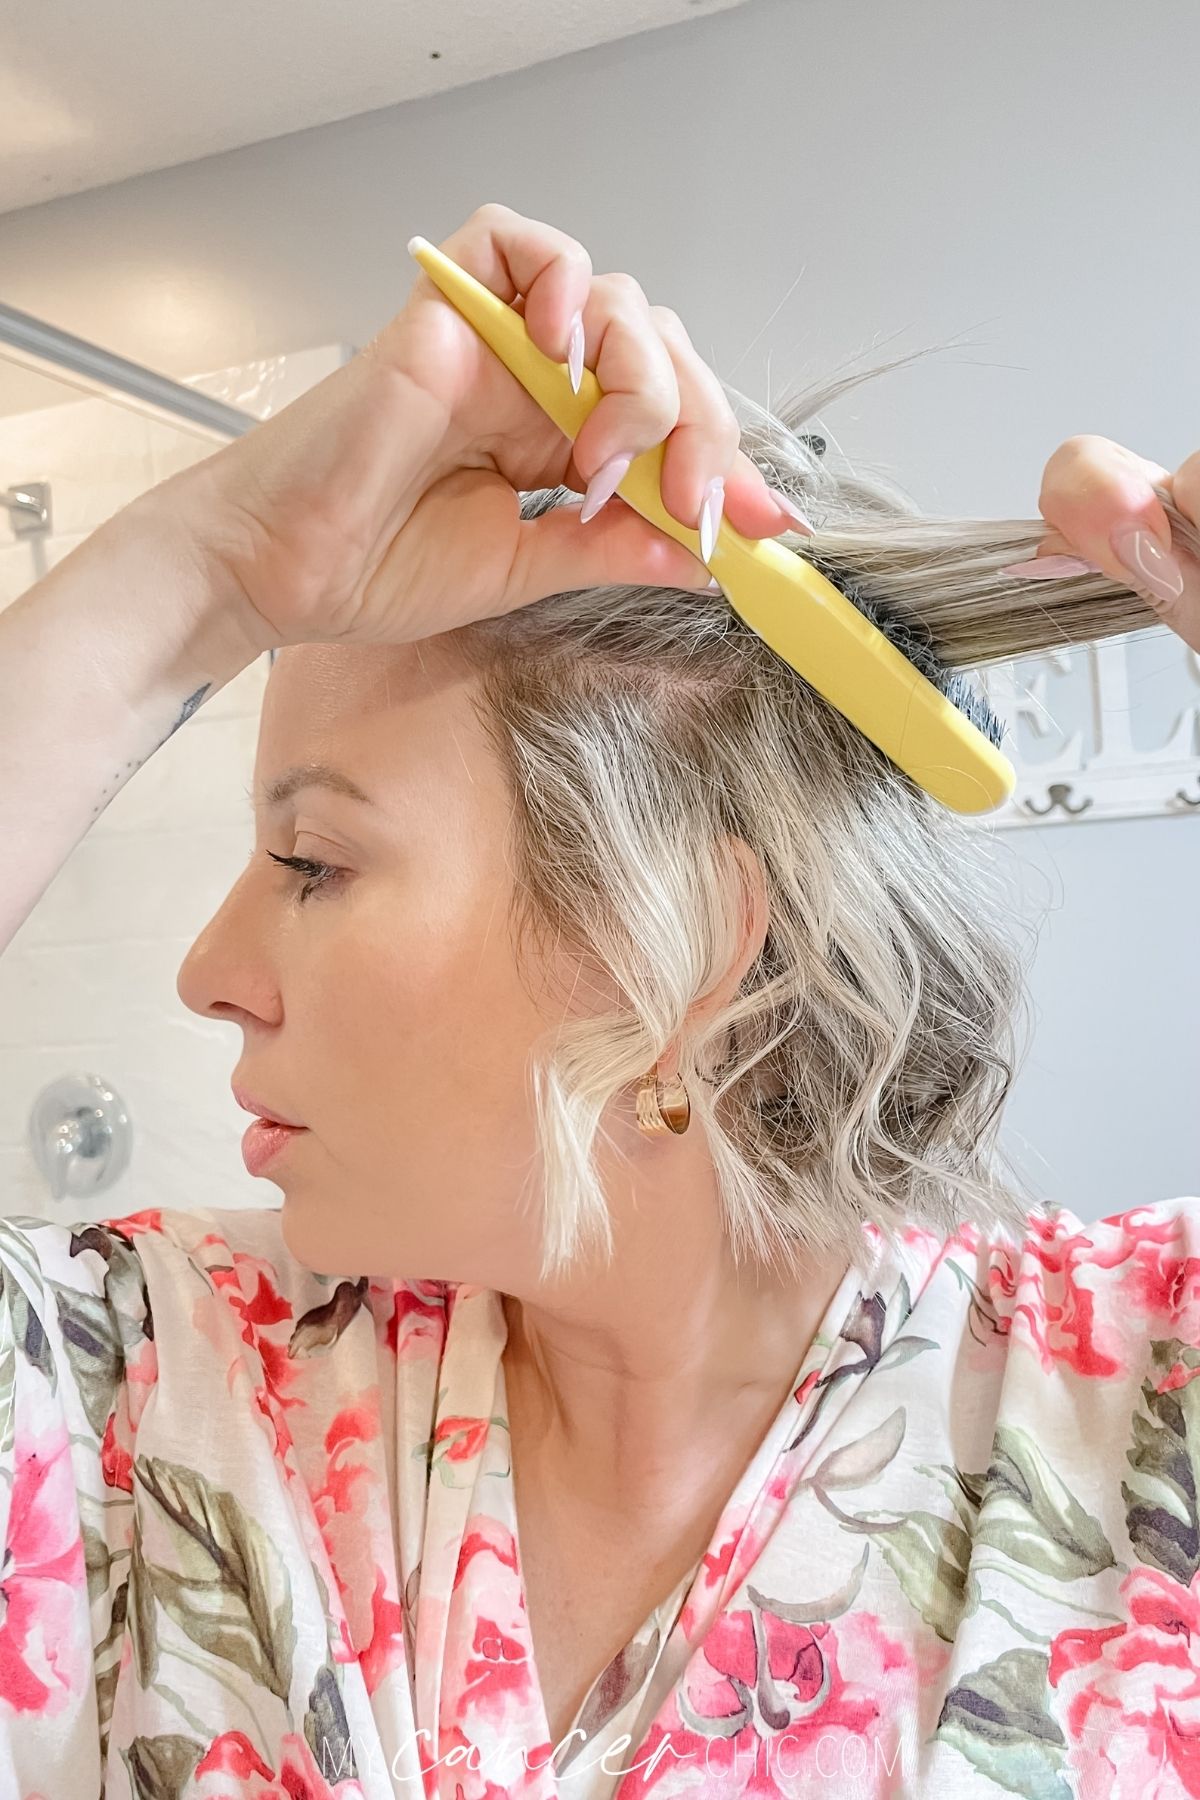
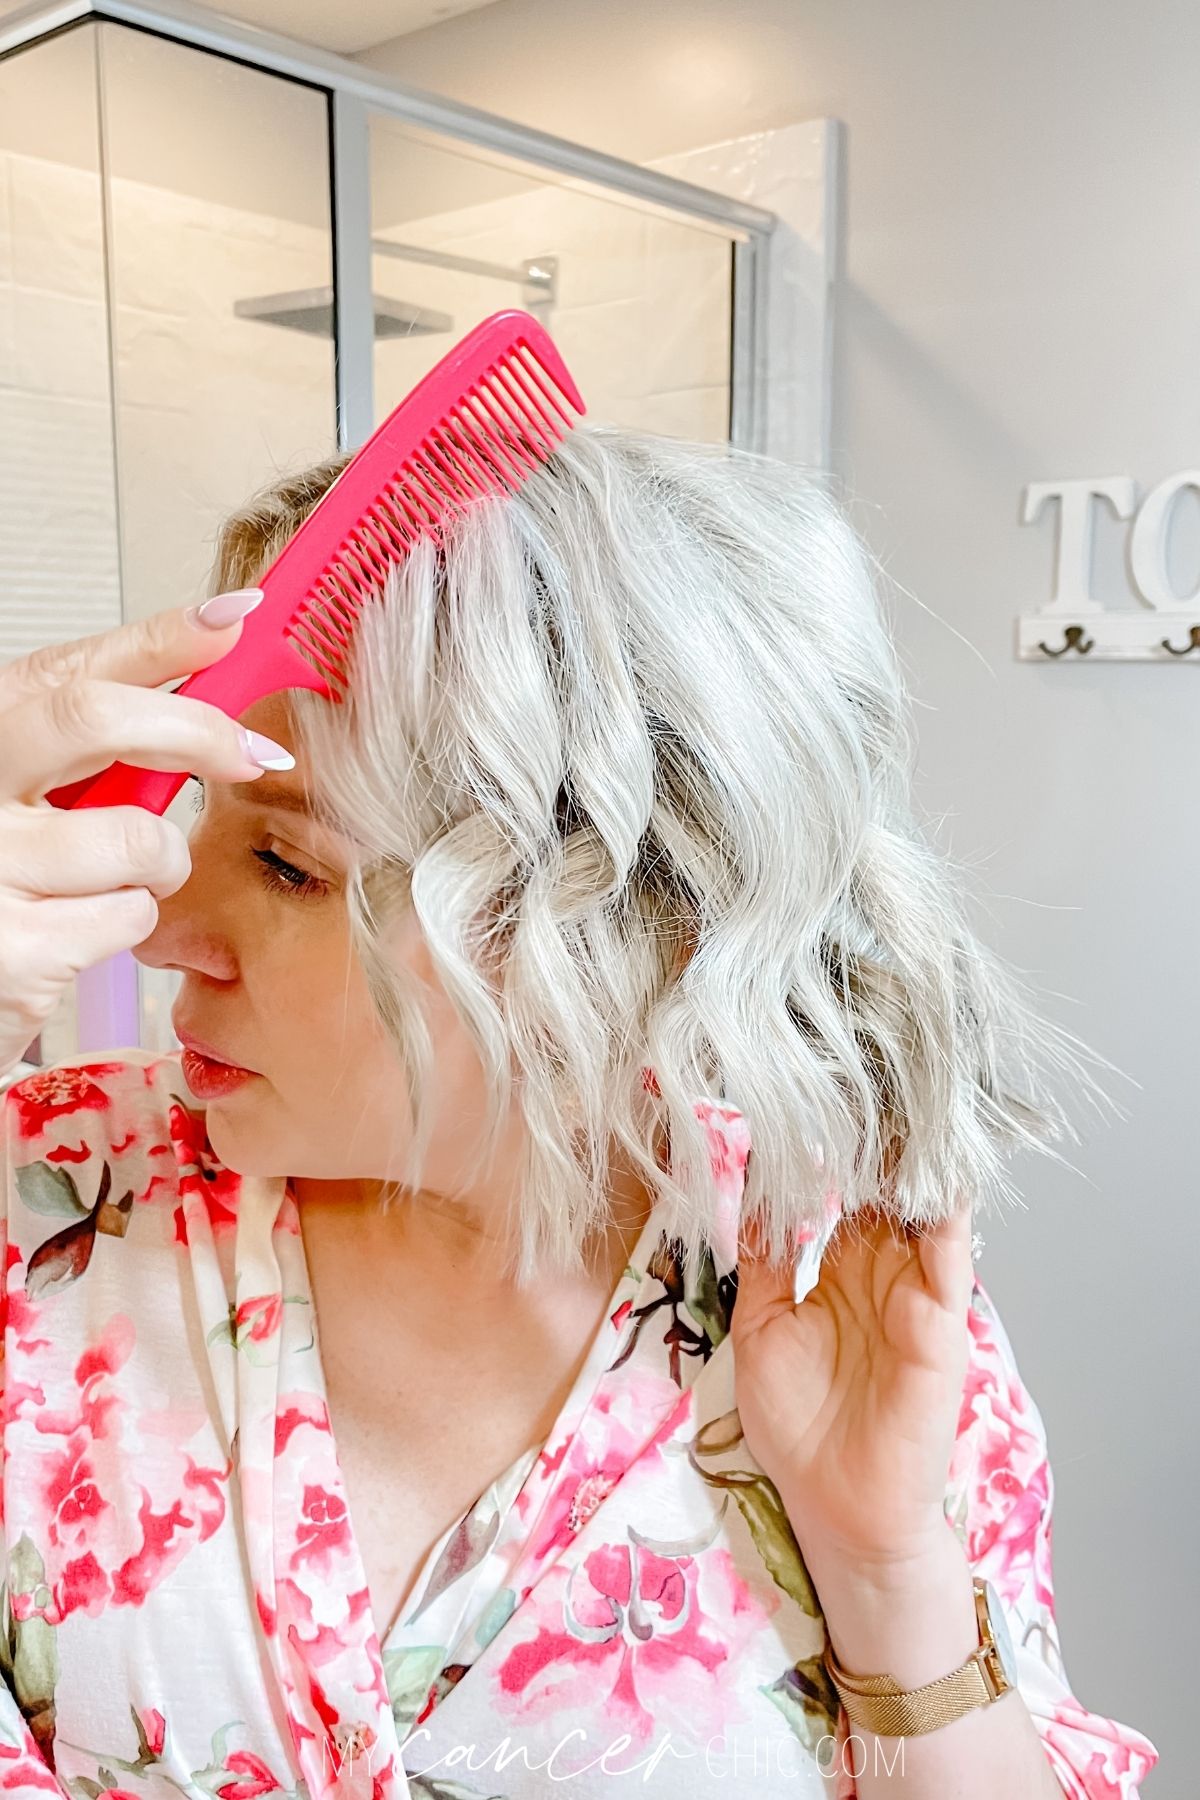
Now, take a wide-tooth comb or your fingers and comb through small sections of your hair. I like how this makes the hair look a little more polished while keeping the messy blunt style of the curls.
If you like how the curls look, you can skip this step and simply run your fingers through the curls to blend the two layers.
8. Apply Texture Spray
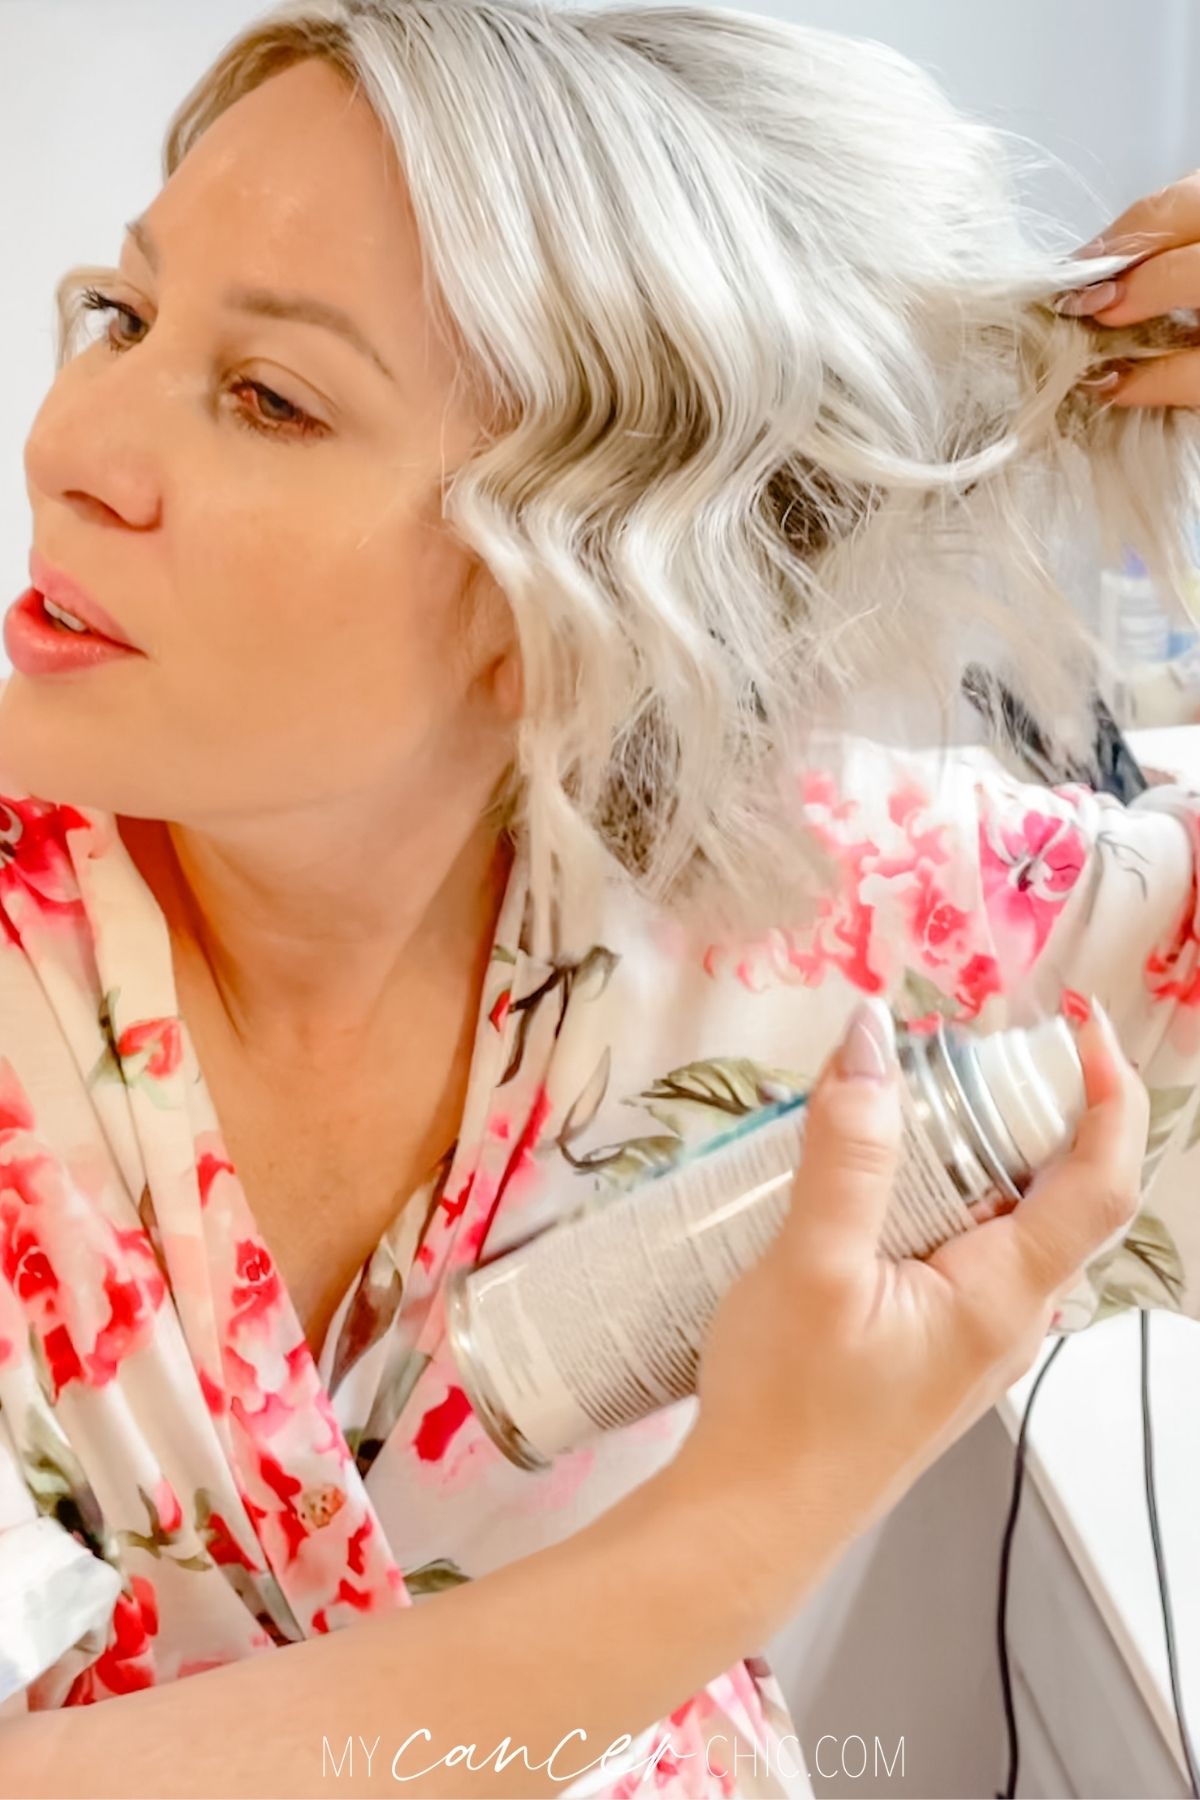
The last step is essential and really completes the look. Finish styling your hair by spraying texture spray (this is my favorite) upwards from the bottom of your ends and then tousling the hair with your fingers.
I like to lift up the layers and spray more in certain sections where I want more volume.
If you want to use hairspray, you can also apply that at this stage, but I like to stick with just the texture spray to complete my curls.
Watch the Tutorial
I hope you enjoyed this blog post. Give it a try, and let me know what you think! I would love to see your styles on social @mycancerchic.
In the video below, I share another version of how to curl short hair with a flat iron after chemo. The video below was from a few years ago when my hair was growing out after chemo, and I used a smaller flat iron (.5 inch flat iron).
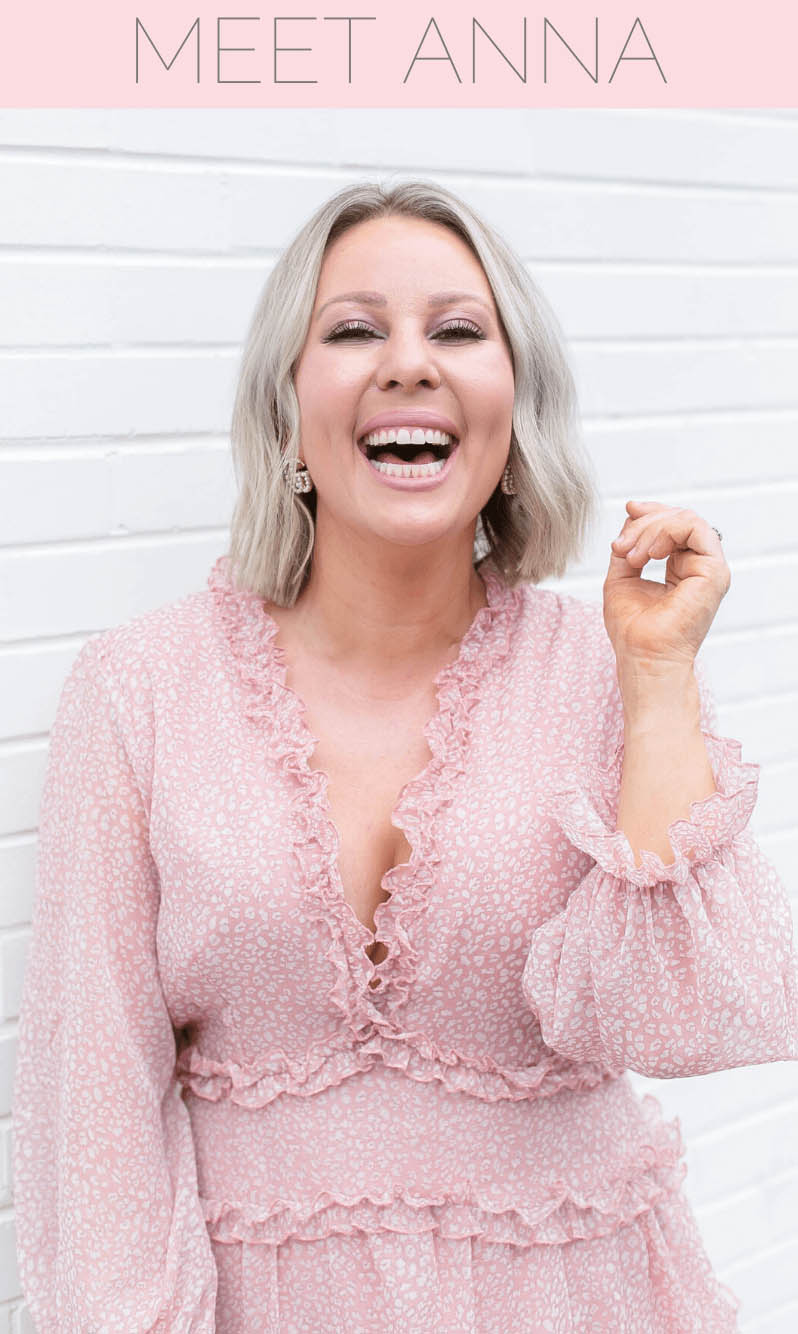
Breast cancer survivor, lover of style, beauty and all things pink! Inspiring you to thrive through adversity.
READ MORE

Related Posts


2 Comments