Looking to save some money and do your gel nails at home? In today's post I am sharing a video tutorial on gel nails for beginners. It has all the steps for how to do gel nails at home and I also review 3 other budget friendly nails options you can try including glue on nails, press on nails and my favorite gel nail stickers.
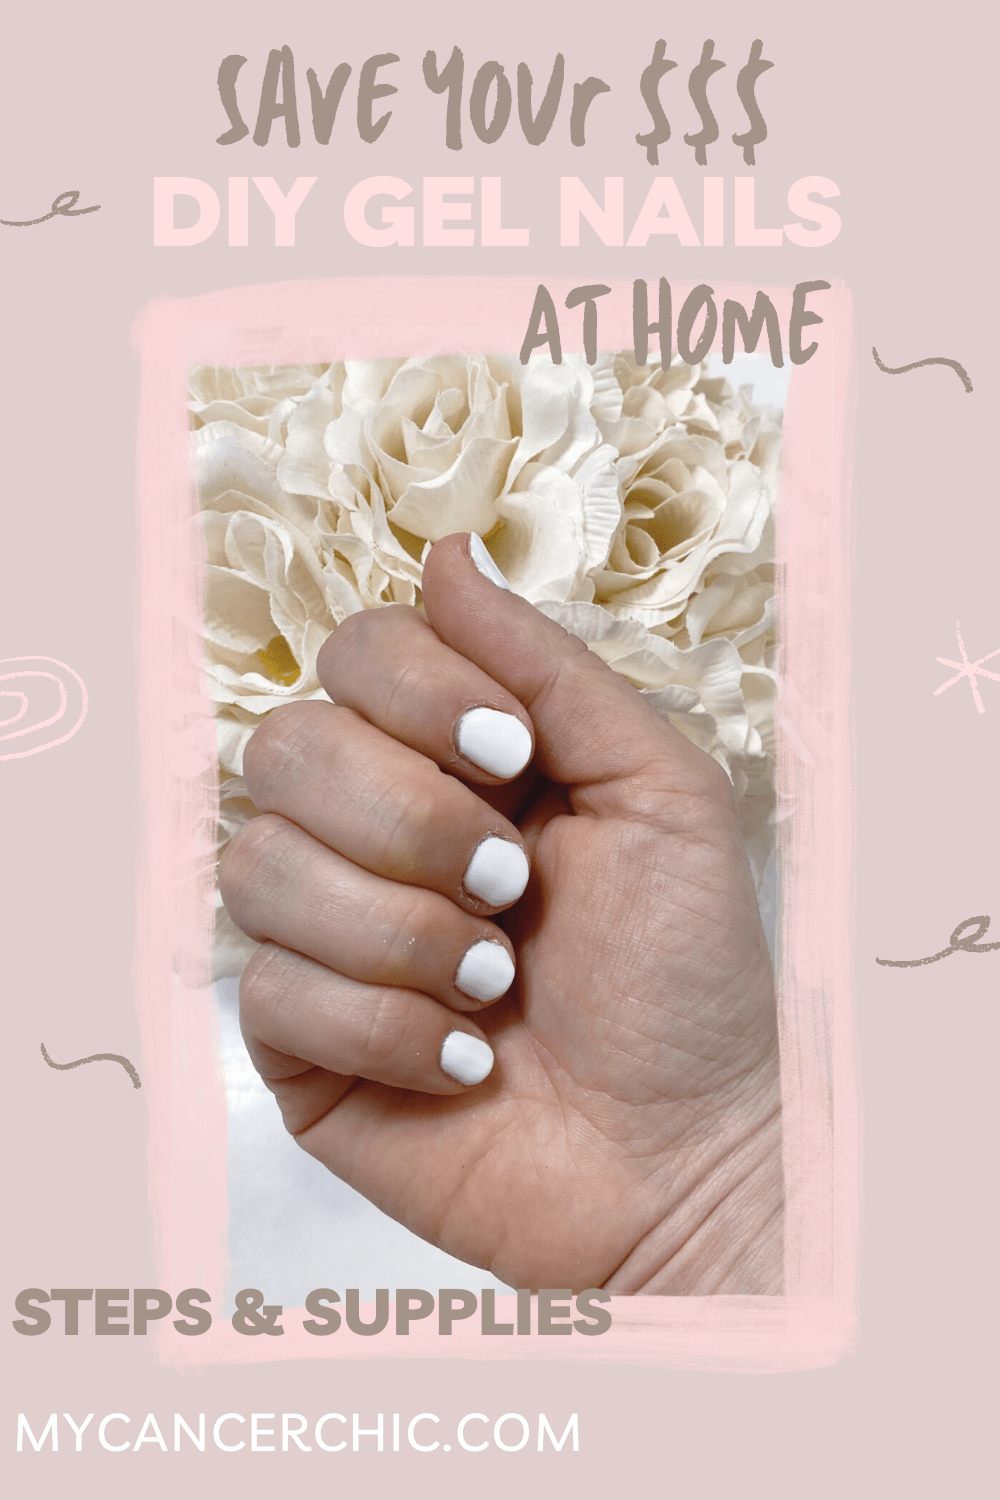
Gel Nails for Beginners
Gel nails are very popular due to how long the polish lasts, the durability between applications and the easy process. In order to easily do your own gel nails at home, you just need a few key gel supplies and a little practice. The best part about doing gel nails at home, is that you can easily fix mistakes or change the color without rushing to the salon or spending a lot of money.
Gel Nails at Home: Supplies Needed
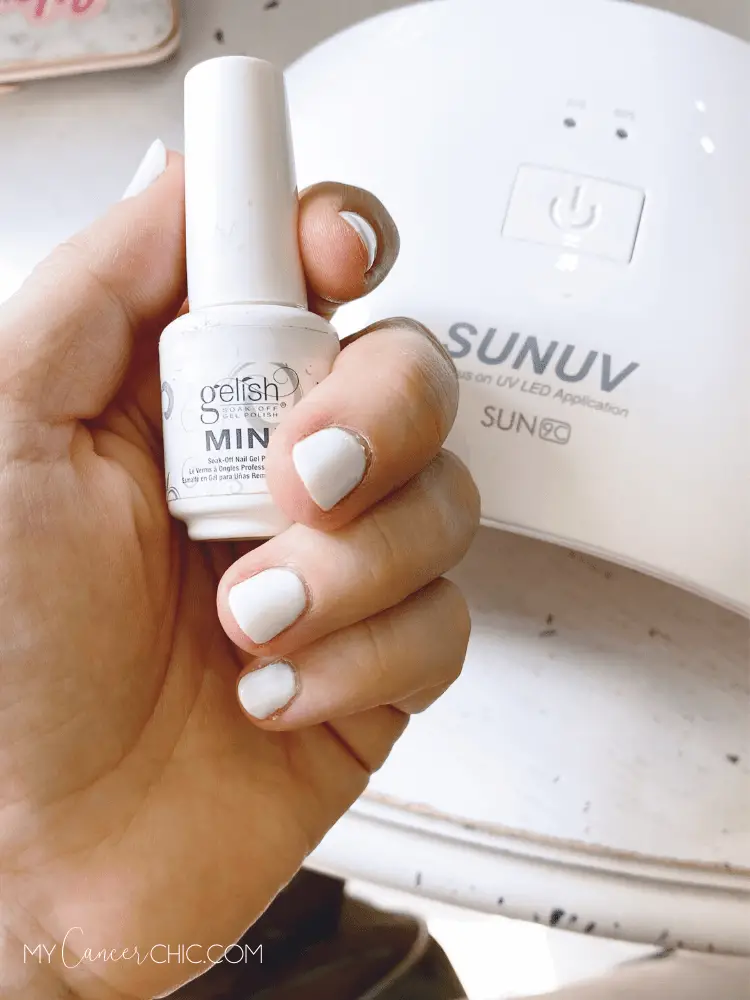
In order to get started you will need the following supplies to do your own gel nails at home. I really like my LED nail lamp from Amazon and the Gelish polish. I have also heard good things about the OPI gel polish but it is harder to find online.
- Alcohol Pads
- Nail Buffer/Nail File
- PH Bonder
- Gel foundation
- Gel Polish
- Gel Top coat
- LED Setting Lamp
- Small nail brush for cleaning up cuticles
Shop The Gel Nail Supplies
Gel Nails at Home: Steps
The most important part about the steps for gel nail application is the wait time. Once you get a hang of the timing, the steps are so easy. Another important tip to salon style gel nails at home is applying THIN coats of the foundation, polish and top coat. The thinner the polish is applied the more smooth and natural the final manicure will look.
- Step 1: File & Buff nails
- Step 2: Wipe nails with an alcohol pad or 100% acetone soaked cotton pad
- Apply Gel PH Bonder, let dry for 60 seconds
- Apply Gel Foundation, cure for 2 sets of 60 seconds in the lamp
- Apply 2-3 thin coats of your color, cure 60 seconds between each coat under the lamp.
- Apply top coat and cure 2 sets of 60 seconds
- Wipe nails with an alcohol pad or 100% acetone soaked cotton pad
- TIP: Carefully remove any excess foundation and color from your fingers/cuticles before curing with a thin brush dipped in acetone. I skipped this step in the video because I was in a rush.
Other Budget Friendly Manicure Options
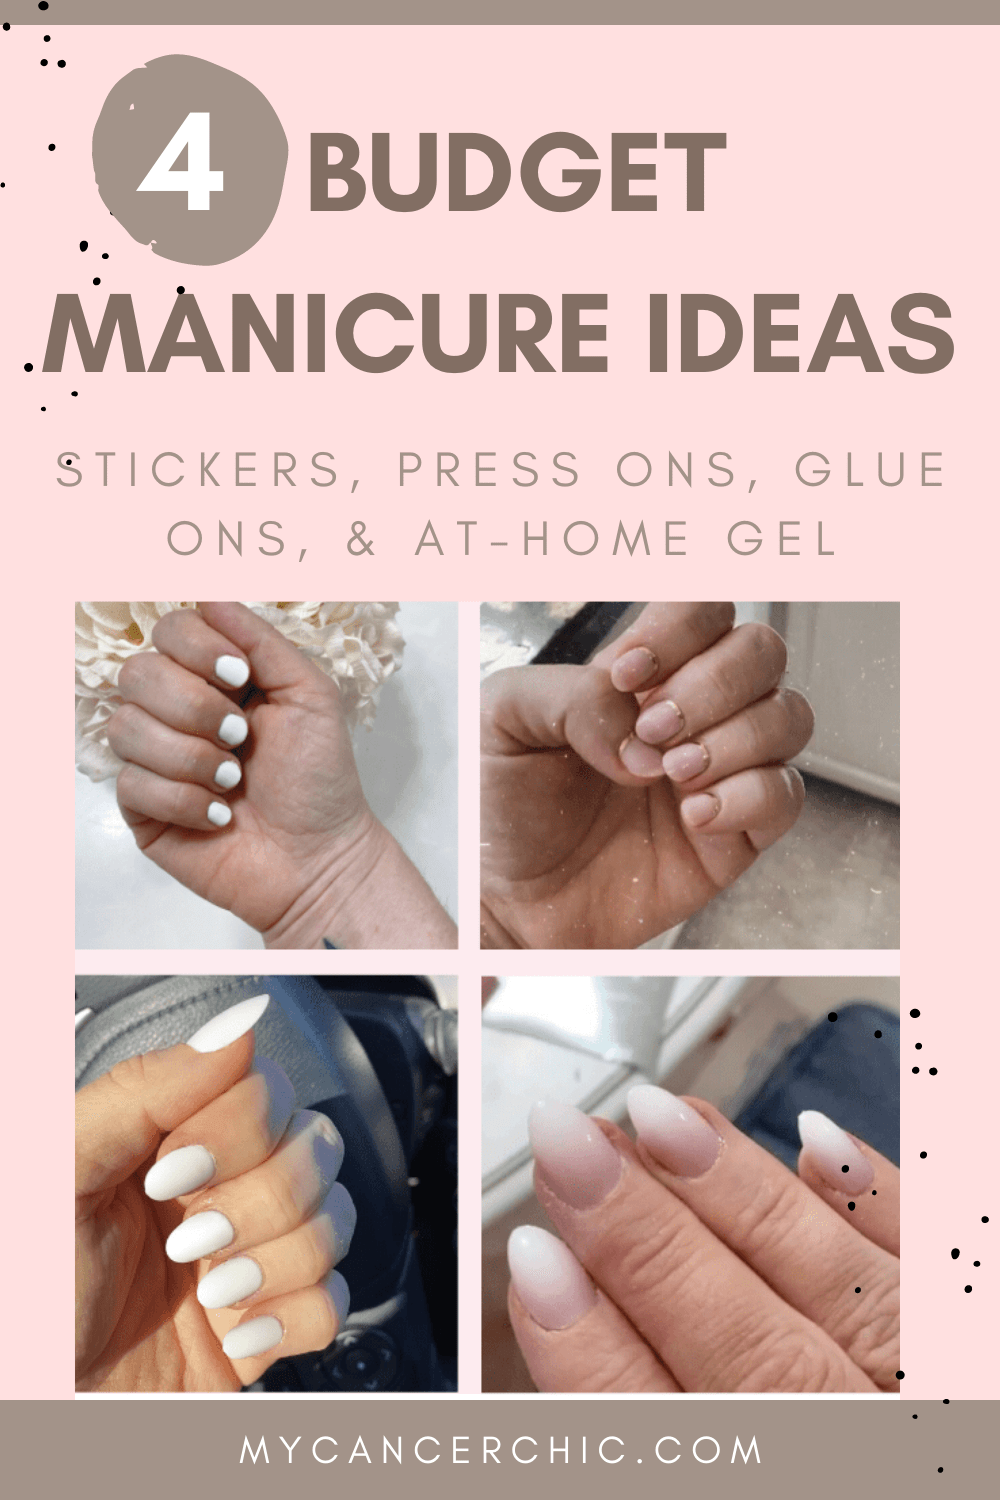
Don't want to invest in the gel nail supplies or go through the steps? There are other options. Let's break down what you need to know about nail stickers, press on nails, and glue on nails. All of these at-home nail options save you money money and keep your nails looking chic.
Budget Nail Idea: Nail Stickers
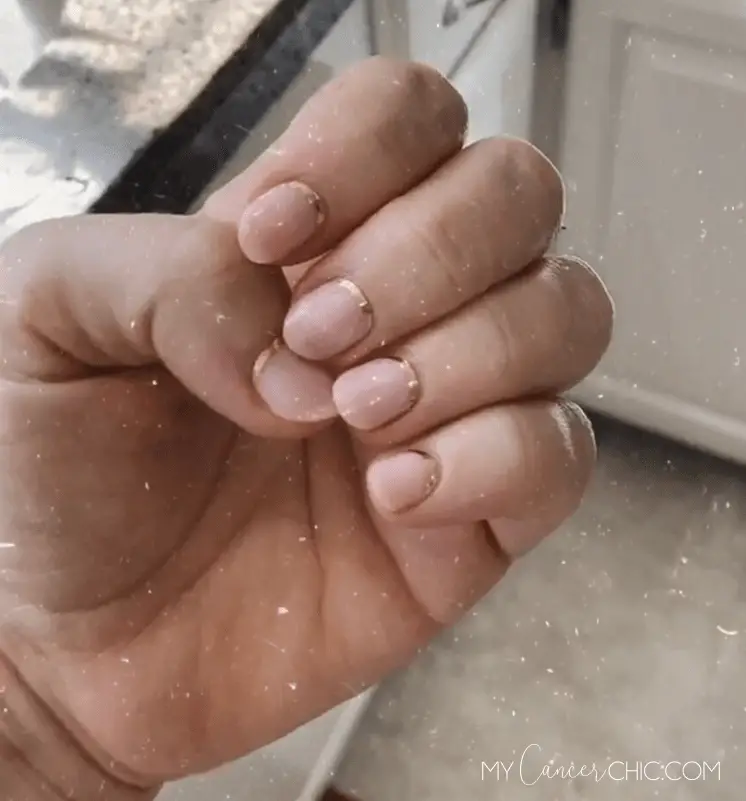
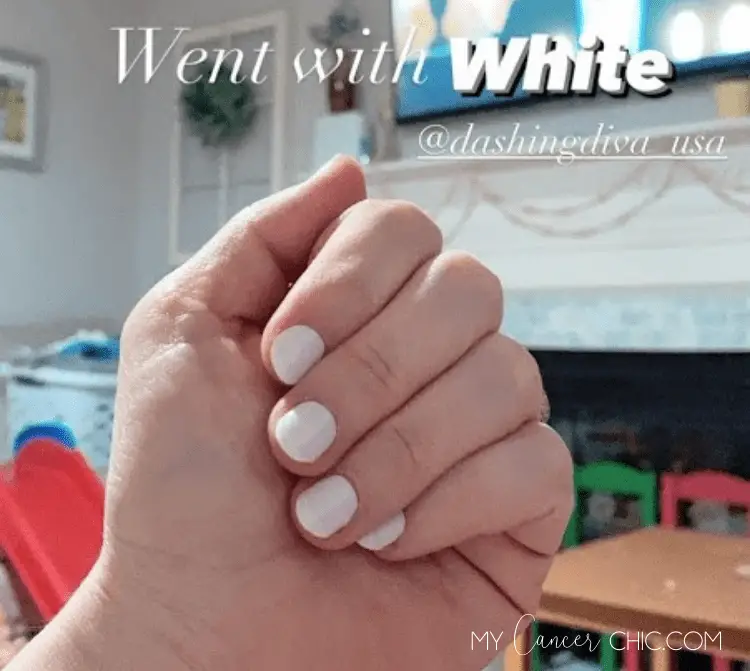
Nail stickers may be my favorite budget nail hack and a great alternative to gel nails. They are essentially adhesive stickers that fit to your nail and can last up to 2 weeks depending on the brand and application. Nail stickers are the easiest at-home nail option and cause zero damage to your nails. I will admit when I first applied them, I was skeptical, but now I am obsessed. The Dashing Diva brand is my favorite and they're around $7 per set. You can try them out from Target and then find a wider variety of nail sticker colors and designs on their website.
Pro Tips for Nail Stickers
- Buff your nails before applying the nail stickers for a smoother application
- Apply a clear top coat on top of the nail stickers to help them last longer
- Remove easily with soap and water and gently peeled them off.
Budget Nail Idea: Press On Nails
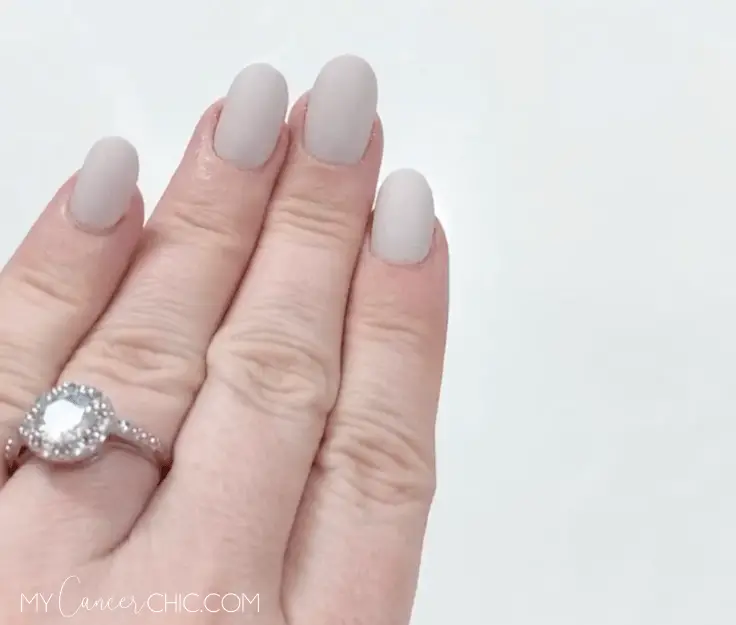
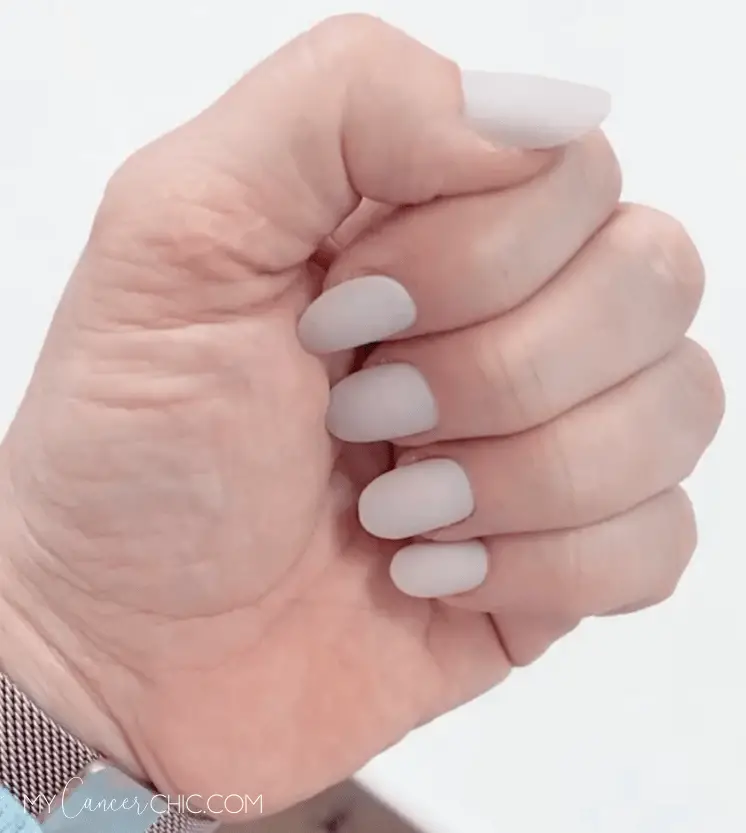
Press on nails are another options for those looking to save money and do their nails at home. The benefit to press on nails is they are cheap and not very harsh on your natural nails unlike gel nails which can be hard on your nails over time.
I tried the KISS imPRESS nails and while they were great for about 7 days, the fit on my actual nail bed wasn't as natural and they don't come in many size variations. I did love the matte style though so they may be worth a try to see how they fit your nail size/shape.
Budget Nail Idea: Glue On Nails
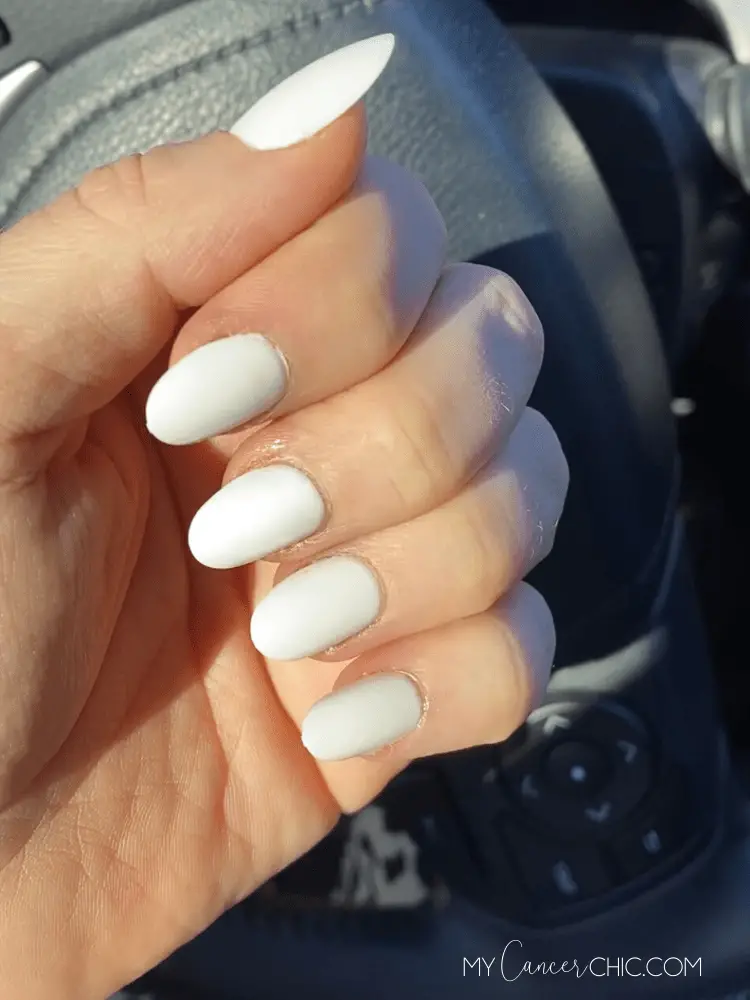
Another alternative to gel nails is glue on nails. I have tried various glue-on nails over the years, but after hearing rave reviews from Static Nails, I decided to give them a try. These nails were truly a step up from the $8 glue on nails I used to use in high school. I went with the white ones from Nordstrom, and absolutely loved them.
I got the rounded design and they were a bit long so I filed them down and made them more of an almond shape. They com in a variety of lengths and shapes. The nails lasted a full 2 weeks and looks amazing up until I a few fell off on their own.
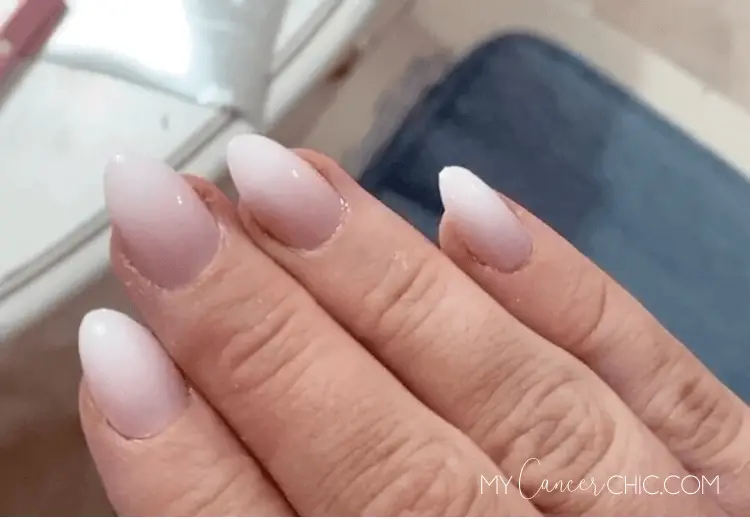
I also tried the Red Aspen glue on nails. I wanted to love them because they have such variety of nail colors and designs but the quality was just not as good. The Red Aspen glue on nails scratched super easily and didn't last well. They ended up looking horrible after a week and a half and I had to remove them carefully with soap and water to loosen the adhesive.
I hope you enjoyed the gel nails for beginners guide along with the budget friendly nail options I shared. What are your favorite at-home nail tips? Want more nail inspiration? Check out my Nail Inspo board on Pinterest for tons of ideas!

Breast cancer survivor, lover of style, beauty and all things pink! Inspiring you to thrive through adversity.
READ MORE


